This tutorial teaches you to design a logo for lawyer. Start by creating balance for lawyer. Select pen tool and draw this shape. Choose #60514A as foreground while drawing the shape.
![]()
Use Ellipse tool to draw an ellipse and place it as shown:

Again with pen tool, draw these shapes and place them as shown:


Draw another shape with pen tool as shown and place it as shown in the next picture :
![]()

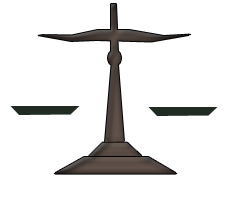
First, group and merge all the layers and than apply these layer styles in it. These layer styles will give a realistic wooden effect to the balance :)
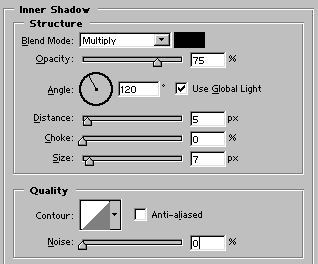
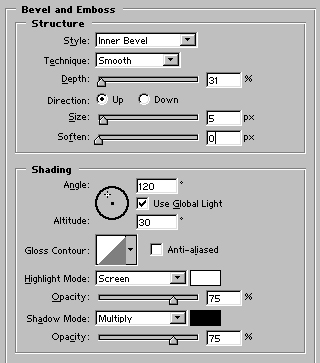
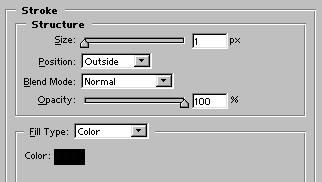
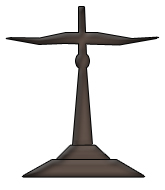
Image after applying above layer styles:
Again with the help of pen tool draw these two shapes:
Apply similar layer styles as we applied on the previous image. In addition add color overlay and choose dark gray color for gradient overlay.
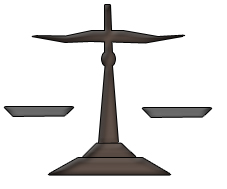
Use line tool, set the size to 1 pixel and draw lines as shown:

Draw two blocks with rectangle tool. Choose #BB9E66 color for the left block and #00599D for the right one.
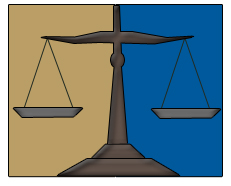
Lawyer logo is completed. Add name of the lawyer firm or lawyer below the logo.