We'll begin this tutorial, by selecting the "Type Tool." Select Tahoma as the typeface at a size of 66. The color of the text doesn't matter at this point. Type "electric".

Now that you have your text, you can now right click on the text layer and select, "Blending Options...". Now click on "Drop Shadow".
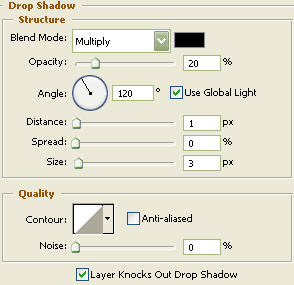
Do not click OK yet... still more to do
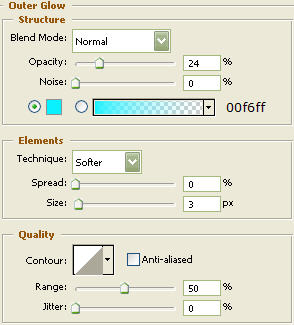
Now click on "Outer Glow".
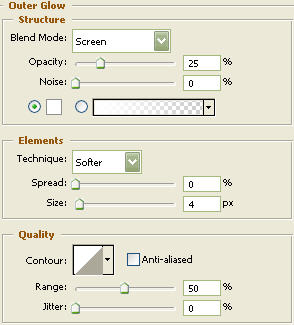
Do not click OK yet... still more to do
Now click on "Inner Glow".
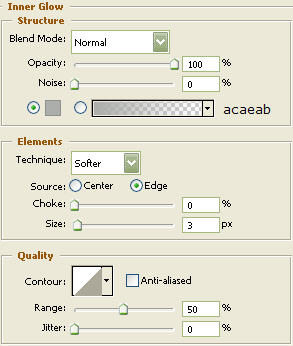
Do not click OK yet... still more to do
Now click on "Bevel and Emboss".
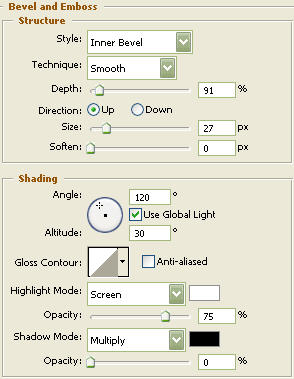
Do not click OK yet... still more to do
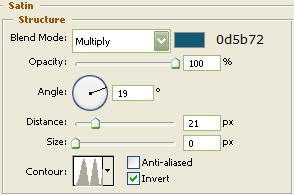
Now click on "Satin".
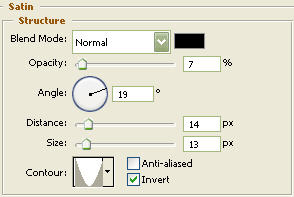
Do not click OK yet... still more to do
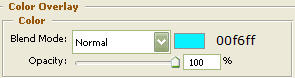
Now click on "Color Overlay".
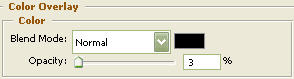
Do not click OK yet... still more to do
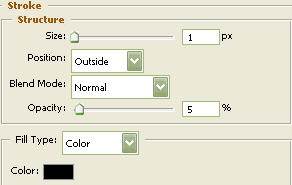
Now click on "Stroke".
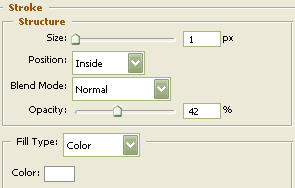
You may now click OK.
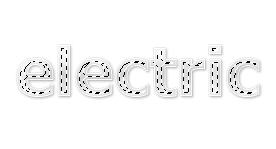
Now, turn the Fill down to 0% and you should have the following:

Next, duplicate the electric text layer three times. On the third duplicate text layer, right click and select "Clear Layer Style". Then turn the Fill down to 0%.

Now that you have your text, you can now right click on the text layer and select, "Blending Options...". Now click on "Gradient Overlay".
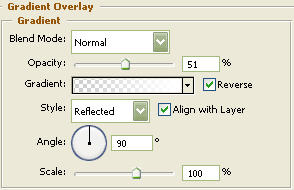
Do not click OK yet... still more to do
Now click on "Stroke".
You may now click OK.
You should now have the following:

Now "Ctrl" click the text layer to create a selection around it and go to the main menu and click on "Select" then "Modify" and lastly "Contract" set it to 3 and click OK. Next, create a new layer and go to the main menu and select "Edit" then "Fill" and fill with whatever color you desire. In the Layers Palette, with the new layer selected, drag it so it's just above the background layer. Now the three text layers are above this one.
You should now have the following:

Now right click on the new layer and select, "Blending Options...". Now click on "Outer Glow".
Do not click OK yet... still more to do
Now click on "Satin".
Do not click OK yet... still more to do
Now click on "Color Overlay".
You may now click OK.
The Results!!!
...and the results are before you now. Hope you enjoyed this tutorial.