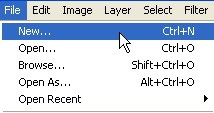
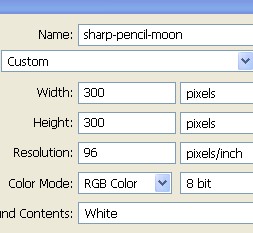
1. First of all to open a new Document. Go to Menu, select File > new and then a new document will appear. In the new Document type the name of the document and then specify the size width = 400 pixel, height = 400 pixel and resolution = 96 pixel/inch. You can do it with the file new > then press Ctrl+N.
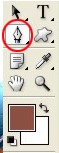
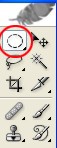
2. Select Pen Tool from the Toolbar.
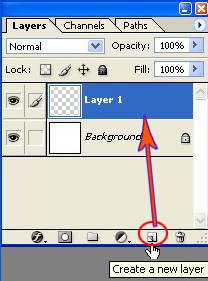
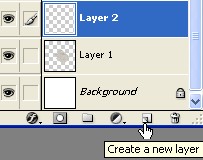
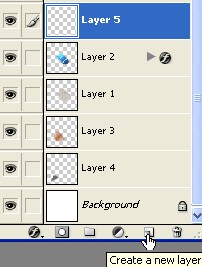
3. Now create a new Layer1, to create a new layer click on the icon that is shown with the hand sign in the Layer window or press Shift+Ctrl+N.
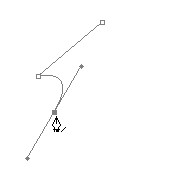
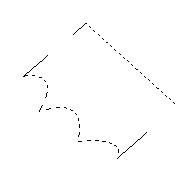
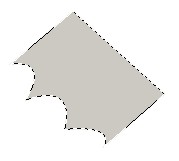
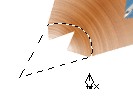
4. Now create a new shape with the Pen Tool as shown in the Image below

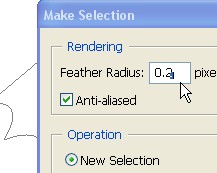
5. Right click > Make selection > select Feather=0.2px > click ok.
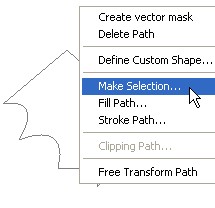
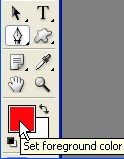
6. Click on the set Foreground color in the Toolbar.
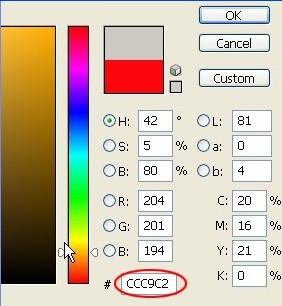
7. When you click on the Set foreground you will see the color picker window now put the color code #CCC9C2 in the box shown with the red circle.
8. Press Alt+Backspace to fill the color then press Ctrl+D to deselect.
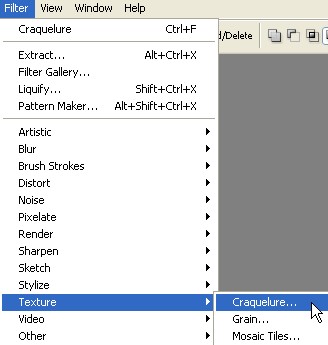
9. From the Menu bar Select Filter > Texture > Craquelure
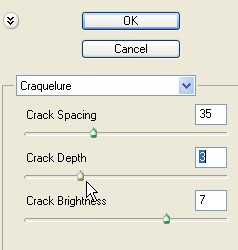
10. In the Craquelure select Spacing 35 / Crack Depth-3 / Crack Brightness- 7 and then click ok.
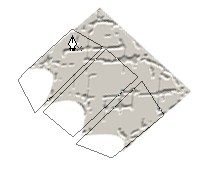
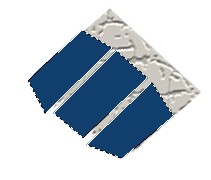
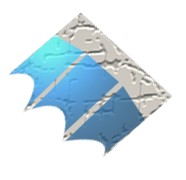
11. Now the Image will look like this.

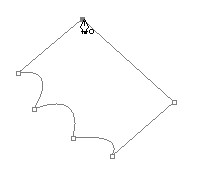
12. Now with the Pen Tool create 3 new shapes as shown below.

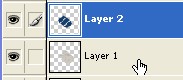
13. Create a new Layer2.
14. Now press Alt+Backspace and fill the color code #355D80 and then press Ctrl+D for deselect.
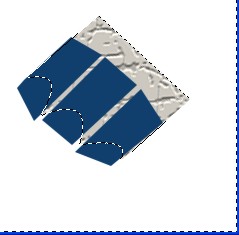
15. Now click on the Layer1 while pressing Ctrl to make selection as shown below.
16. Now press Shift+Ctrl+I to inverse and then press Delete in your keyboard after that press Ctrl+D for Deselect.

17. Now choose the Opacity = 62 % for Layer2.

18. Now select Filter > Render > Lighting Effects choose every thing according to the Image below and then click ok.
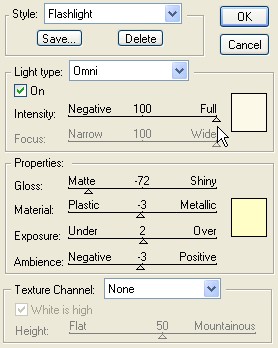
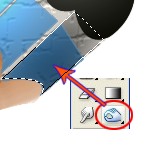
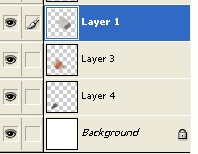
19. Here select background and then create a new Layer3.
![]()
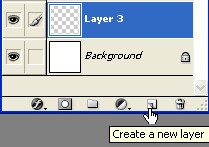
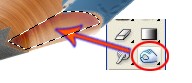
20. Now here create a new shape with the help of Pen Tool and fill the color code #C67D41.
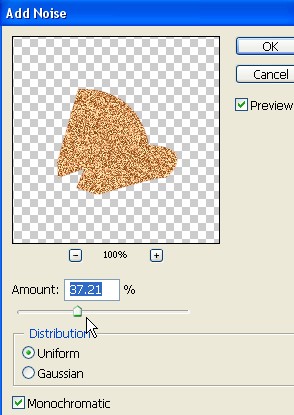
21. Select Filter > Noise > Add Noise > in Add Noise Select Amount= 37.21% distribution = Uniform / Monochromatic and then click ok.

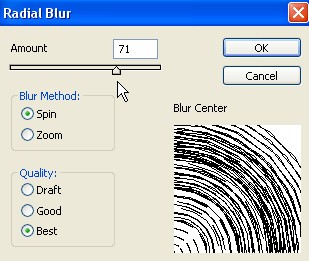
22. Now again select Filter > Blur > Radial Blur with the Amount-71,Blur method=spin, Quality= best and then click ok.
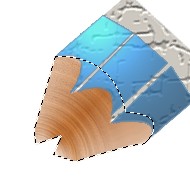
23. The Image will look like this now press Ctrl+D for deselect.
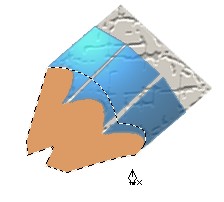
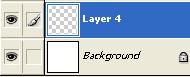
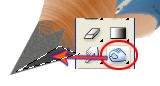
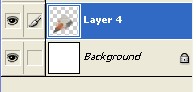
24. Select background and create a new Layer4.
![]()
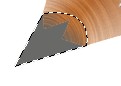
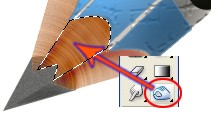
25. Now create a new shape with the help of Pen Tool as shown in the Image below.
26. Fill the color # 70706E.
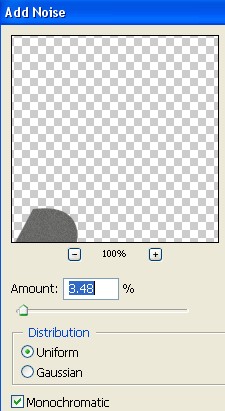
27. Now select Filter > Noise > Add Noise with the Amount-3.48 % and Distribution=uniform click ok.
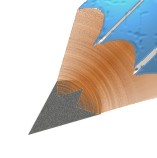
28. Now the Image will look like this.
29. Here create a new Layer5.
30. Create a new shape with the help of Pen Tool and then fill the shape with the Black color.
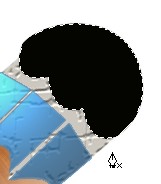
31. Select Elliptical Marquee Tool from the Toolbar.
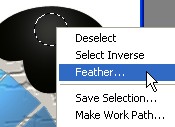
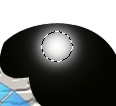
32. Create a new Layer6 and create an Ellipse with the help of Elliptical Marquee Tool as shown below.
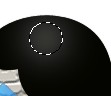
33. Right click > select Feather and then fill the shape with the White color.
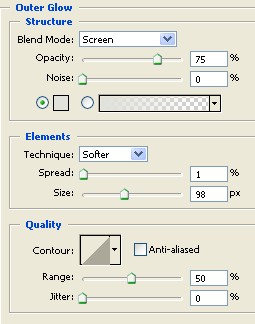
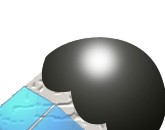
34. Double click on Layer6 select Outer Glow with the Opacity=75% ,Spread=1 % , Size=98 % and then click ok.
35. Here select Layer1 and make selection with the help of Pen Tool and then use Burn Tool with the brush size=50 , Range= Highlights , Exposure=50% and give some Effects then Press Ctrl+D fpr deselect
36. Here select Layer4 make selection with the Pen Tool and with the help of step35 give some more effects with the Burn Tool with the Brush size=20 after that press Ctrl+D for Deselect.
37. Select Layer3 and make selection with the Pen Tool and then give some more effects with the Burn Tool but this time use the brush size=30 and Range= Shadow.
38. Now here select Layer1 and press Ctrl+E to merge Layers 3,4,1.
39. Double click on the merged Layer4 > Layer Style > select Drop Shadow with the Opacity=75% , Distance=15px , Spread=16% , Size=27px and then click ok.
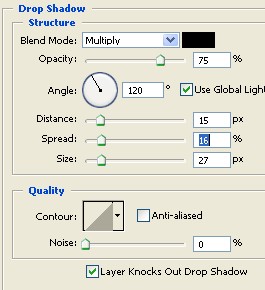
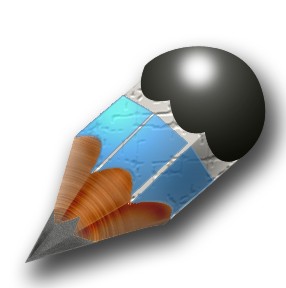
40. Final Image.