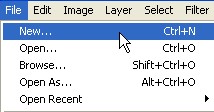
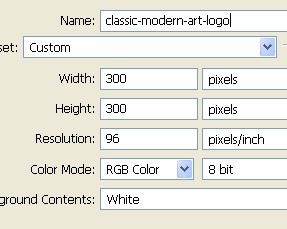
1. First of all to open a new Document. Go to Menu, select File > new and then a new document will appear. In the new Document type the name of the document and then specify the size width = 300 pixel, height = 300 pixel and resolution = 96 pixel/inch.
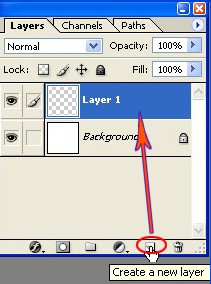
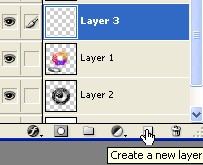
2. Now look at your right, you will see the layer window. Here in the Layer window create a new Layer by clicking on the icon which is encircled with Red. This layer will be named as Layer1 by default.
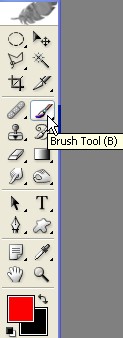
3. Now select Brush Tool from the Toolbar.
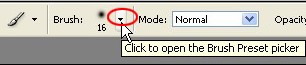
4. Now on the Toolbar click on the arrow which is shown with the pointer.
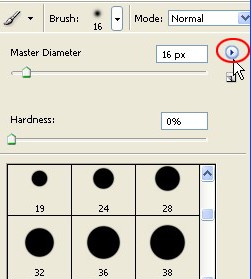
5. Now again click on the red circle.
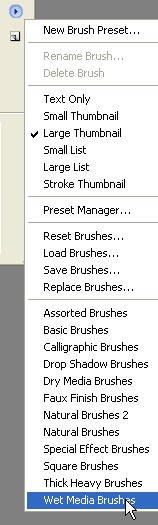
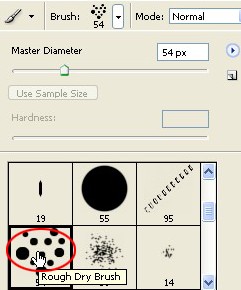
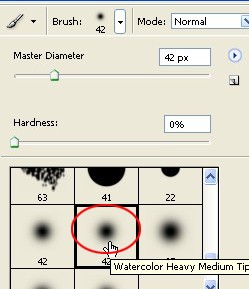
6. When you click on the red circle in the step5 you will get this list now select Wet Media Brush from there.
7. Now here select Rough Dry Brush with the Brush size=54 which is also shown with the red circle.
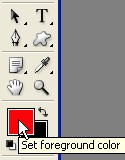
8. Now click on the set foreground color in the Toolbar.
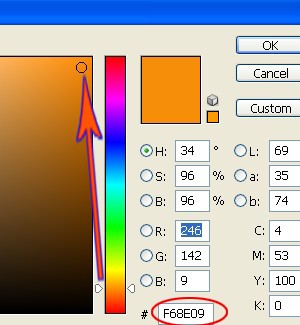
9. When you click on the set foreground color you will get the color picker now choose color code #F68E09 from there.
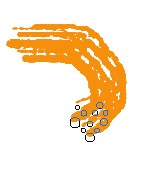
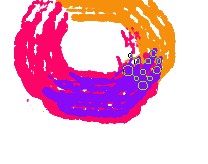
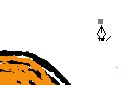
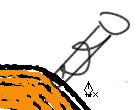
10. Now with the help of the Image below work with the Brush.
11. Here change the color from the Toolbar now choose color #FB0568 and then work with this color and Brush.

12. Take a look at the Image below now choose the color #890AF7.
13. Select background here and then create a new Layer2.


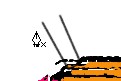
14. In the set foreground color select Black color and use Brush as you can see in the Image below.
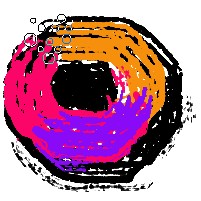
15. Now select White color from the Toolbar and then use Brush Tool and click only once.

16. Select Layer1.
![]()
17. Now select color #5FF60B and use Brush as shown below.

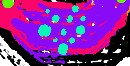
18. Now select Black color and work with the Brush size=20.
19. Now again select the Brush preset and click on the red circle to select the Brush.
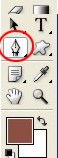
20. Now select Pen Tool from the Toolbar.
21. Now create a new Layer3.
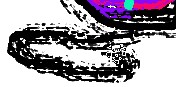
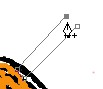
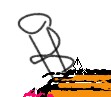
22. Create anew shape with the help of Pen Tool as shown below.
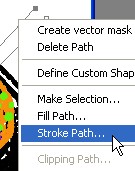
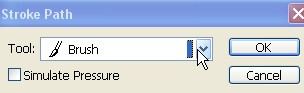
23. Right click > Stroke Path > Brush > click ok and then press the Enter key Before you select Stroke Path select Brush size 5 and foreground color Black from the Toolbar.
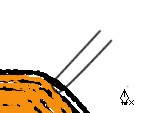
24. Work here with the help of step22 and 23.
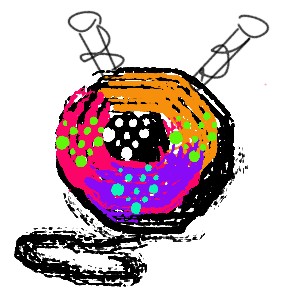
25. Final Image.