


Open a new file (File>New) that would have 450х450px 72dpi.
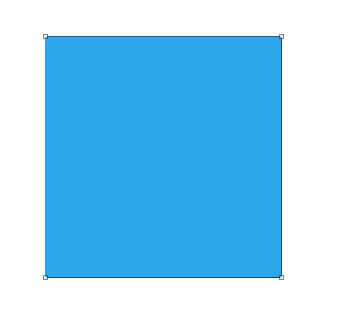
Select after that the Rectangle Tool (U) to represent the primary layer reserved for the icon that would be situated on the central part of the picture. The layer's color is #2BA7ED
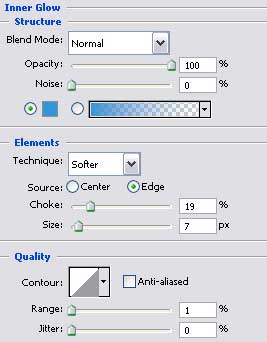
The layer's parameters:
Blending Options>Inner Glow
Blending Options>Stroke


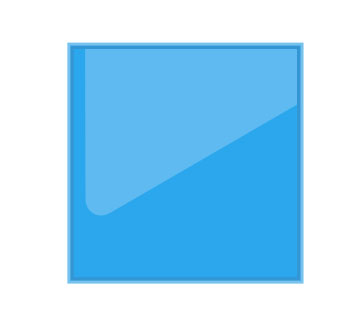
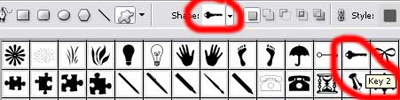
The next demonstrated Custom Shape Tool (U) will help us to choose the cliche we need for our picture. It is encircled with red color in the next presented table.
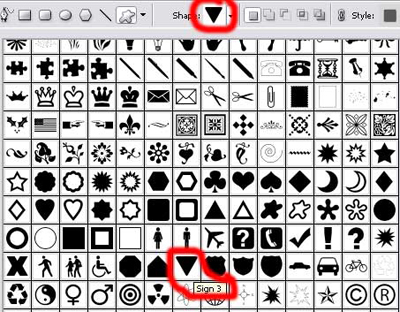
The cliche's color is #5FBAF1
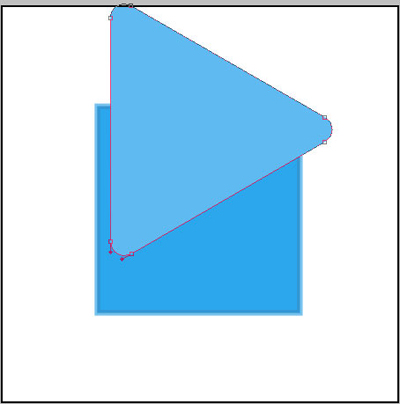
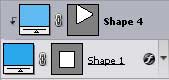
Press Alt button now and make a click between the triangle's layer and the square's one for the layer to be applied in the square's limits.
Using the Custom Shape Tool (U), try to represent a key's silhouette colored in white.
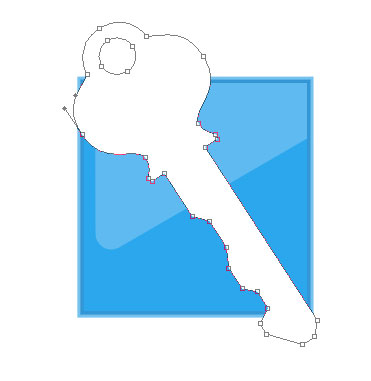
The layer's parameters:
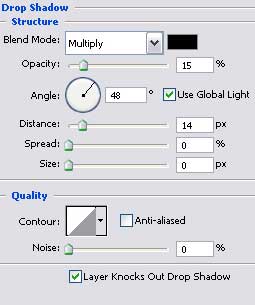
Blending Options>Drop Shadow
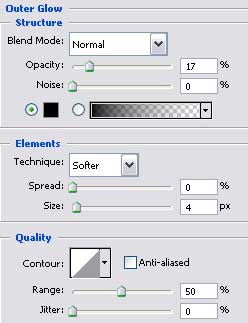
Blending Options>Outer Glow

Apply the here shown Rectangle Tool (U) to represent a stripe to put the key in.

The layer's parameters:
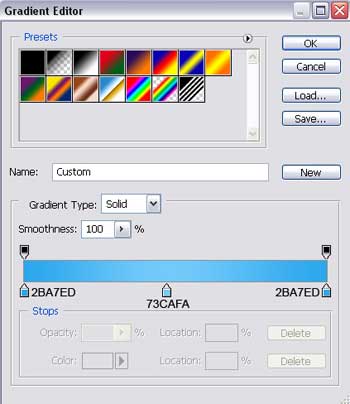
Blending Options>Gradient Overlay
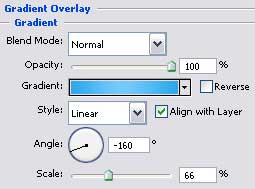
Gradient's parameters:

The last stage includes representing a flare of white color on the upper part of the stripe the key is situated in. the operation may be done with the Line Tool (U).
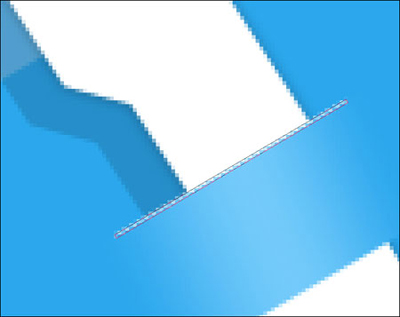
The layer's parameters:
Blending Options>Drop Shadow


The icon is finished!