


Create a new file (File>New) that would have 770x150 px and 72 dpi. Applying the here shown instrument Paint Bucket Tool, it's possible to paint in 2D2D2D.

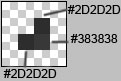
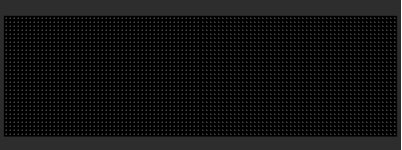
Create a new layer of 4x4 px and 72 dpi and select the Pencil Tool (B) to create the texture shown below for the Pattern.
Save it!
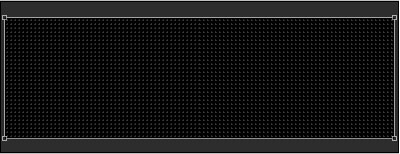
Create a new layer again and choose this time the Rectangle Tool (U) to represent the background reserved for the background of the menu, situated on the site's header. It should have the black color.
The layer's parameters:
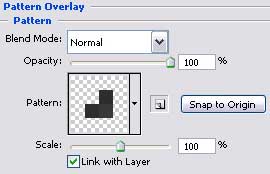
Blending Options>Pattern Overlay
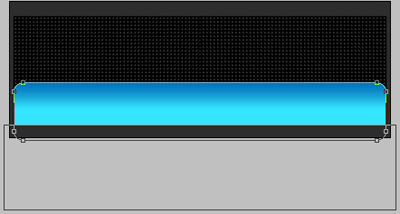
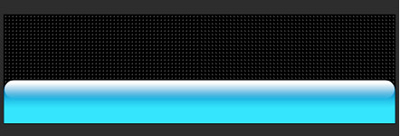
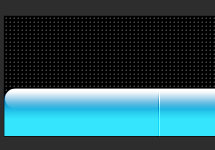
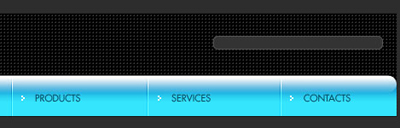
Now we should represent the primary layer of the site's header, applying the Rounded Rectangle Tool (U) and then press the Alt button to cut out the lowest part, selecting the Rectangle Tool (U) also.
![]()
The layer's parameters:
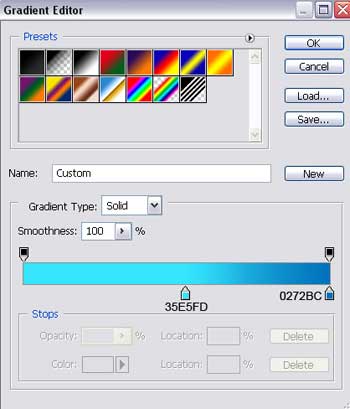
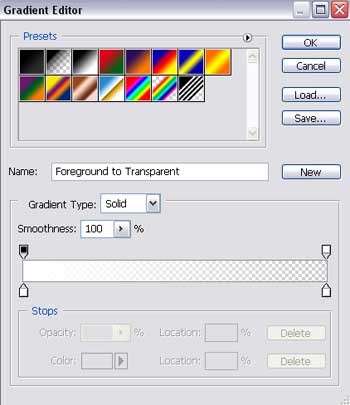
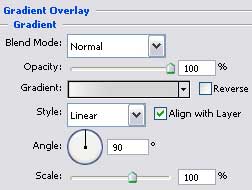
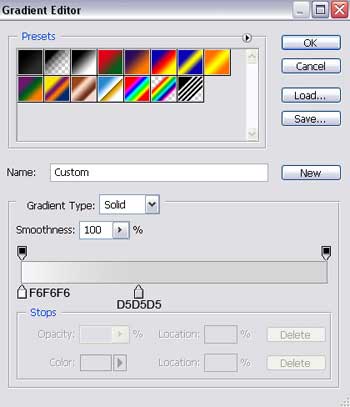
Blending Options>Gradient Overlay

Gradient's parameters:
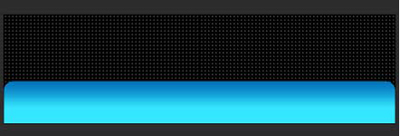
Using the same Rounded Rectangle Tool (U) with the same adjustments, demonstrated earlier, represent a flare along the upper part of the menu's panel.

The layer's parameters:
Fill 0% on the layers.
Blending Options>Gradient Overlay

Gradient's parameters:
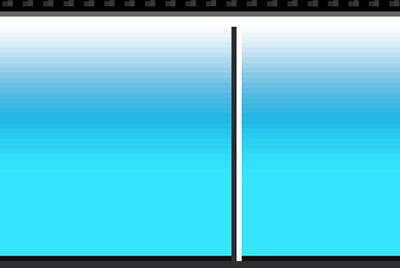
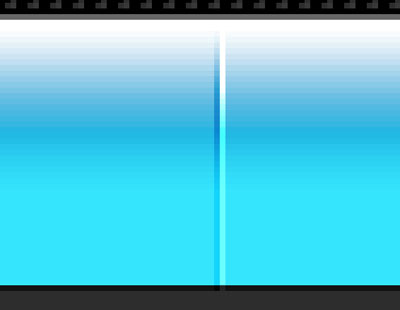
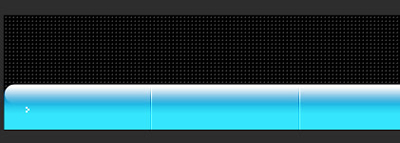
Create a new layer and choose the Pencil Tool (B) to represent a vertical, double, dividing line on the menu's panel. (The first color is #2D2D2D and the second - #FFFFFF)
Apply the here shown parameters for this layer:
Blending Mode-Overlay
Make three copy of the new made layer and select the Free Transform option to place the copies the way it is indicated below:

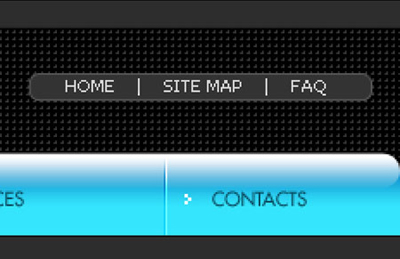
Create a new layer. Select again the Pencil Tool (B) to draw an indicator of white color situated on the left side of the menu's panel.

Make four copies of the new made layer and choose the Free Transform option to place the copies the same way you may see below:

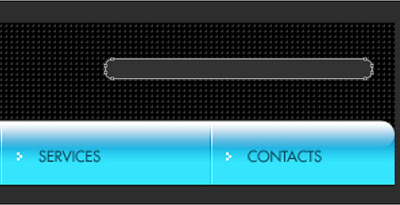
Insert now the titles for the menu's buttons, keeping the demands introduced in the table from here:

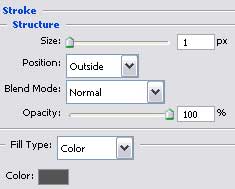
Choose the instrument Rounded Rectangle Tool (U) to create a layer above the right side of the menu's panel, designed for the auxiliary buttons colored with #333333
![]()
The layer's parameters:
Blending Options>Stroke
Insert the titles for the supplementary buttons.
The layer's parameters:
Blending Options>Gradient Overlay
Gradient's parameters:

The final result!