


Begin by creating a new file (File>New) that would have 450x450 px and 72 dpi.
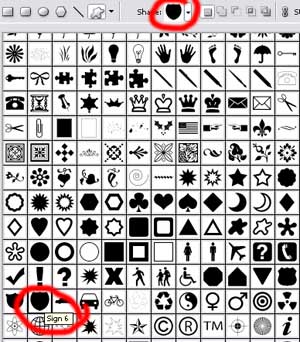
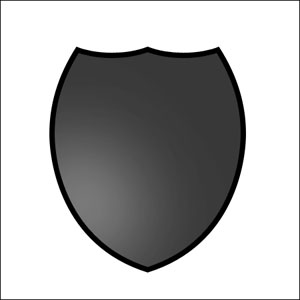
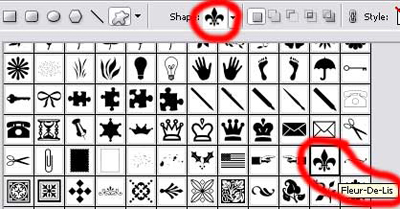
Select after that the Custom Shape Tool (U) and choose from the next table the necessary cliche we want to put in our picture.
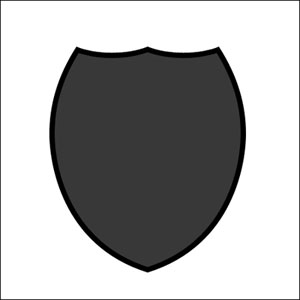
The cliche's color is 383838.
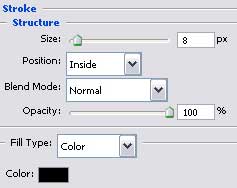
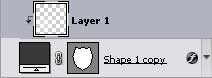
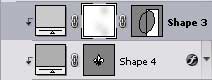
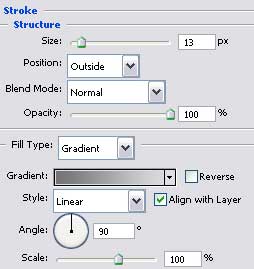
Apply the here shown parameters for the next layer (click with the right mouse's button on the marked layer).
Blending Options>Stroke
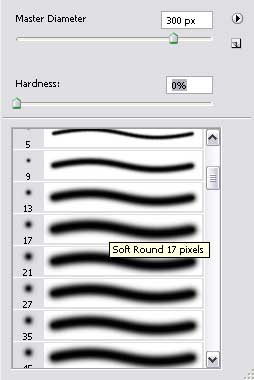
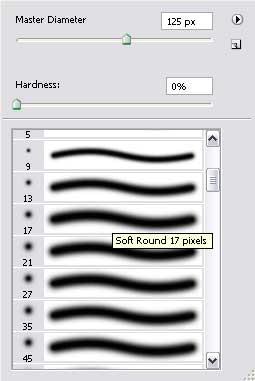
Create a new layer and select a standard brush to represent a flare of white color.
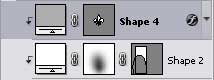
Then press the Alt button and make a mouse's click between the black indicator's layer and the flare's layer and the layer will lay over the indicator.
Choose now the Rectangle Tool (U) and represent a rectangle of white color and then press the Alt button to cut out an ellipse (using the Ellipse Tool (U)).
Click on Add a Mask option on the layers' panel and choose a standard brush (Brush Tool (B)) and Opacity of 10%. Dark out the lowest part of the picture the same way it is shown below:

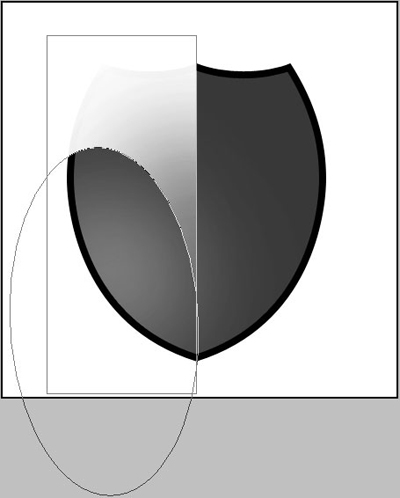
Click on Alt button firstly and then make a click between the flare's layer and the cut out ellipse's layer and the layer will lay over the indicator.
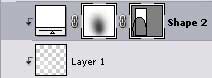

Select again the already known Custom Shape Tool (U) for representing the next indicator's layer.

Set the layer's parameters:
Fill 0% on the layers.
Blending Mode-Overlay
Click also on Alt button, making another mouse's click between the layers and the new layer will be transformed into a mask.
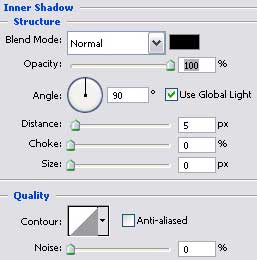
Blending Options>Inner Shadow
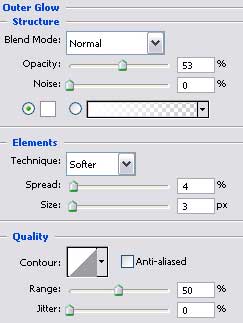
Blending Options>Outer Glow
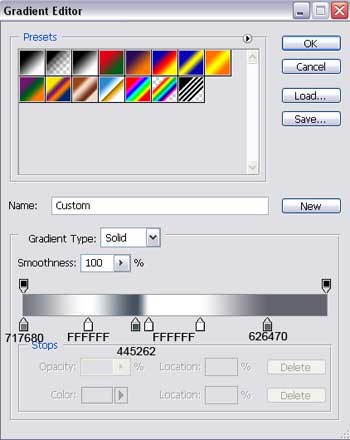
Blending Options>Gradient Overlay
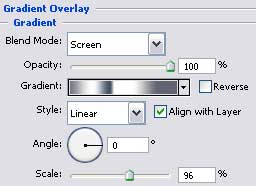
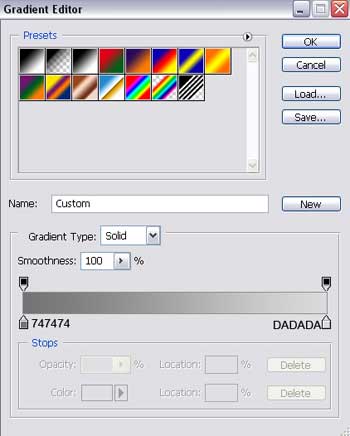
Gradient's parameters:
Choose again the here shown instruments: Rectangle Tool (U) and Ellipse Tool (U) to cut out an ellipse out of the rectangle, having the color E1E1E1. Click on Add a Mask option, applying the Brush Tool (B) for darkening the upper and the lowest parts.
Make a mouse's click between the layers, pressing simultaneously the Alt button and the new layer will be applied on the indicator's limits.

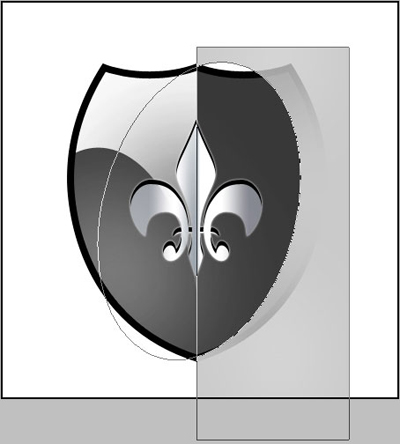
Make a copy now of the first layer (the black indicator created with Custom Shape Tool (U)). Select after that the Free Transform option to make the copy smaller the same way it is demonstrated next image.
Apply the next parameters for the layer.
Fill 0%
Blending Options>Stroke
Gradient's parameters:

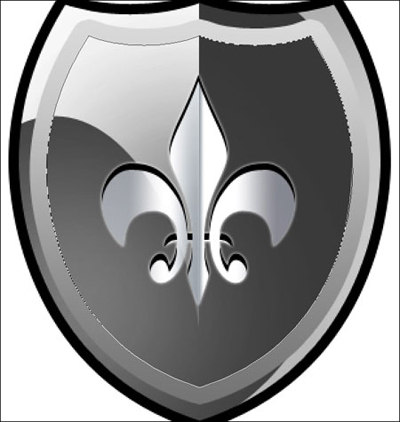
Finished!