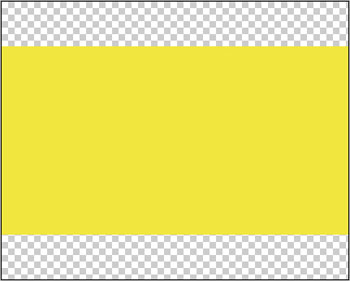
Open a new file with 1280x1024 px and 72 dpi. Apply then the Rectangle Tool (U) to represent a rectangle figure colored in F0E63F.
Using the same instrument and choosing the Free Transform selection, try to represent an inclined stripe under a certain angle.
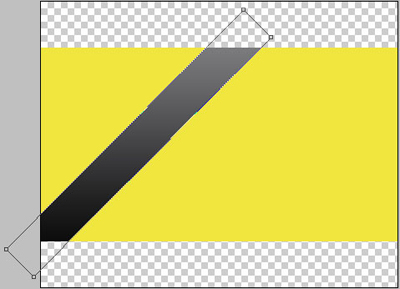
Click on the right mouse's button (pressing in the same time the Alt button) between the stripe's layer and yellow rectangle's layer. The effect will be applied in the yellow rectangle's limits.
Fill 0% on the layers.
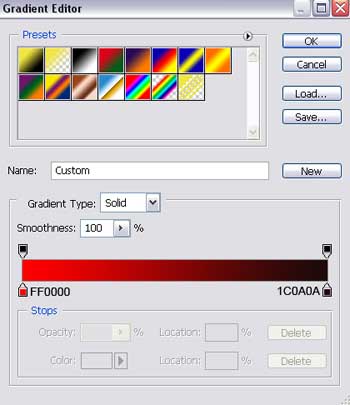
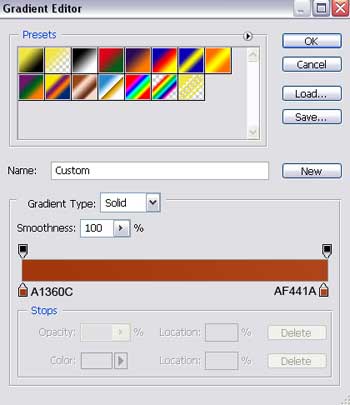
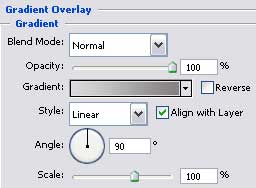
Blending Options-Gradient Overlay

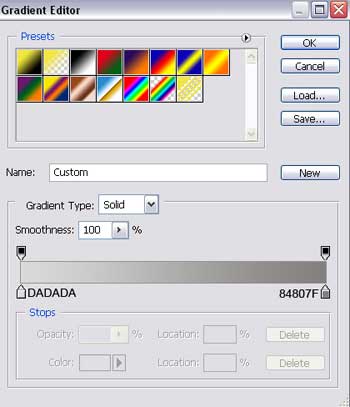
Gradient's parameters:
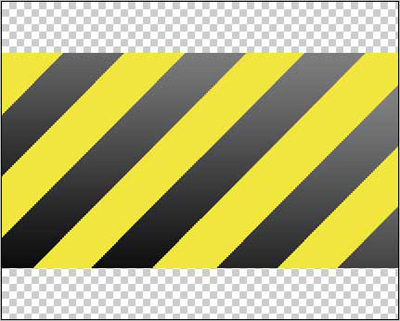
Make four copies of the new made layer and place them the way it is shown on the picture (click between the copies too on the right mouse's button and pressing the Alt button).
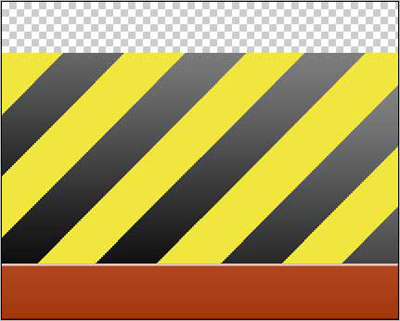
Try to represent now along the lowest empty zone's borders a stripe of rectangle shape, using the same instrument Rectangle Tool (U).
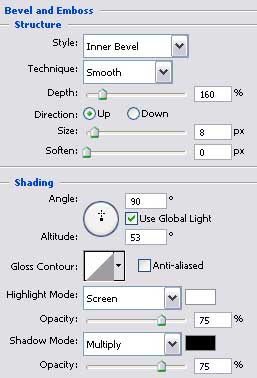
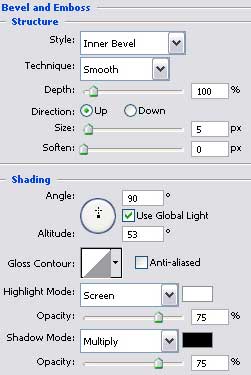
Blending Options-Bevel and Emboss
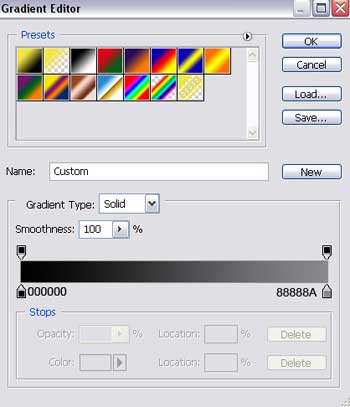
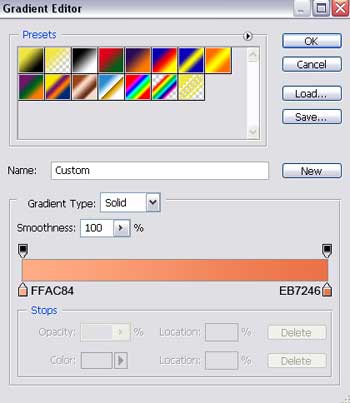
Blending Options-Gradient Overlay
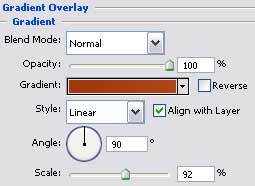
Gradient's parameters:
Using the last instrument, represent now one more stripe situated on the upper part of the picture.

Blending Options-Bevel and Emboss
Blending Options-Gradient Overlay
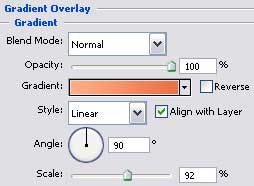
Gradient's parameters:
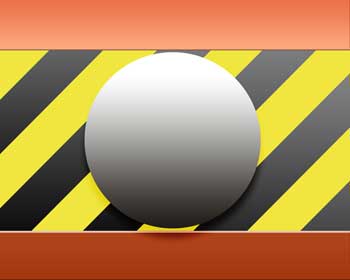
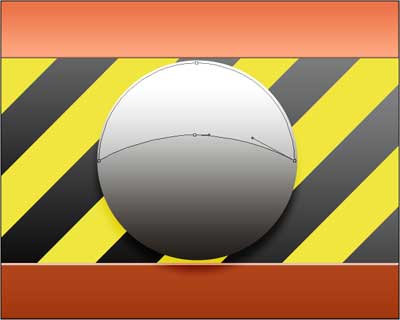
Applying the Ellipse Tool (U) represent the primary layer of the lamp's cover.
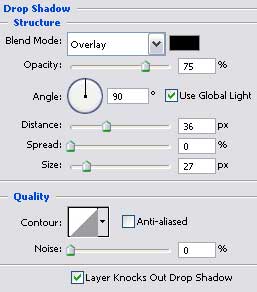
Blending Options-Drop Shadow
Blending Options-Gradient Overlay
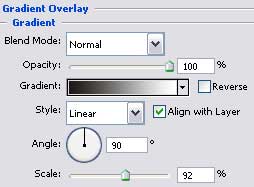
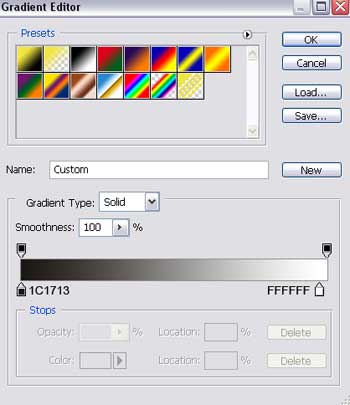
Gradient's parameters:
Using the same instrument, try to represent inside the already made layer a circle of white color. Select the Convert Point Tool to mark out its lowest top and then make a click on it with the right mouse's button to choose the Free Transform Path. It will help us to lift up the top to look the way it is represented below.
Fill 25% on the layers.
Select the same Ellipse Tool (U) to create a layer reserved for the colored lamp's light filter.

Blending Options-Gradient Overlay
Gradient's parameters:
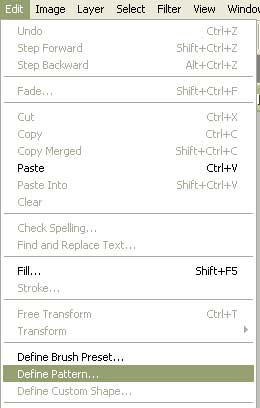
Represent on a new layer of 4x4 px and 72 dpi a kind of element like this one:

It should be done with the Pencil Tool (B) of black color.
Save it!
Pick out again the Ellipse Tool (U) to represent the glass of the lamps' light filter.

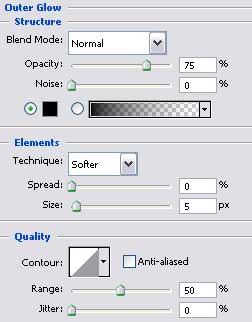
Blending Options-Outer Glow
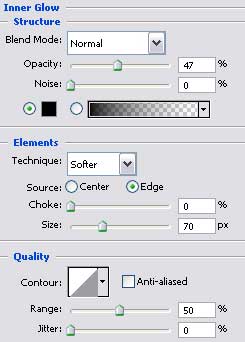
Blending Options-Inner Glow
Blending Options-Gradient Overlay
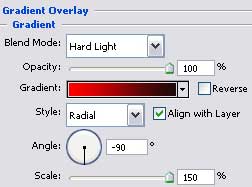
Gradient's parameters: