


Step 1
Create a new document in photoshop that is 100 x 100 in size.
Step 2
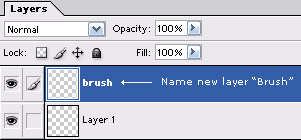
Press Ctrl + Shift + Alt + N on your keyboard to create a new layer.
Name the new layer "Brush" as shown here:
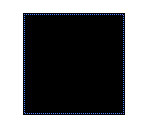
Using the Flood Fill Paint Bucket Tool fill this layer with black (#000000).
Step 3
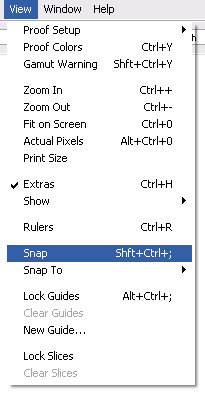
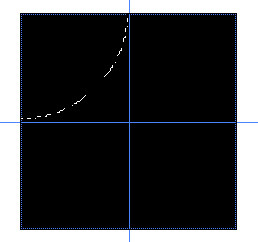
Go to View->Snap On
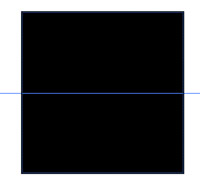
Next press Ctrl + R on your keyboard to turn on the "Rulers" and place guides at the center, horizontally and vertically on your document.
This is done by simply clicking the mouse and holding off the canvas, and dragging inward toward the center:

Step 4
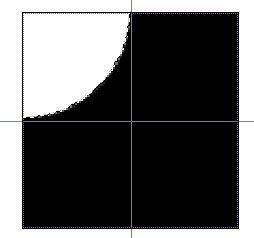
Using the Elliptical Marquee Tool (
 ) hold down the Shift key on your keyboard while dragging from the upper left corner of the canvas to the lower right, to create a circular selection that is the same size as the canvas:

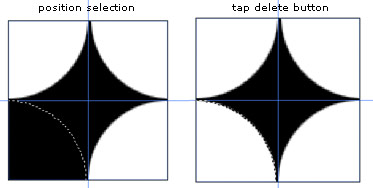
Step 5
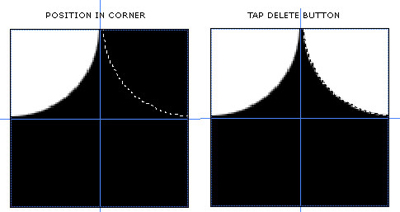
Position the selection area so that it takes up one quadrant:
Tap the DELETE key on your keyboard
Next move the selection to the opposite quadrant, and once again tap the DELETE button on your keyboard:
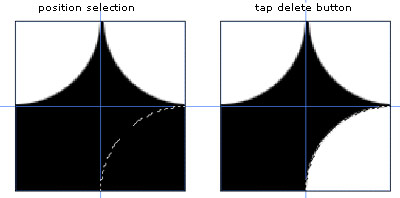
Continue this same process on the bottom two quadrants as well:
Press Ctrl + D on your keyboard to deselect the selection.
Step 6
Finally we'll turn our rounded diamond shape into a brush. This is easily done by going to Edit->Define Brush Preset
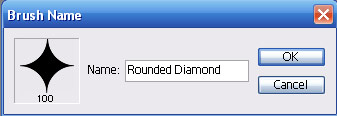
Now our rounded diamond shape has been set as a preset brush that can be used on any of your projects or designs. Simply select the Brush Tool (
![]() ), and selecting it from the assortment of brushes that are loaded:
), and selecting it from the assortment of brushes that are loaded:

I hope you've learned a few new tips when using photoshop and have enjoyed this tutorial.