Create a new file having 1024x768 px and 72 dpi. The next instrument
 will be helpful in representing the primary layer.

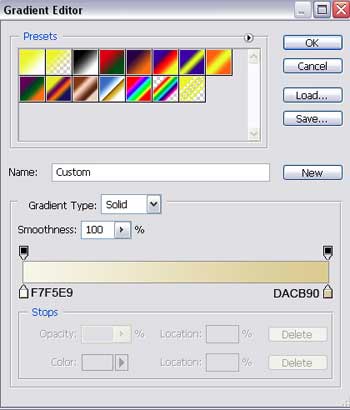
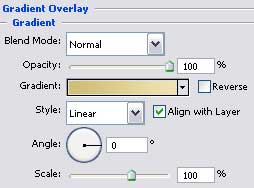
Blending Options-Gradient Overlay
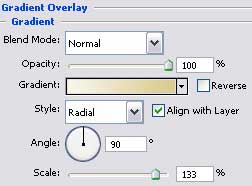
Gradient's parameters:
Select now the indicated tool here
 and try to represent eight rays.
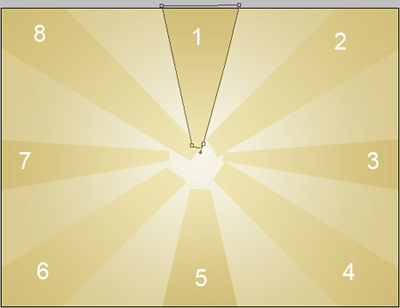

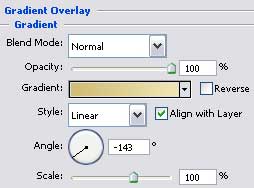
The parameters for the first ray:
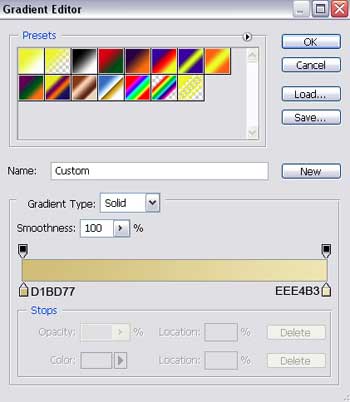
Blending Options-Gradient Overlay

The gradient's parameters are the same for all rays:
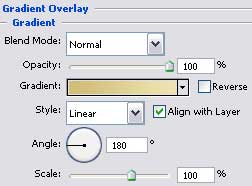
The parameters of the second ray:
Blending Options-Gradient Overlay
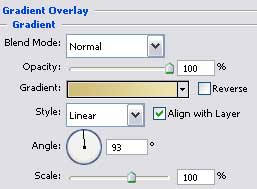
The parameters of the third ray:
Blending Options-Gradient Overlay
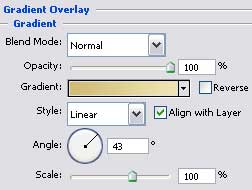
The parameters of the fourth ray:
Blending Options-Gradient Overlay

The parameters of the fifth ray:
Blending Options-Gradient Overlay
The parameters for the sixth ray:
Blending Options-Gradient Overlay
The parameters for the seventh ray:
Blending Options-Gradient Overlay
The parameters of the eighth and last ray:
Blending Options-Gradient Overlay

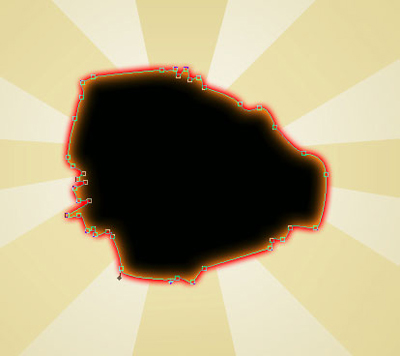
Having the same instrument, try to represent now a hole of black color:

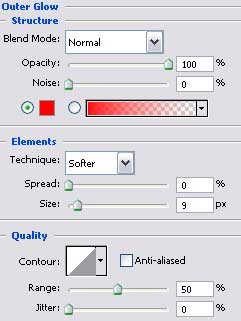
Blending Options-Outer Glow
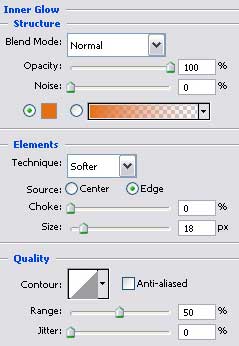
Blending Options-Inner Glow
Create a new layer and select for it a brush with blurred edges and white color to represent several flares on it: