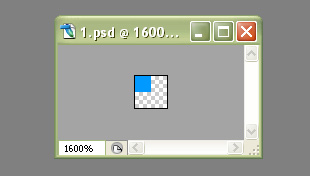
We'll begin this tutorial, by creating a new document with a size of 2 x 2 pixels. Zoom in on the canvas so you can see what you're doing a bit easier.
Choose the "Pencil Tool" and select the color that you wish to use. I chose 0099FF as my color. Create a new layer and delete the background layer. With the "Pencil Tool" setting at 1 pixel in the options bar, click once in the upper left hand corner of the canvas.
Now go to the main menu and select "Image" then "Define Pattern". Give it a name and click OK.
Next, create a new document with a size of 310 x 176 pixels with the background color of your choosing. I chose 041728 as my background color.
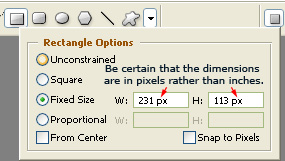
Then, choose the "Rectangle Tool" and use the below settings. If you do not use these settings, you may need to adjust the size of your rectangle later so the outline is around the entire shape.
The below is the path of the rectangle shape only.

Now right click on the rectangle layer and select, "Blending Options...". Now click on "Stroke".
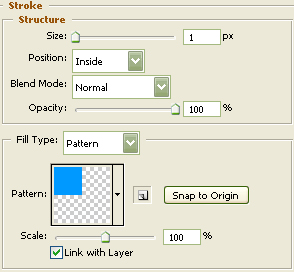
You may now click OK.
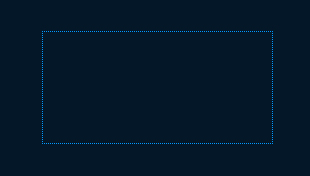
You should now have the below image. Depending on the color of the rectangle that you used, you may need to turn the fill of the rectangle layer down to 0%.
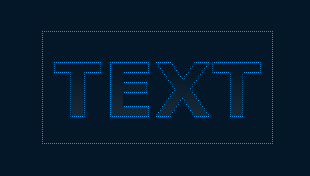
The Results!!!
As you can see, I added some text with the same outline to give you an idea of what can be done with this effect. I also added a gradient to the text and turned the opacity of the gradient down some. Have fun and hope you enjoyed this tutorial.