We'll begin this tutorial, by selecting the "Rectangle Tool". Draw a rectangle as illustrated below. Color doesn't matter.

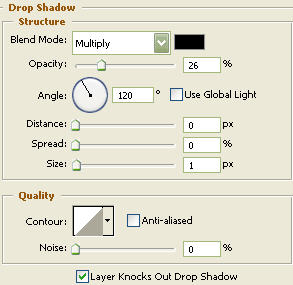
Now that you have your button, you can now right click on the button layer and select, "Blending Options...". Now click on "Drop Shadow".
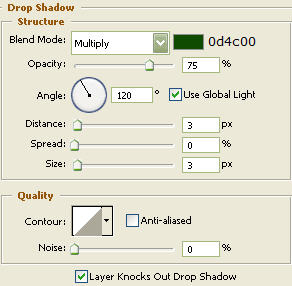
Do not click OK yet... still more to do.
Now click on the "Inner Glow".
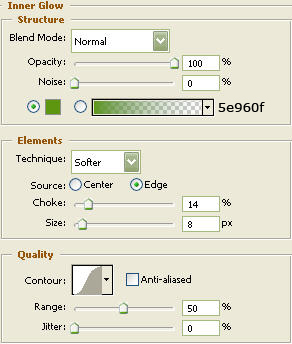
Do not click OK yet... still more to do.
Now click on the "Bevel and Emboss".

Do not click OK yet... still more to do.
Now click on the "Contour".
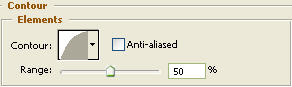
Do not click OK yet... still more to do
Now click on the "Satin".

Do not click OK yet... still more to do.
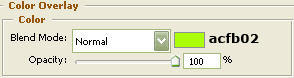
Now click on the "Color Overlay".
Do not click OK yet... still more to do.
Now click on the "Stroke".
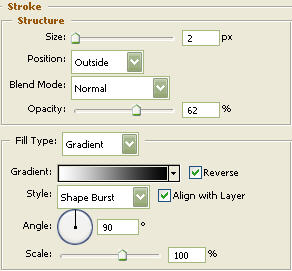
You may now click OK.
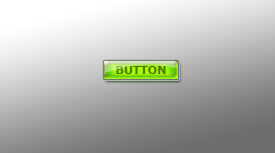
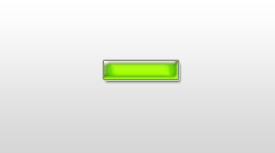
You should now have the below image.
Select the "Text Tool" and use the basic Verdana typeface at a size of 11, Bold as illustrated below.
Now that you have your text, you can now right click on the text layer and select, "Blending Options...". Now click on "Drop Shadow".
You may now click OK.
Now, turn the "Opacity" down to 50%. You should now have the below image.
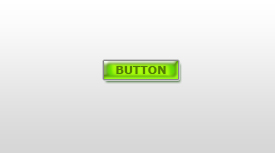
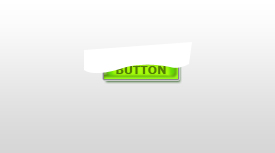
Using the "Pen Tool" draw the below shape with white as your color.
Now hold the "Ctrl"/"Cmd" key in and click on the button layer. Now go to the main menu and click on "Select" then "Modify" and then "Contract." Contract by 2 and click OK. Inverse the selection by going to the main menu and selecting "Select" then "Inverse". Raserize the layer then hit "Delete" on the keyboard then deselect.
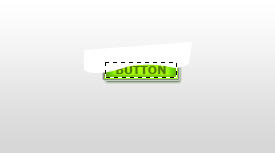
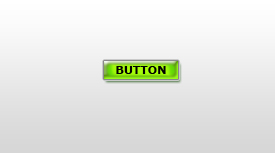
The Results!!!
Turn the opacity down on the glare layer and your done.