Create a new file with 1280x1024 px and 72 dpi. Apply this instrument
![]() to represent the primary layer of the picture to be:
to represent the primary layer of the picture to be:

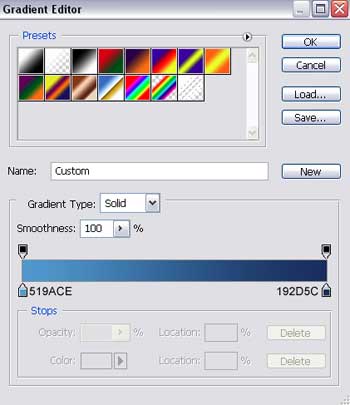
Blending Options-Gradient Overlay
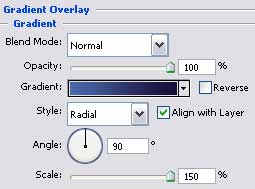
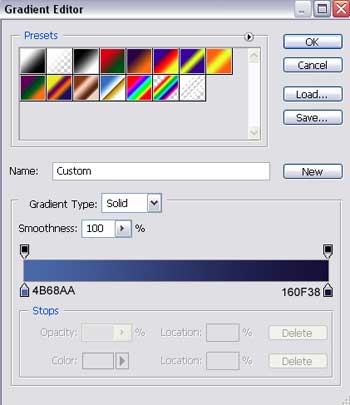
Gradient's parameters:
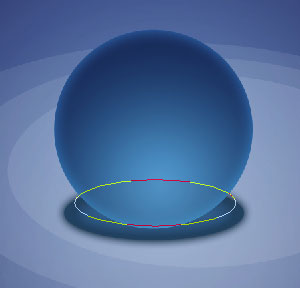
Select now the next tool
![]() to draw an optical effect of object's reflection, having white color.
to draw an optical effect of object's reflection, having white color.

Fill 0% on the layers.
Make two copies of the new layer and select Free Transform option to make the copies smaller a little:

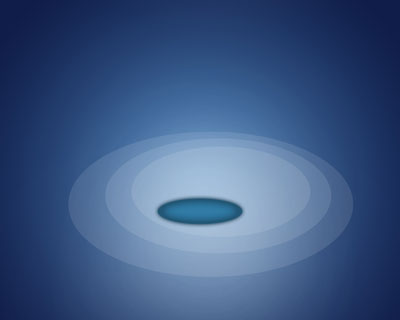
Create a new layer and choose a brush of big size with blurred edges and white color to draw a kind of flare on the layer:

Choose the next tool
![]() to create this time the sphere's shadow, colored in 386A9C.
to create this time the sphere's shadow, colored in 386A9C.
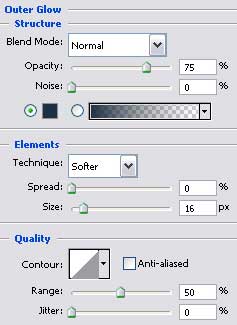
Blending Options-Outer Glow
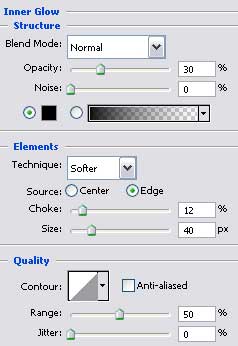
Blending Options-Inner Glow
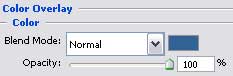
Blending Options-Color Overlay
Select the previous instrument
![]() to represent the primary sphere's layer:
to represent the primary sphere's layer:

Fill 0% on the layers:
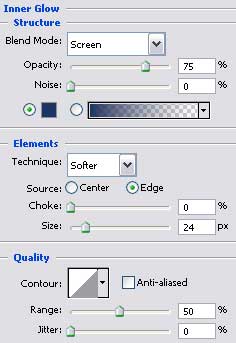
Blending Options-Inner Glow
Blending Options-Gradient Overlay

Gradient's parameters:
Using the already known instrument
![]() , represent a layer reserved for shadow's smooth appearing, colored in 313F58, having the same sizes the shadow has.
, represent a layer reserved for shadow's smooth appearing, colored in 313F58, having the same sizes the shadow has.