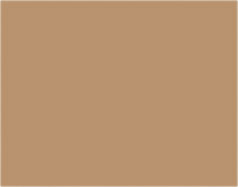
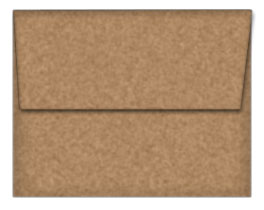
Start by creating this shape by creating a new layer, selecting through Rectangular Marquee tool and filling the selection with # B9936F color:
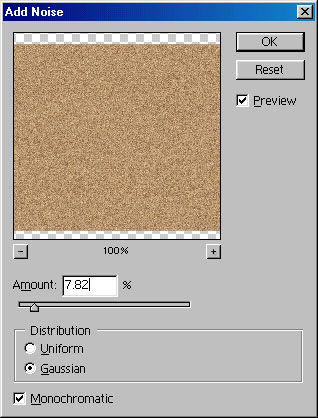
Go to Filter > Noise > Add noise and apply these values :
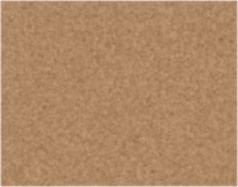
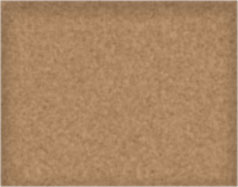
Also, go to Filter > Blur > Gaussian blur and blur it 1 pixel. Image after applying noise and gaussian blur :
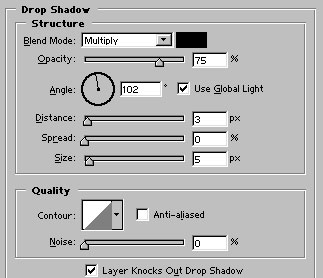
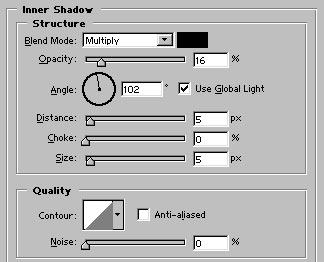
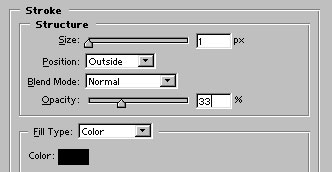
Apply these layer styles :
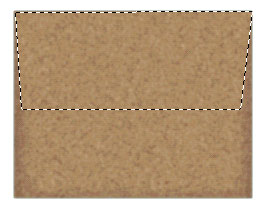
Similarly, make a new selection after creating a layer with polygonal lasso tool. Fill color and filters will be the same as we applied previously :
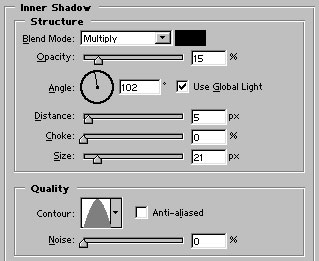
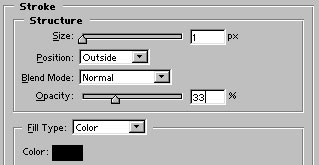
Now apply these layer styles :
Our envelop is ready :
Now, create this shape with ellipse tool. Use #C80100 color to fill the shape :

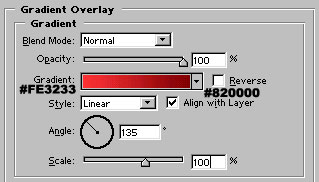
Duplicate this layer by pressing control+j. Press control+t to transform the shape and slightly reduce the size (around 2 pixels smaller than the first circle). Apply gradient overlay as shown :

Create a third circle as shown. Use #C80100 color for it :

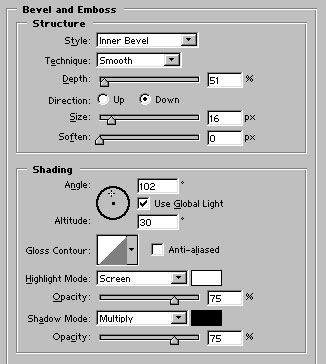
Draw a star shape with #C80100 color. The shape is present in Autoshapes. Apply Bevel and Emboss as shown :

Draw some lines with 2 pixel brush having #C80100 color :

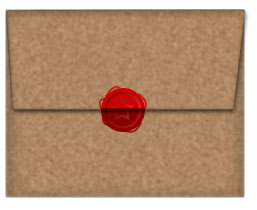
Group and merge all the seal layers. Select the lower middle part of the wax seal layer. Press shift+control+j to have a layer via cut. Change this layer's blending mode to multiply. Our wax sealed envelope is ready to be opened :)