


Create a new file, having 1280x1024px and 72 dpi. Next we have to select the Paint Bucket Tool (G) and paint it in the next shown color - A53B01.

Take now the Pen Tool (P) and represent five rays of triangle shape, colored in EB7F01.
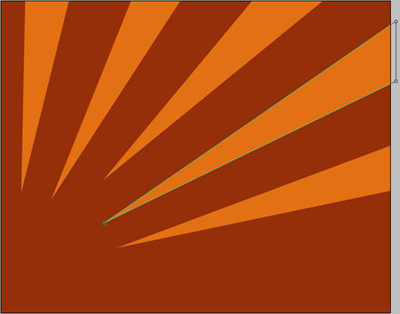
Applying the same instrument used earlier, its possible to represent five wavy stripes.

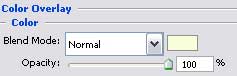
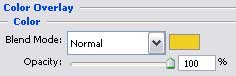
Blending Options-Color Overlay (the same parameter)
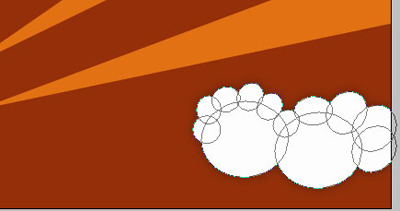
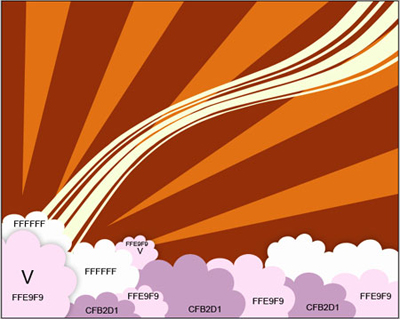
Applying a different instrument now: Ellipse Tool (U) and pressing the Shift button, we have draw a kind of cloud of white color.
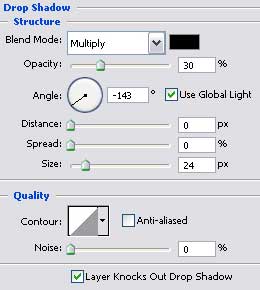
Blending Options-Drop Shadow
Draw the same way several more clouds of different colors, but only the marked ones (V) have the same parameter demonstrated above:

Choose the Custom Shape Tool (U) and select the next shown cliche - that one demonstrated in the next table.
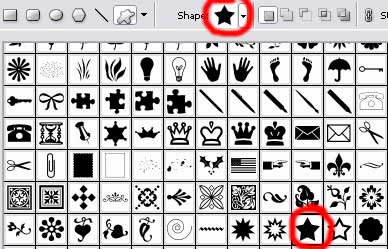
Applying the indicated parameter, draw a star, like that one from below:
Blending Options-Color Overlay


Make sixty-four copies of the new made layer and select the Free Transform option to change the copies' sizes and their angle of placement. Everything should look the way it is shown on the picture below:

Applying the same instrument, choose the next element, encircled with red color.
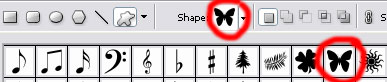
Applying the appropriate parameters, draw a butterfly of white color, looking like that one from next image.
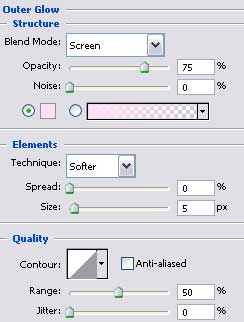
Blending Options-Outer Glow
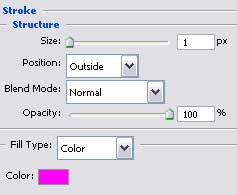
Blending Options-Stroke

Turn the butterfly over, selecting the usual option for this manipulation - Free Transform

Make twenty - seven copies of the butterfly's layer, the way we did with the star's layer. Apply next the Free Transform option to change the size of each copy, for them to look exactly the same way it is indicated below.

The final result!