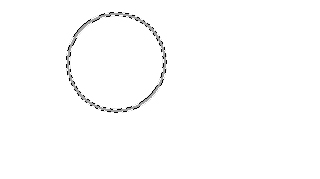
To begin, select the "Custom Shape Tool" and draw the following shape with a5a5a5 as the color. If the below shape is not in the Custom Shape Palette, click the little arrow in the upper right hand corner of the palette and select "All". Then hit "Append".

Now, "Ctrl" click the shape layer to create a selection then go to the main menu and click "Select" then "Modify" and "Contract" by 1 pixel. Do this twice. Next, create a new layer, then go to the main menu and select "Edit" then "Fill". Choose White and click "OK".
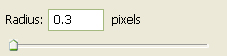
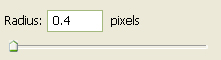
Delected the selection then go to the main menu once again and click "Filter" then "Blur" and lastly "Gaussian Blur" and use the below settings.
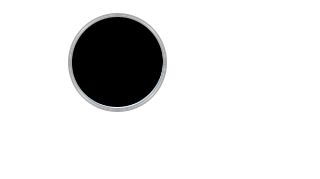
You should now have the following:

Next, select the "Elipse Tool" and draw a circle as I have done below. Color does not matter. Place this layer below the first two layers and turn the Fill down to 0%.
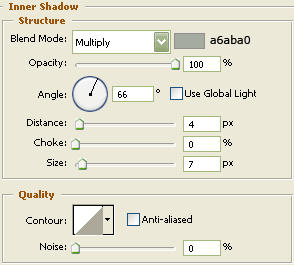
Now right click on the circle layer and select, "Blending Options...". Now click on "Inner Shadow".
Don't click OK as of yet...still more to do.
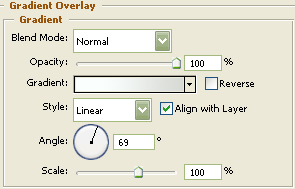
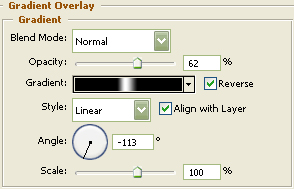
Now click on "Gradient Overlay".

You may now click OK
You should now have the below image.

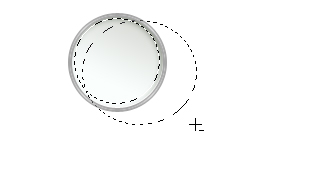
Now, "Ctrl" click the shape layer to create a selection then, select the "Eliptical Marquee Tool" and while holding the "Alt" key in on your keyboard, make another selection to rid the majority of the selection as shown below. Create a new layer then fill with White and deselect.
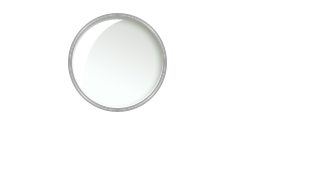
You should now have the following:
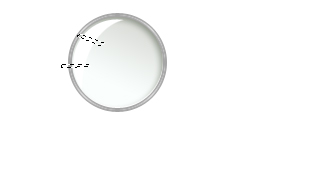
Now grab the "Polygonal Lasso Tool" and make the following selections. After making the first selection you will need to hold in the "Shift" key in on the keyboard to make another selection. Hit "Delete" on your keyboard and then deselect. Then turn the Fill down to 43%.
Next grab the "Line Tool" at 10 pixels and draw the following shape with White as the color.
Now right click on the line layer and select, "Blending Options...". Now click on "Gradient Overlay".

You may now click OK.
You may need to angle the line layer to get the gradient so it looks like the following:

Grab the "Line Tool" at 18 pixels and draw the following shape with Black as the color.

Now right click on the line layer and select, "Blending Options...". Now click on "Color Overlay".
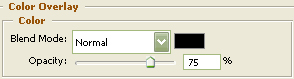
Don't click OK as of yet...still more to do.
Now click on "Gradient Overlay".
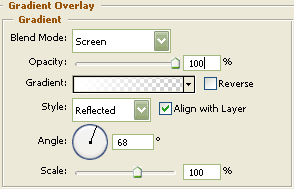
You may now click OK.
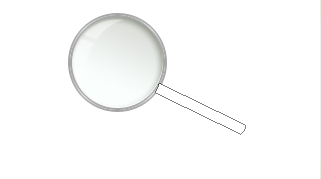
You should now have the below image.

Next grab the "Line Tool" at 1 pixels and draw the following shape with White as the color.

Then go to the main menu and select "Filter" then "Blur" and lastly "Gaussian Blur" and use the setting below.
You should now have the below image.

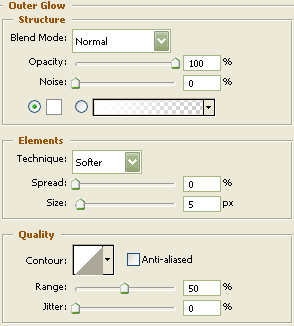
Now right click on the blurred layer and select, "Blending Options...". Now click on "Outer Glow".
You may now click OK.
Turn the Opacity down to 62% to get the below.

Now, "Ctrl" click the main shape layers to create a selection around the whole of the magnify glass. After the first selection is made, you will need to hold in the "Shift" key again to add to it. Once the selections have been made, go to the main menu and click "Select" then "Modify" and "Contract" by 2 pixels. Move the selection down as I have done, then create a new layer and place beneath all layers except the background layer. Fill with Black and deselect.

Then go to the main menu and select "Filter" then "Blur" and lastly "Gaussian Blur" and set it at 0.8. Turn the Opacity on that layer down to 43%.

The Results!!!
I've added some text but otherwise this tutorial is done. Hope you liked it.