


1. Open a New Image (File>New) and pick a size. I used 500 x 500 in the original image.
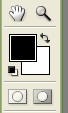
2. Set your foreground colour to black and your background colour to white:
Now just follow the picture instructions:
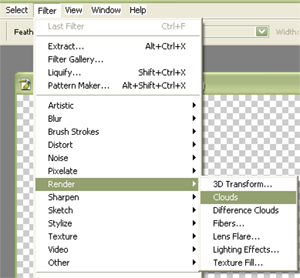
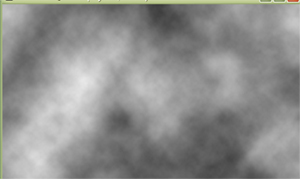
Filter>>Render>>Clouds
Filter>>Pixelate>>Mosaic
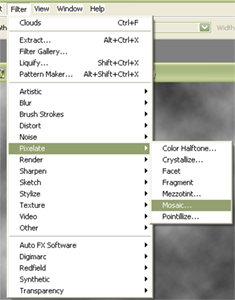
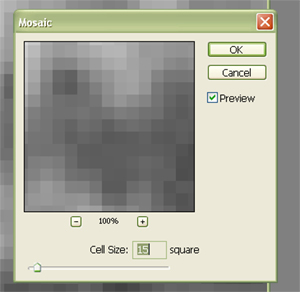
Setting: 15
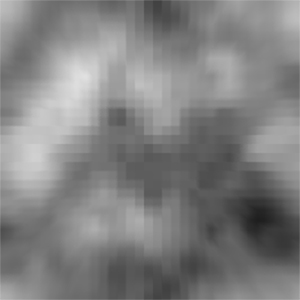
Filter>>Blur>>Radial

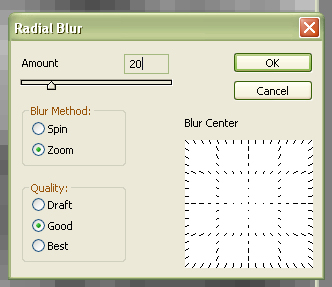
Setting: Zoom, Good, 20
Filter>>Brush Strokes>>Accented Edges
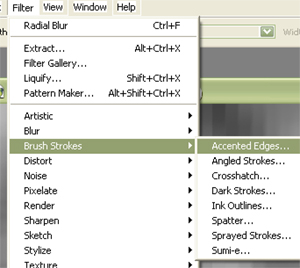
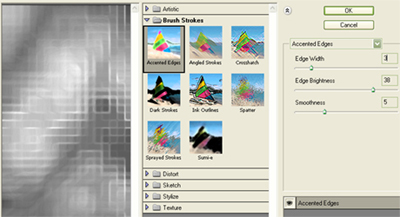
Settings on the right are 3, 38 and 5 if you can't quite see them
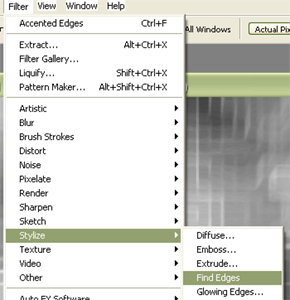
Filter>>Stylize>>Find Edges
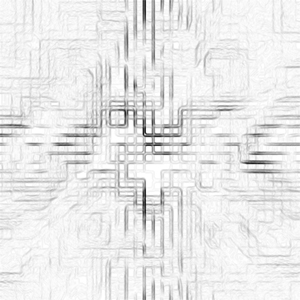
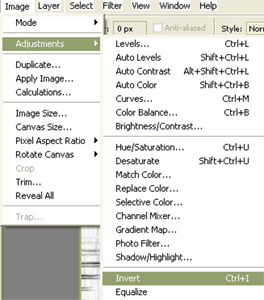
Image>>Adjustments>>Invert
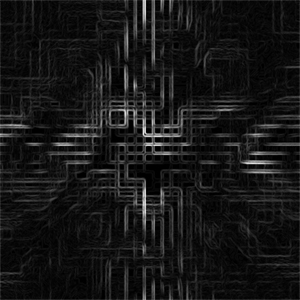
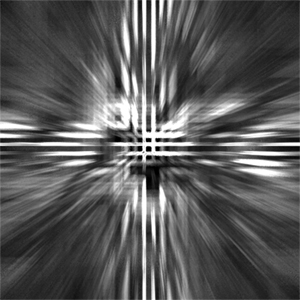
Add some more Radial Blur (Filter>>Blur>>Radial)
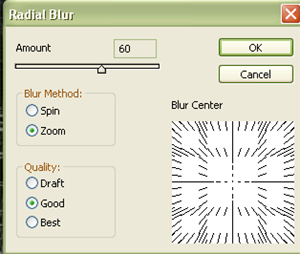
Settings: Zoom, Good, 60

Now follow these last few steps:
Image>>Adjustments>>Levels

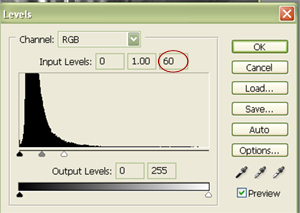
In the third input box, enter "60"
Image>>Adjustments>>Contrast
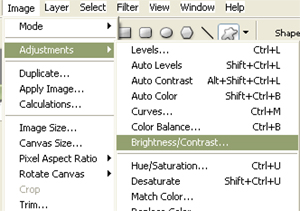
Setting: Contrast +30

Now add some colour:
Image>>Adjustments>>Hue & Saturation
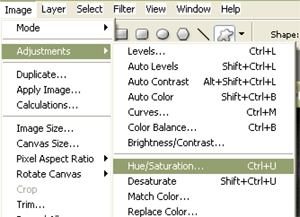

Make sure you have "Colourize" checked so you can see a preview of your colour settings on your image.
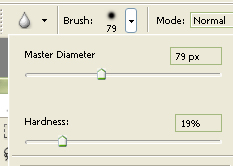
Then, because I don't like grainy images, I went over the image with the blur brush set at 19% hardness; the size of the brush doesn't matter, I had mine set to fairly large to cover more area at once.
Finished image:
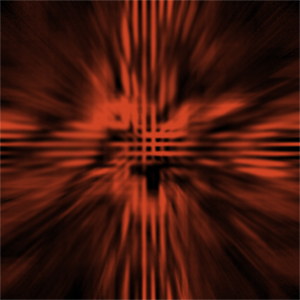
You can change the settings as you go, to see what kinds of different effects you can achieve with these filters. Post some replies if you try this tutorial, let us see what you did.