1. Make a 400x400 document. Now press "D" on your keyboard to reset the foreground and background colors to black and white. Make sure your background is black.
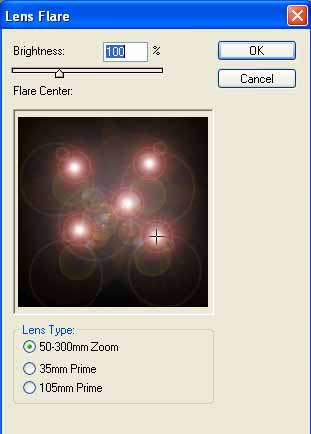
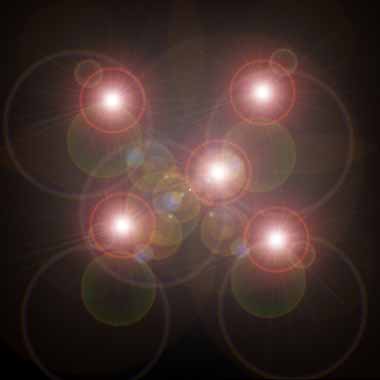
2. Go to Filter>Render>Lens Flare. You want to add a few lens flares, so space them out in the middle of the canvas:
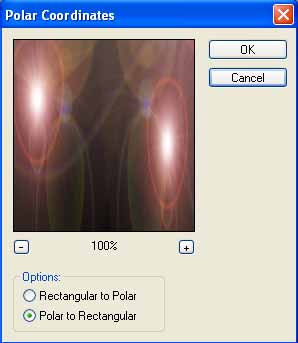
3. Go to Filter>Distort>Polar Coordinates and use these following settings:
Now add your Hue settings. Use whatever you suits you best. I used a orangish color for mine. I also bumped the saturation up to +75. To add color press Ctrl+U.

4. Duplicate the layer and apply the duplicated layer's blending mode to Linear Light.
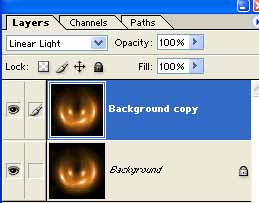
Now press Ctrl+E to merge the 2 layers together.
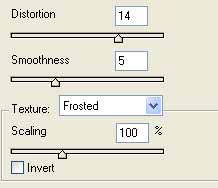
5. Now go to Filter>Distort>Glass and apply these settings:
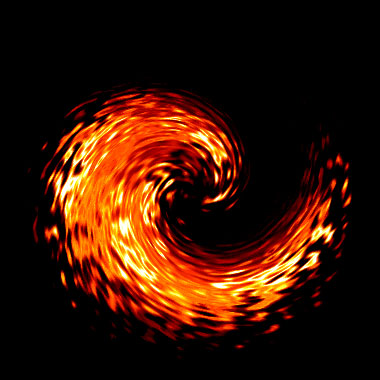
Apply Filter>Distort>Twirl with these settings:
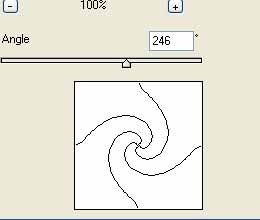
There we go, here is my quick abstract twirl: