1. Make a 400x400 document. Now press "D" on your keyboard to reset the foreground and background colors to black and white. Make sure your background is black.
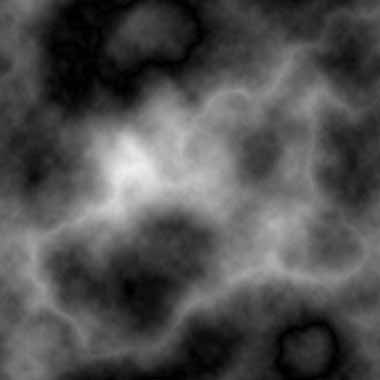
2. Make a new Layer. Now apply Filter>Render>Clouds then Filter>Render>Difference Clouds press Ctrl+F a few times on the new layer. The trick is to get more white area then black.
3. Now select the Eraser tool and go to the top and select the Soft Round eraser brush type:
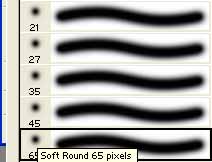
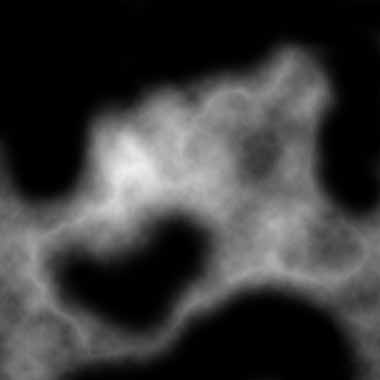
Erase the dark areas leaving the whiter vibrant areas. You want to remove a lot of the dark area as much as possible. Here's mine after erasing:
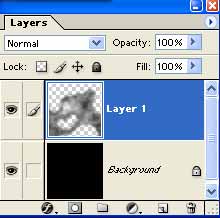
Make sure your still on track, your Layers window should be like mine:
4. Apply Filter>Artistic>Plastic Wrap to the Clouds layer. Use these settings:

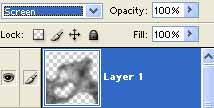
Set the Layer Blending option to Screen.
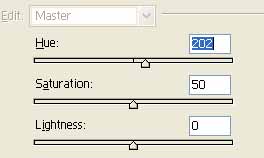
Press Ctrl+U and apply these settings:
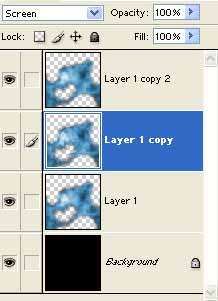
5. Right click the layer and duplicate it 2 times. Leaving you with 3 layers with blending mode set to Screen.
Select the middle Layer:
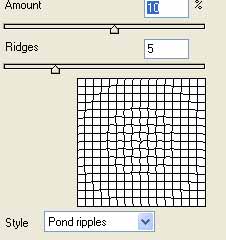
Apply Filter>Distort>Zig Zag and use these settings:
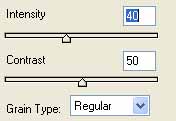
6. Select the black background layer and apply Filter>Texture>Grain and use these settings:
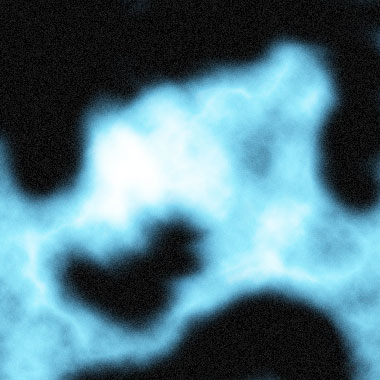
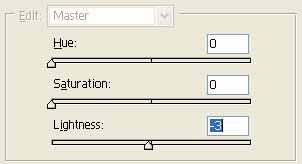
Press Ctrl+U and apply:
Your done! Here's my final effect: