1. Make a 400x400 document. Now press "D" on your keyboard to reset the foreground and background colors to black and white. Make sure your background is black.
2. Now select the Gradient Tool and select the Transparent Rainbow Gradient.
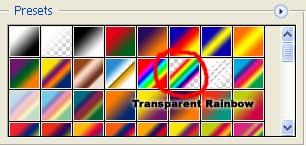
Use the default settings and click OK.
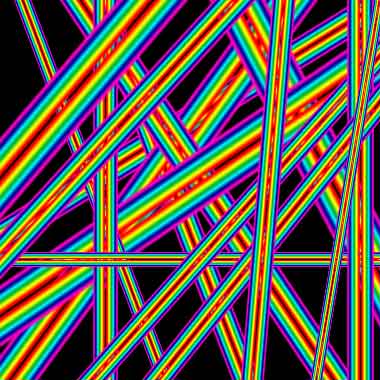
3. Now you want to fill the canvas area in as much as you can, leave a little of the black background, but not to much.
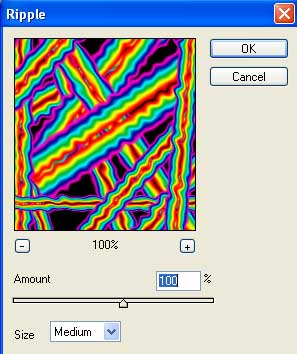
4. Now apply Filter>Distort>Ripple and use these settings:
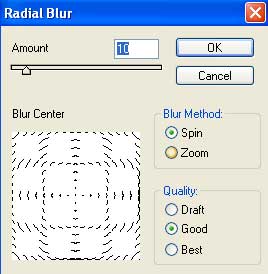
Apply Filter>Blur>Radial Blur and check off these settings:
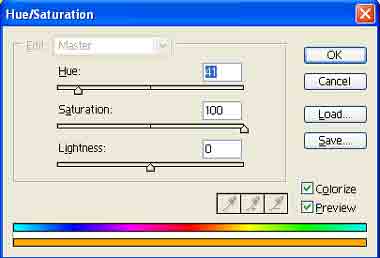
5. Duplicate the layer and set the blending mode to Overlay. Apply these Hue settings to the Background Layer:
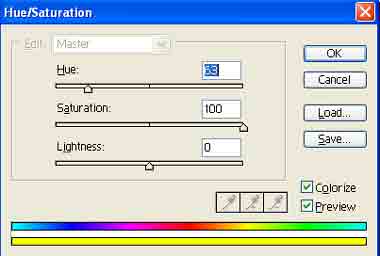
Apply these Hue settings for the Background Copy (duplicated layer):
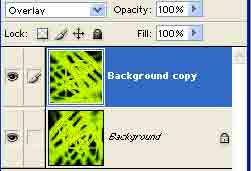
Click the top layer and press Ctrl+E to merge the 2 layers together.
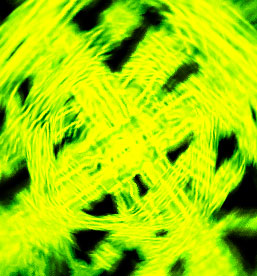
6. Now duplicate the layer again and go to Edit>Transform>Rotate 90 CW. Apply Overlay as the blending option for the duplicated layer.
Your finished. Here's my final effect: