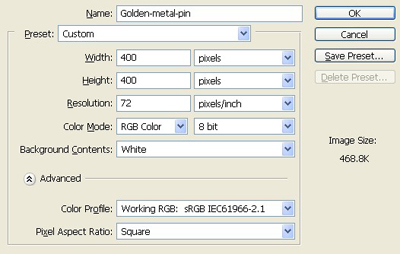
1. Take a new file of 400 pixels,400 pixels, of resolution 72 dpi in the RGB mode.
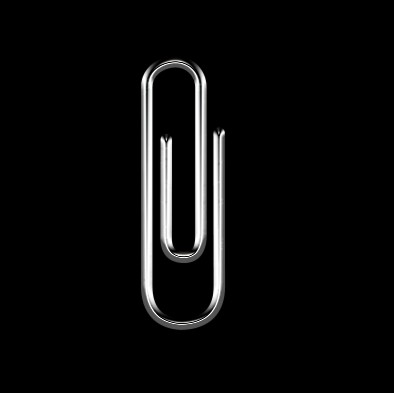
2. Make a shape of pin with the pen tool as I have done here.
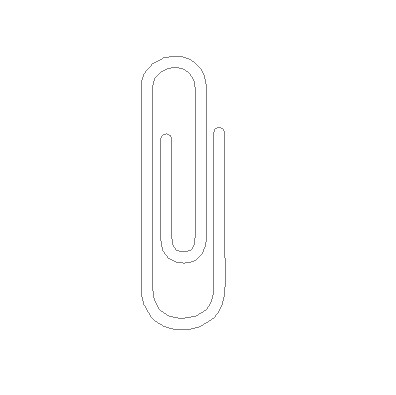
3. Fill the black colour to the background and white colour to the pin.

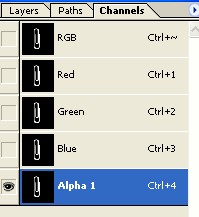
4. Select all and press the Ctrl+Shift+C to copy merged.

5. Goto channel and make a new layer and paste it.
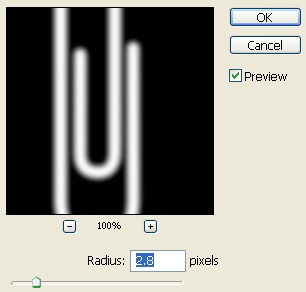
6. Goto Filter > Blur > Gaussian blur and apply the settings which are given below.
7. Make the colour as given below.
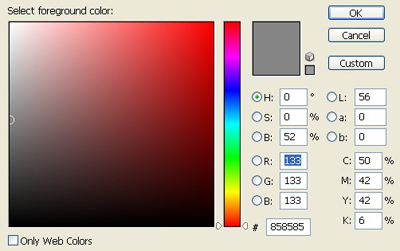
8. Make a new layer and fill the colour to it.

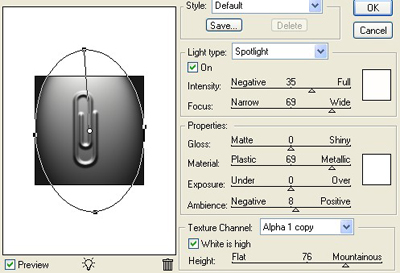
9. Goto Filter > Render > Lightening effect and apply the setting which are given below.
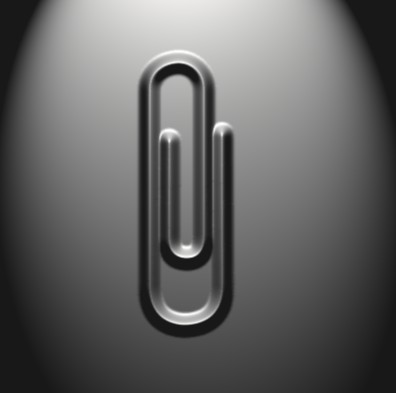
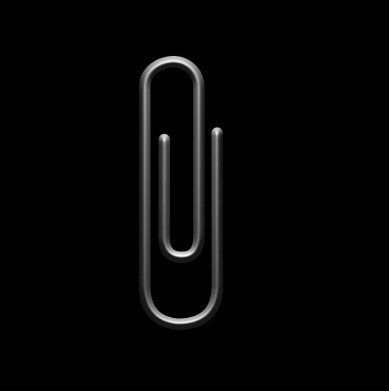
10. Your image will be like this.
11. Press on the layer with Ctrl and make selection then make copy paste in a new layer.
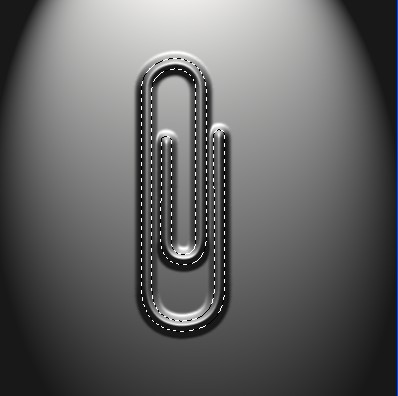
12. Your image will be like this.
13. Now use the curve and apply the settings which are given below.
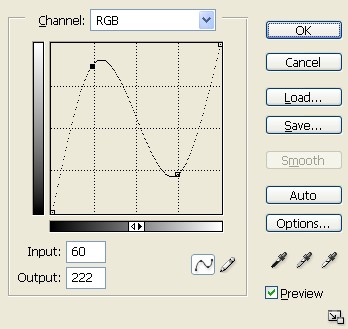
14. Your image will be like this.
15. Press the Ctrl+Shift+L to make it more real.
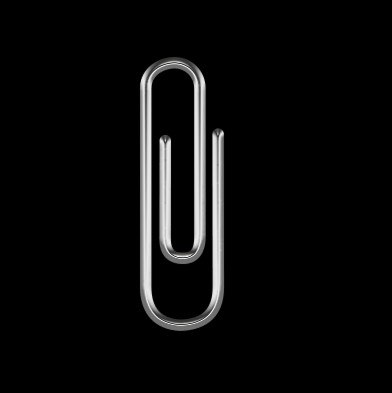
16. Now goto Image > Adjustment > Selective colour and apply the settings which are given below.
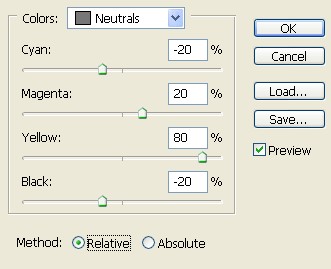
17. Your image will be like this.
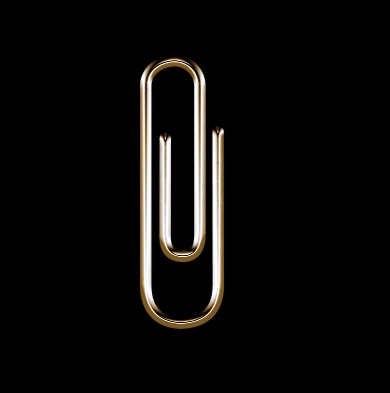
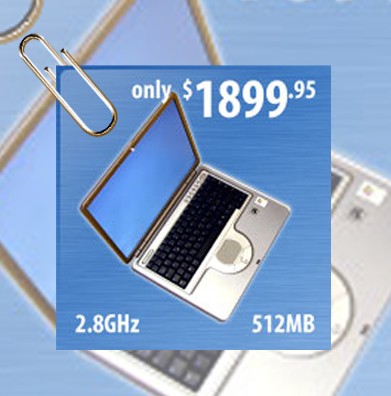
18. Now your pin is ready to use set it on a photo and select the area which is shown in the image below.
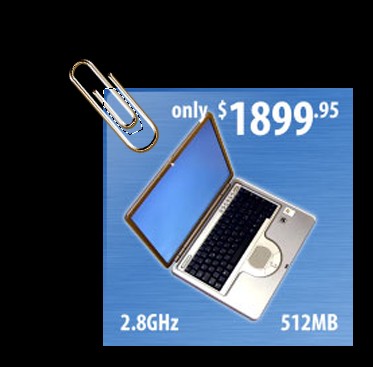
19. Delete the area from the selection.
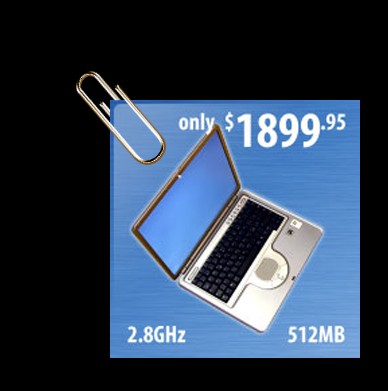
20. Apply the settings as mine and your image will be like this.