We'll begin this tutorial, by creating a new canvas at a size of 300 x 225. Double click the background layer in the Layers Palette and click OK. Doing this will unlock the layer for the next step.
Now right click on the background layer in the Layers Palette and select, "Blending Options...". Now click on "Gradient Overlay".

You may now click OK.
You should now have the below image.

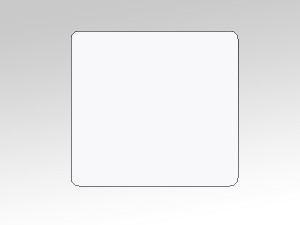
Next, grab the "Rounded Rectangle Tool" and draw a rectangle with a radius of 8 pixels with f8f8f9 as the color. Name this layer "Photo Back" in the Layers Palette.
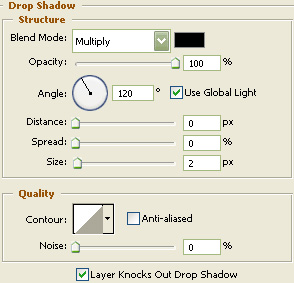
Now right click on the "Photo Back" layer in the Layers Palette and select, "Blending Options...". Now click on "Drop Shadow".
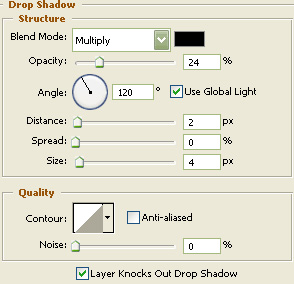
Do not click "OK" yet. Still more to do.
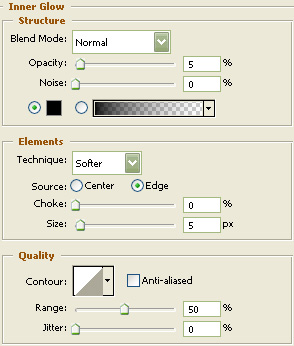
Now click on "Inner Glow".
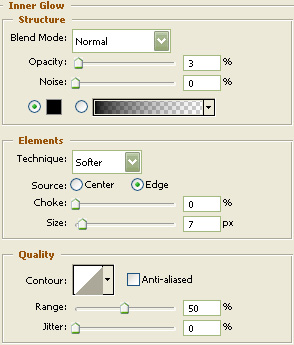
Do not click "OK" yet. Still more to do.
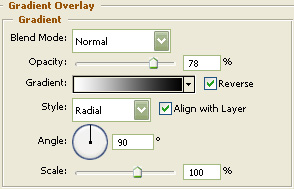
Now click on "Gradient Overlay".

You may now click OK.
You should now have the below image.
Next, grab the "Rectangle Tool" and draw a rectangle. Color does not matter at this point. It will be covered with an image. Name this layer "Image holder" in the Layers Palette.
Now "Ctrl" click the "Image holder" layer in the Layers Palette to create a selection around it. Open the image you would like to place into your new photo window and with a selection tool chosen, drag from the middle of the selection from the photo window canvas to your image canvas. Now the selection is on the image canvas. Put the selection where you would like it then drag using the move tool back to the photo window canvas while holding in the "Shift" key on your keyboard. This will center the image into the previously made selection.
Now right click on the image layer in the Layers Palette and select, "Blending Options...". Now click on "Outer Glow".
You may now click OK.
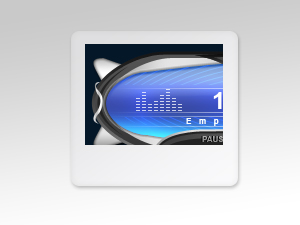
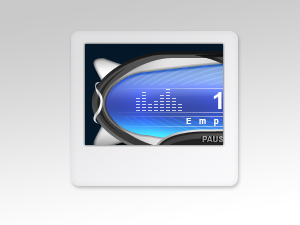
You should now have the below image.
Next, grab the "Rounded Rectangle Tool" and draw a rectangle with a radius of 100 pixels with 454545 as the color. Name this layer "Text Back" in the Layers Palette.
Now right click on the "Text Back" layer in the Layers Palette and select, "Blending Options...". Now click on "Inner Shadow".
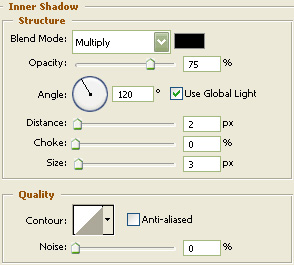
Do not click "OK" yet. Still more to do.
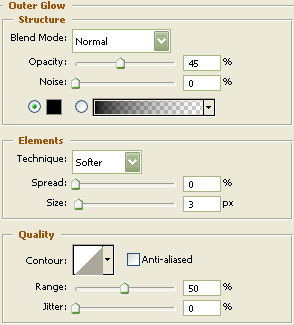
Now click on "Outer Glow".
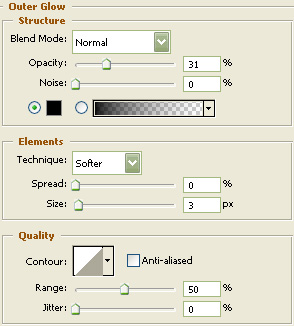
You may now click OK.
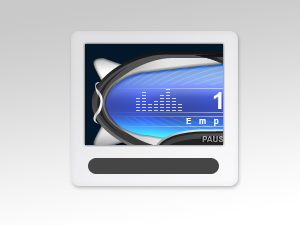
You should now have the below image.

Now choose the "Ellipse Tool" and draw 4 black circles as I have done in the image below.

Now right click on the circle layers in the Layers Palette and select, "Blending Options...".

Do not click "OK" yet. Still more to do.
Now click on "Drop Shadow".
Do not click "OK" yet. Still more to do.
Now click on "Inner Glow".
Do not click "OK" yet. Still more to do.
Now click on "Gradient Overlay".
You may now click OK.
You should now have the below image.
Select the "Text Tool" and use the below settings:
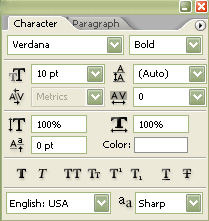
Now type your preferred text.
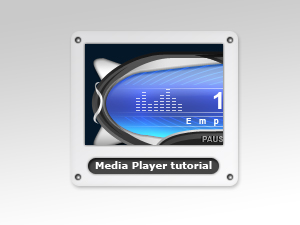
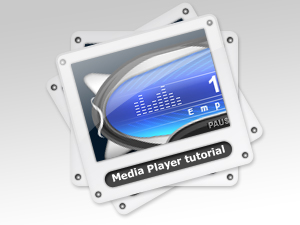
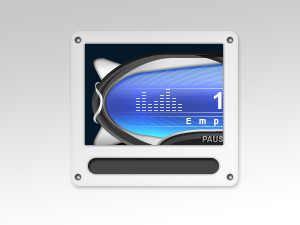
The Results!!!
As you can see, I've added some gloss, angeled and duplicated the window twice. I hope you enjoyed this tutorial.