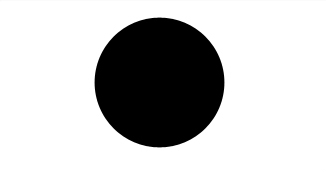
We'll begin this tutorial, by creating a black circle using the "Elipse Tool".
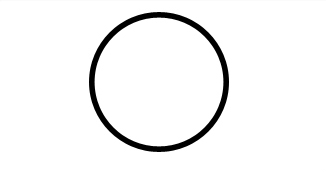
Now go to the "Custom Shape Tool" and create the below shape. Note that the first circle layer's opacity has been turned down for viewing purposes.
Now that you have your shape, you can now right click on the shape layer and select, "Blending Options...". Now click on "Drop Shadow ".
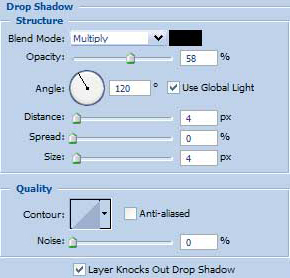
Do not click OK yet... still more to do.
Now click on "Inner Shadow."
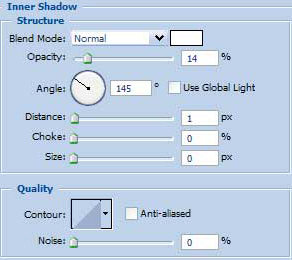
Do not click OK yet... still more to do.
Now click on "Gradient Overlay."
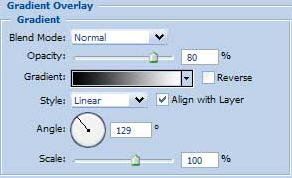
You may now click OK.
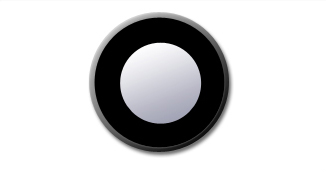
You should now have the below image if done correctly.

Now grab the "Elipse Tool" once again and draw a circle using the shift key to make a perfect circle as I have already done below.

Now that you have your shape, you can now right click on the shape layer and select, "Blending Options...". Now click on "Gradient Overlay".
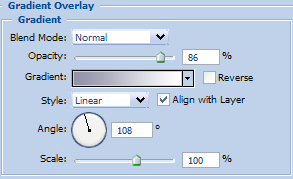

You may now click OK.
You should now have the below image if done correctly.
Now "Ctrl" click for Windows or "Cmd" click for Mac on "Layer One" Grab the "Polygonal Lasso Tool" and while holding the "Alt" key on the keyboard cut away from the selection as I have done below to the left side.
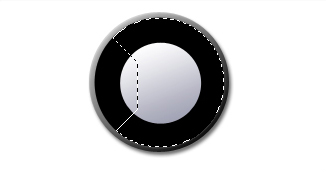
Now do the same to the right side as I have done below.
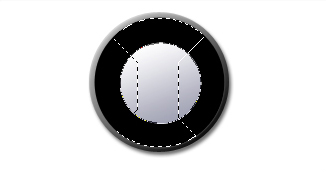
Grab the "Eliptical Marquee Tool" and while holding in the "Ctrl" key again drag a circle around the middle circle to deselect the inner part.

Create a new layer and fill with white. Deselect the selection and now go to "Filter" then "Blur" next "Gaussian Blur." Radius of about 1.5 should be suffice. Turn the opacity down to 10%.

The Results!!!
Create some highlights and some text and your work here is done. Have fun and use your imagination.