

To begin, grab the "Pen Tool" and draw the below. Make sure that the foreground color is C9D705.

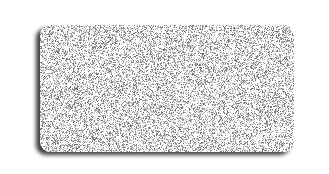
Now to make a texture, create a new canvas with the foreground color white. Go to the main menu bar and select "Filter" then "Noise" with 60.47% for "Amount" and have both "Uniform" and "Monochromatic" checked. Click "OK."
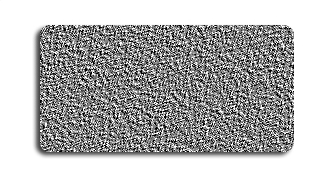
Now go to the main menu bar once again and select "Filter" then "Other" then "Offset" with "Horizontal" set to +286 with "Wrap Around" checked. Click "OK." Now go to "Filter" then "Stylize" and "Emboss." 45 for the "Angle," 3 for the "Height" and 127 for "Amount". Click "OK." Now go to "Edit" then "Define Pattern" and give your new texture a name. I called mine "empireShrektexture," and click "OK."
Now go back to the other canvas.
Now that you have your texture, you can now right click on the ear layer and select, "Blending Options...". Now click on "Inner Glow".
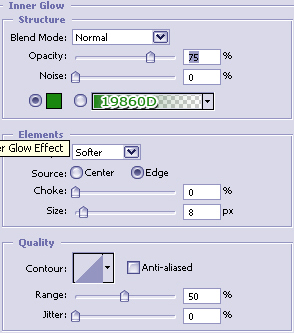
Do not click OK yet... still more to do.
Now click on "Color Overlay ".
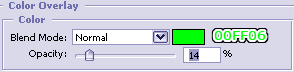
You may now click OK.
You should now have the following:

Now duplicate the ear layer and right click on the duplicated layer and select, "Blending Options...". Now click on "Pattern Overlay". Find the texture you made early and make sure it is selected.
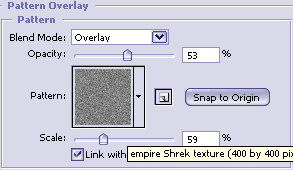
You may now click OK and turn the "Fill" for that particular layer down to 0%.
You should now have the following:

Now grab the "Pen Tool" again and draw the inner ear as I have done below.

Make sure black is the foreground color and right click on the inner ear layer and select, "Blending Options" Now click on "Gradient Overlay ".
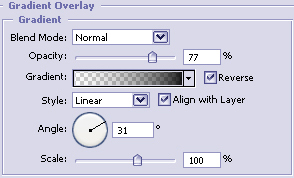
You may now click OK and turn the "Fill" for that particular layer down to 0%.
Now all that is needed to be done is the shading and highlighting of the ear as I have already done below. Use the "Brush Tool" with a soft edge with a brush size of approximately 25. Turn the opacity down to 25 and begin to draw.
