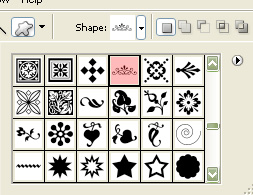
We'll begin this tutorial, by creating a new canvas at a size of 609 x 158 with 082034 as the canvas color. Double click the background layer in the Layers Palette and click OK. Doing this will unlock the layer for the next step. Now download this shape file and click "Open".

Now right click on the background layer in the Layers Palette and select, "Blending Options...". Now click on "Gradient Overlay".
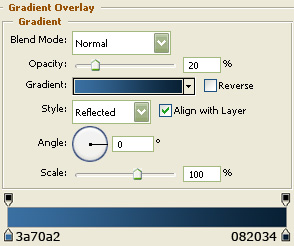
You may now click OK.
You should now have the below image.

Then choose the "Custom Shape Tool" and find the "side" shape.
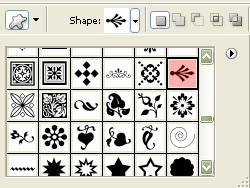
Use 3a70a2 as the color and draw the shape as I have done below. Name this layer "Side" in the Layers palette.

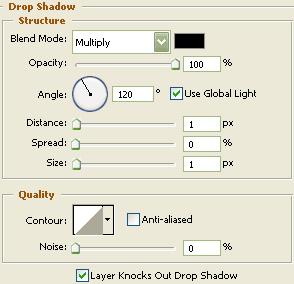
Now right click on the "Side" layer in the Layers Palette and select, "Blending Options...".
Do not click "OK" yet. Still more to do.
You may now click OK.
Now click on "Inner Shadow".
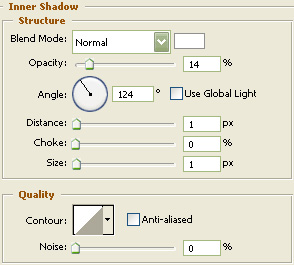
You may now click OK.
Now click on "Color Overlay".
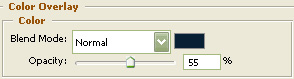
You may now click OK.
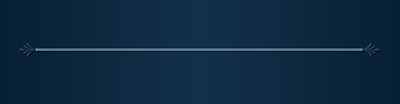
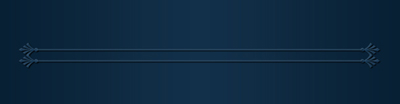
You should now have the below image.

Now duplicate the "Side" shape and move it to the right side of the canvas using the "Shift" key on your keyboard as illustrated below.

Now grab the "Line Tool" and set the weight to 2 pixels. Draw a line now while holding the "Shift" key in on your keyboard to make a straight line using 3a70a2 as your color. Name this layer "Divider".
Apply the same settings as was used in steps 6 through 9 and duplicate the layers as I have done below.
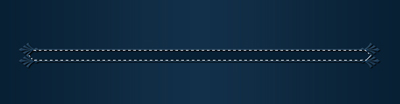
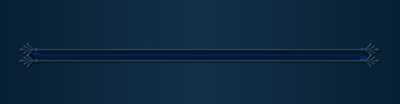
You should now have the below image. :)

Using the "Polygonal Lasso Tool" make the below selection. Create a new layer and place beneath the previous layers but above the background layer in the Layers Palette. Fill with 082034 and deselect the selection. Name this layer "Menu Back" in the Layers Palette.
Now right click on the "Menu Back" layer in the Layers Palette and select, "Blending Options...". Now click on "Satin".
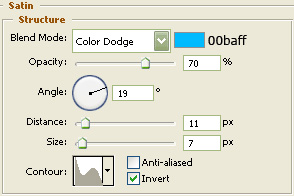
Do not click "OK" yet. Still more to do.
Now click on "Color Overlay".
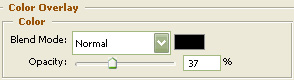
You may now click "OK".
You should now have the below image.
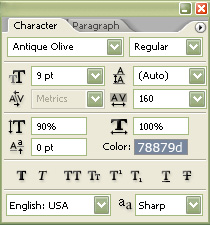
Select the "Text Tool" and use the below settings:
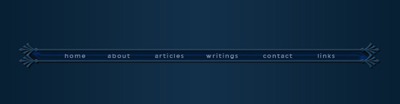
Now type your preferred menu items.
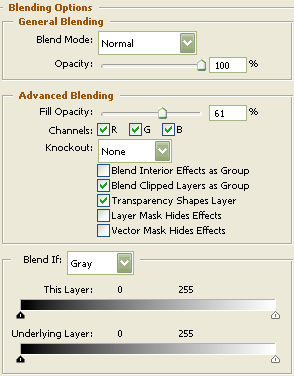
Make yet another selection using the "Polygonal Lasso Tool", create a new layer and place above the text layer in the Layers Palette. Fill with White and deselect the selection. Name this layer "Gloss" in the Layers Palette.

Now right click on the "Gloss" layer in the Layers Palette and select, "Blending Options...".

Do not click "OK" yet. Still more to do.
Now click on "Gradient Overlay".

You may now click "OK".
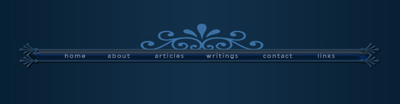
You should now have the below image.
Then choose the "Custom Shape Tool" and find the "frame top" shape.
Use 3a70a2 as the color and draw the shape as I have done below. Name this layer "Frame Top" in the Layers palette.
Apply the same settings as was used in steps 6 through 9 and duplicate the layers as I have done below.
Next, duplicate the "Frame Top" layer. Then go to the main menu and choose "Edit" then "Transform" and lastly "Flip Vertically" Now place below the menu as I have done below.
Now grab the "Eraser Tool" and chisel or erase away the lower parts of the shape as I have illustrated below.
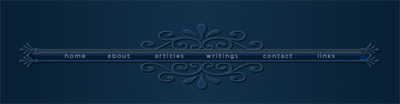
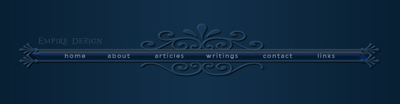
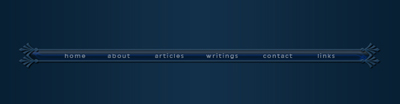
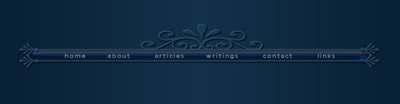
The Results!!!
To see the rest of the design click here. I hope you enjoyed this tutorial.