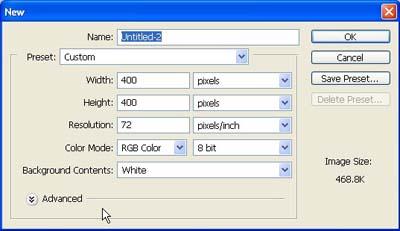
1. First of all I have taken a new file of height = 400 pixels, width = 400 pixels and resolution of 72 dpi in the RGB mode.
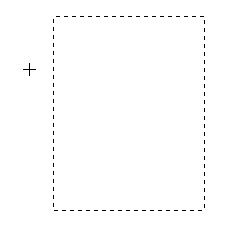
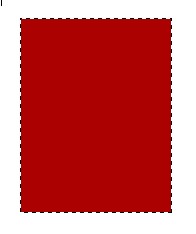
2. Select the rectangular marquee tool from the tool palette and draw the rectangle in the file as shown below in fig.
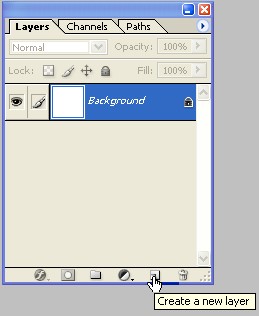
3. Make a new layer from the layer palette.
4. Make the colour of colour coding # AB0101 and fill the colour in the selection.
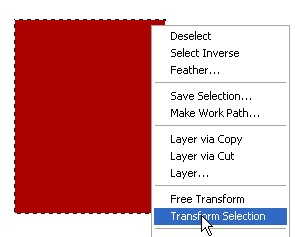
5. Make the transform selection as shown in the image below.
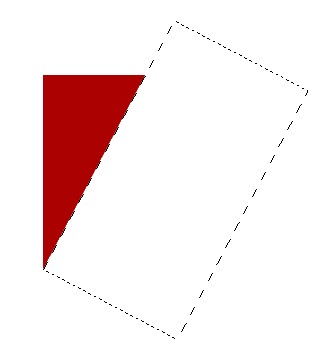
6. Now rotate the transform selection and delete the area as shown in the image.
7. Deselect it.
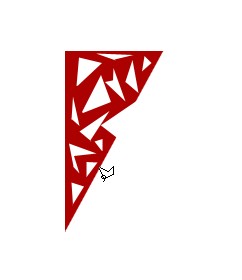
8. Now take the polygonal lasso tool and make the selections and delete that area from the drawn image.
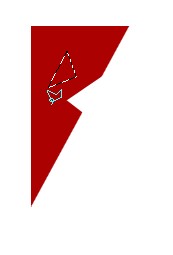
9. Make the design of your choice I have chosen this design which I am showing in the image below.
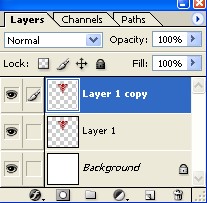
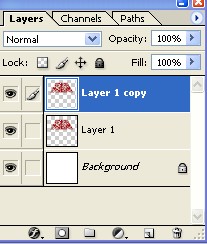
10. Make the copy of layer one in the layer palette your image will look like this.

11. Go to the menu bar Edit>Transform>Flip Horizontal and mixed the image like this that their will be no difference between them.
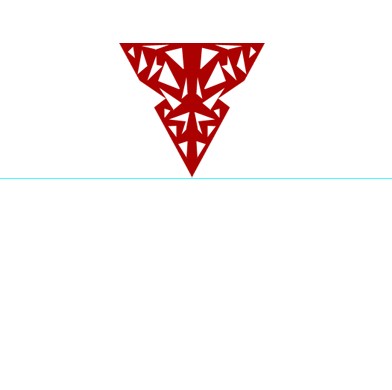
12. Make the slicing of the file with the help of ruler as shown in the image below.
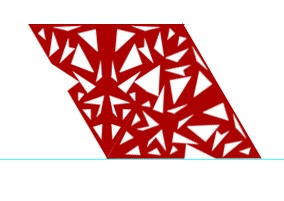
13. Go to the menu bar Edit>Transform>Skew.
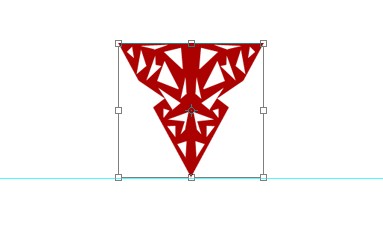
14. And stretch the image from the upper corner points.
15. Make the copy of the layer 1.
16. And rotate it with the help of transform as shown in the image their should be no gap between them.
17. Do the same thing for the other part of it as shown in the image given below.
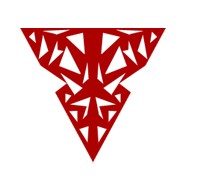
18. Merge the layers as in the fig.
19. Make the copy of the layer 1.
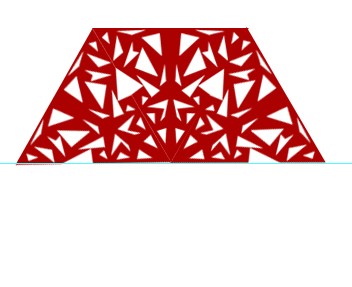
20. Go to the menu bar Edit>Transform>Flip Vertical and mixed the image like this that their will be no difference between them.
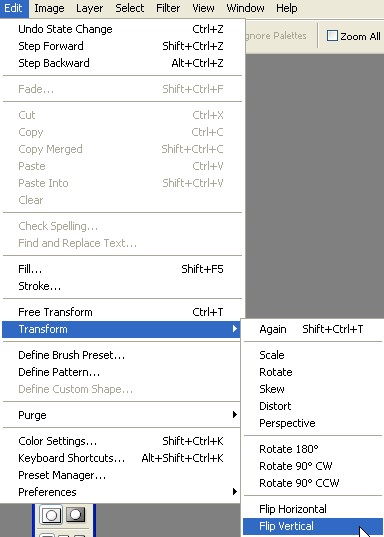
21. Now your image will look like this.
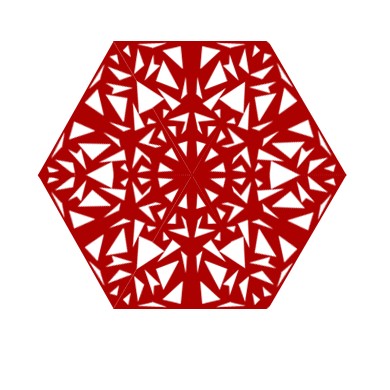
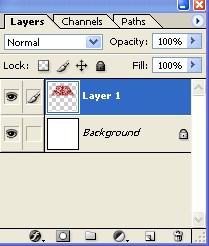
22. Merge the layers as in the fig.
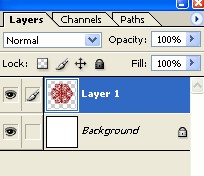
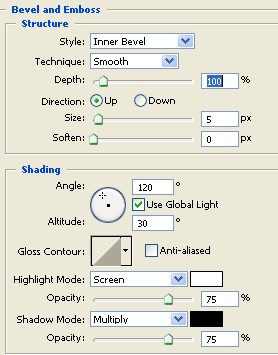
23. Use the blending options>Bevel and Emboss and give the properties as in given fig.
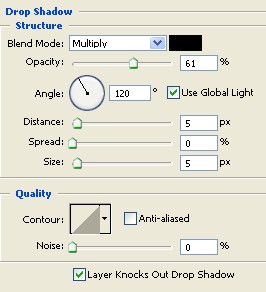
24. Use the blending options>Drop shadow and give the properties as in given fig.
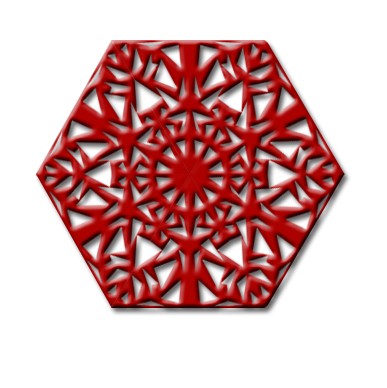
25. Your final image will be as attractive as mine as showing below.