1. Take a new file of 400 pixels 400 pixels of resolution 72 dpi in the RGB mode.
2. Use the Type tool to create your text
![]() .
.

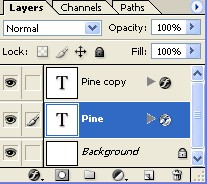
3. Make the copy of Layer Pine as shown fig. below.
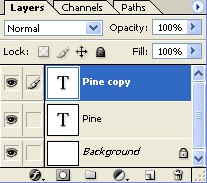
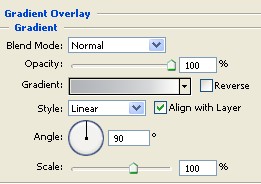
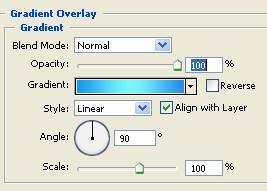
4. First, we will work with the Top text layer.
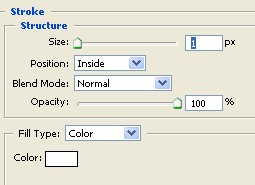
5. Go to Blending Options apply these settings to give it a real look.
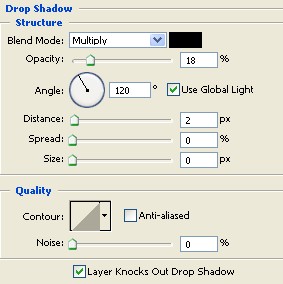
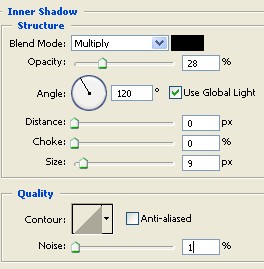
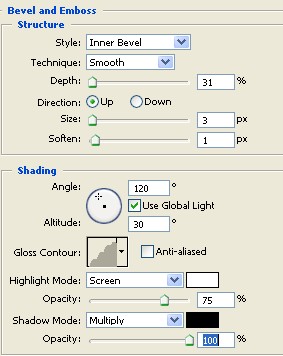
6. Your image should be look like this.

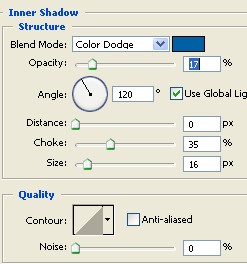
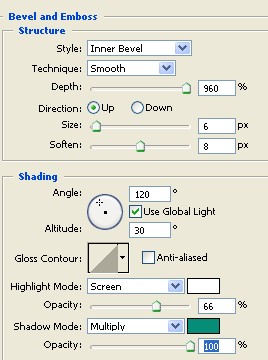
7. Now hide the top layer by clicking on the "eye" icon next to it so we can see the bottom text layer as shown image below.

8. Go to Blending Options apply these settings.
9. Your image should be look like this.

10. Now show the top layer by enabling the eye icon again, you will now see the top text layer the bottom layer hidden underneath as shown fig below.
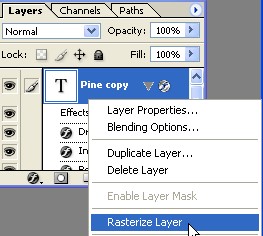
11. Now, go to the Layer palette and right click on the Pine copy layer and Rasterize Layer as shown next fig.
12. Now select your Eraser tool from the tool palette
![]() using a any brush would you like, and partially erase the top text layer as shown fig. below.
using a any brush would you like, and partially erase the top text layer as shown fig. below.

13. Your image will be like this.