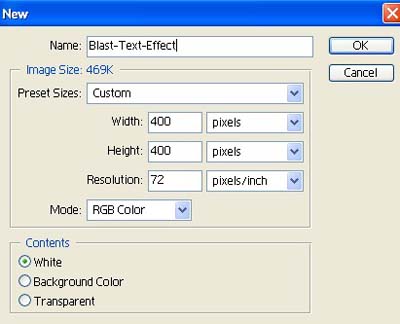
1. Take a new file of 400 pixels, 400 pixels, of resolution 72 dpi in the RGB mode.
2. Take the text tool from the tool palette
![]() .
.
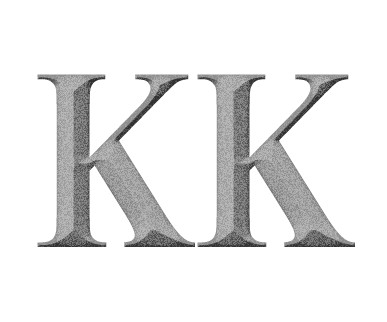
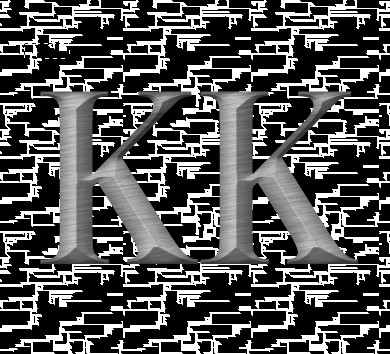
3. Type any ward would you like make the background white and the text grey as shown below

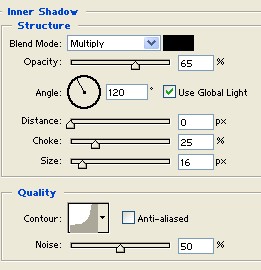
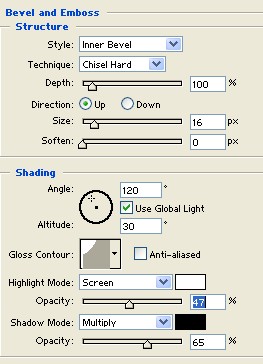
4. Go to Bevel & Emboss layer style apply the following settings.
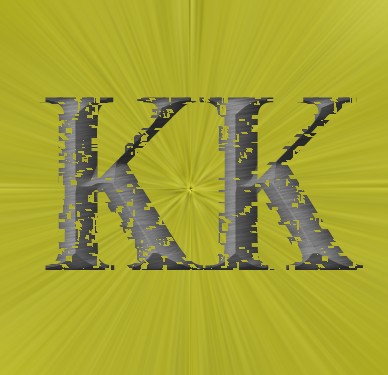
5. Your image should be look like this.
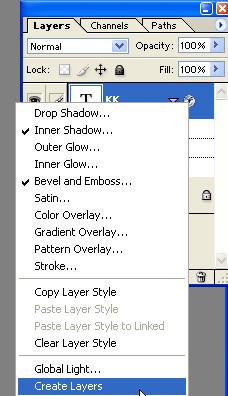
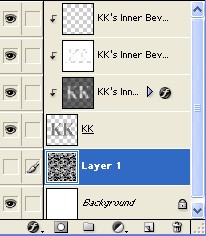
6. Now go to layer palette right click to Create Layers as shown fig. below.
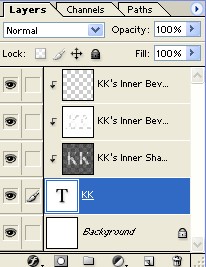
7. Now your layer palette should be look like this.

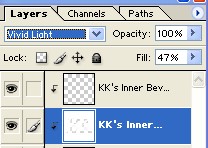
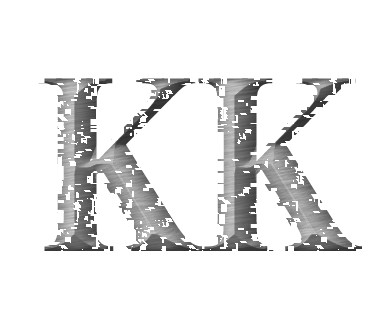
8. Change the Blending mode see in the next image.
9. Your text should be look like this.

10. Now select the text layer as shown fig. below.
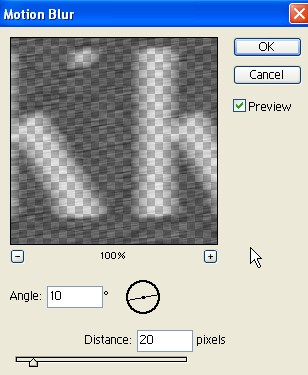
11. Now go to Filter>Blur>Motion Blur apply these settings.
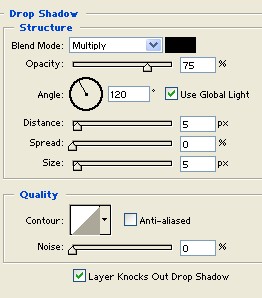
12. Now add little drop shadow Layer>Layer Style>Drop Shadow see in the next image.
13. Now your image look like this.

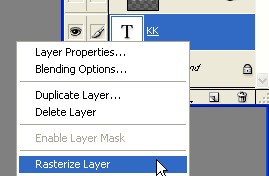
14. Now go to Layer palette and right click on your original text layer Rasterize Layer see in the next image.
15. Now create a new layer on the layers palette.
16. Use the rectangle marquee tool and make a small rectangular selection and fill it with black on the new layer. DO NOT deselect yet.

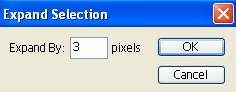
17. Then go to Select >Modify>Expand apply the following setting. DO NOT deselect yet.
18. Now go to Filter>Pattern Maker apply the following settings.
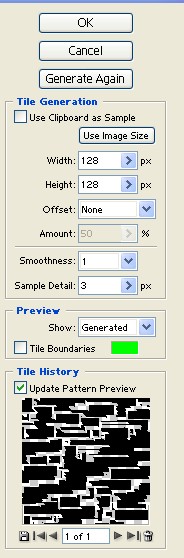
19. Your image should be look like this.
20. The Hide (by clicking on the eye
![]() icon next to the layer) Patter Layer, and click on the text layer to make it the working layer see in the next image.
icon next to the layer) Patter Layer, and click on the text layer to make it the working layer see in the next image.
21. Now with the Move tool selected from the tool palette use arrows on your keyboard, move to the left 5 times and down twice.
22. Now you can Deselect (Ctrl+D). Your image should be look like this.
23. The go to Image>Adjustment>Brightness/Contrast apply these settings.
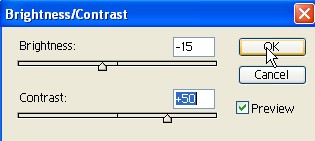
24. Your image should be look like this.

25. This text can be placed on any colored background.