1. Make a new document. I used 750x200 for this tutorial. Leave the background White.
2. Make a new layer. Using the Rectangular Marquee Tool make a selection like below:
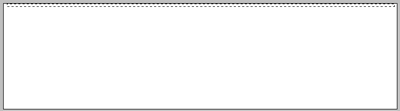
Fill it in with the Paint Bucket Tool:
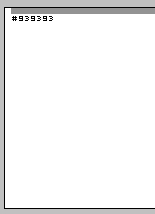
3. Create another new layer and using the Rectangular Marquee Tool, make a selection like below (leave a 1px space between the other layer):
Using the Gradient Fill Tool fill:

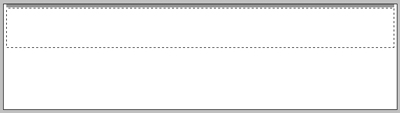
4. Using the Line Tool, make a 1px GREY line like below, leave a 1px white space:

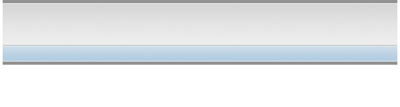
5. Make another new layer. Using the Rectangular Marquee Tool, make a selection like below:

Fill it in with the Gradient Fill Tool:
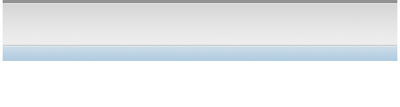
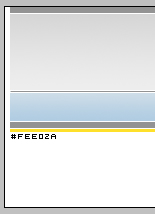
6. Duplicate the first layer we created, its most likely named Layer 1. Once you have Duplicated the layer, move it to the bottom of the blue gradient navigation area we just created (leave a 1px gap again):
7. Make a new layer. Create a thin selection with the Rectangular Marquee Tool like below:

Fill it in with the Paint Bucket Tool:
8. Make a new layer. Using the Rectangular Marquee Tool, make a selection like below:
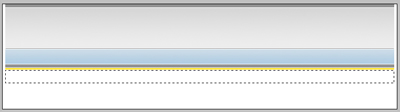
Fill it in with a light grey to white gradient:
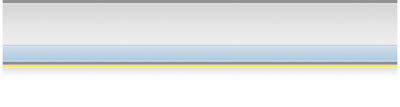
There you go, now add your fonts and clipart to spice it up! Here is my final result: