Start by selecting the rounded rectangle tool (
 ) Set the radius to 10 px
![]() and draw the shape as shown :
and draw the shape as shown :
![]()
Rotate this shape as shown :
![]()
Draw and rotate the shapes with rounded rectangle tool as shown in the following figures :
![]()


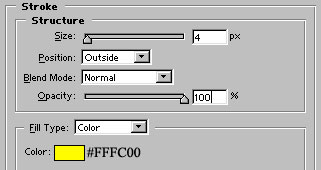
Finally, group and merge all the layers and apply black color stroke in it as shown :

Duplicate this layer by pressing control+j. Go to edit>transform>flip horizontal and place the layer as shown :

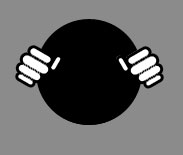
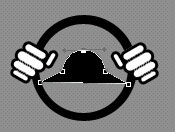
Now, draw a black color circle with ellipse tool as shown :
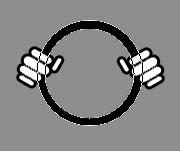
Press '-' (minus sign) from the numeric keypad and draw a small circle inside the first circle as shown. Make sure that the circle is still highlighted Pressing '-' will substract the area within a vector shape :
Now, use pen tool
 and draw the following shape :
Select convert point tool
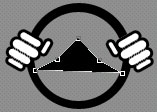
 and drag the nodes to have a shape like shown in the figure :
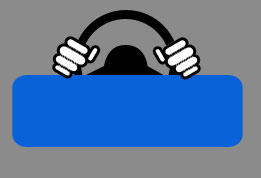
Again, select rounded rectangle tool and draw #0862D9 color shape as shown :
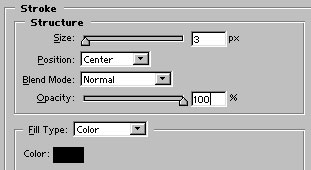
Group and merge all the 5 layers. Add stroke in the layer as shown :

Our final step is to add the name and tag line. Our motor driving school logo is ready :)