First, we will draw the base of our torn paper. For that, use rectangular marquee tool (
 ) and draw a selection as shown. Note that I have used dark gray color as background color.
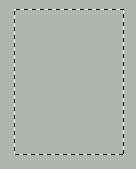
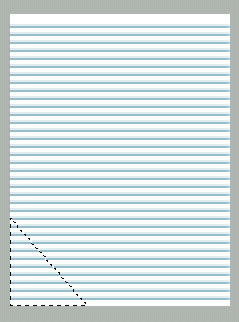
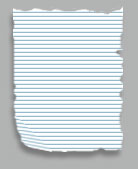
Create a new layer. This will be the base of our torn paper. Fill the selection with white :

Now, select Line tool as shown :
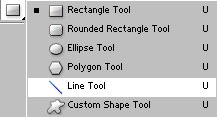
Draw some lines as shown with #98BACD color. If you want you can draw lines having more gap :
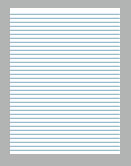
Group and merge all the line layers. After that,merge the torn paper base layer and this line layer too. Now select polygonal lasso tool (
 ) and draw a selection as shown.
Press shift+control+j to create a layer of this selection.If you watch closely, you will see intersecting line between the two layers.

Now move this newly created layer 1 pixel right hand side. The line has been disappeared :
Press control+t to transform the layer. Press control and drag the lower left node of this layer until you get something like shown in the next figure :

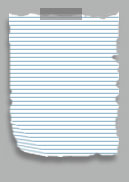
Now group and merge this layer with the previous layer. Its time to apply drop shadow in the layer to have a more realistic look :

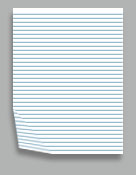
Use small (around 5-6 pixel) soft feathered brush to erase the corners of the paper.
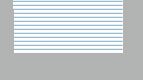
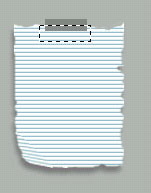
Again select rectangular marquee tool and select the part of this torn paper as shown :
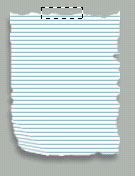
Create a new layer by pressing shift+ctrl+n together. Fill the selection with #848484 color.
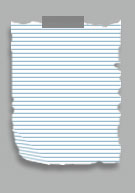
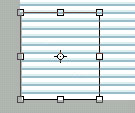
Select the lower half part of this layer. Press shift+ctrl+j to make a layer via cut.
Finally, lower down the opacity of this layer to 66%. Our torn paper which is sticked on the wall is ready :)