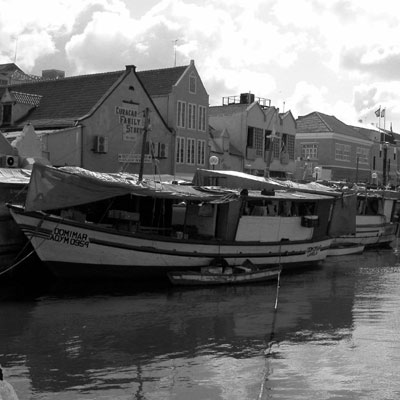
Open your image. Press shift+control+u to desaturate the image :
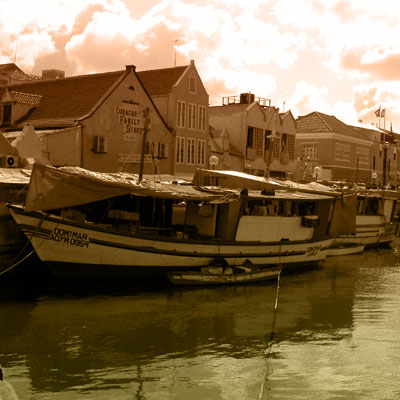
We now colorize this layer. For that, set the foreground color to #C78C66 and background to #F0E6A9. Select gradient tool. Set the blending mode of gradient to color and fill the image with this gradient from top to bottom :
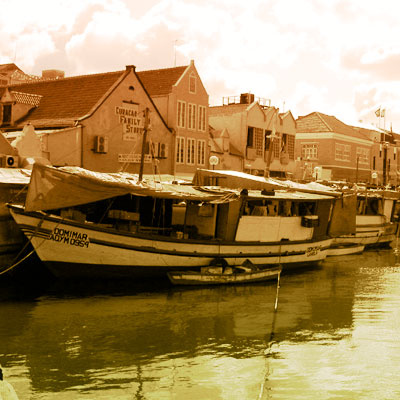
Press control+j to duplicate the layer. Set the blending mode to linear light. Set the opacity of this layer to 57%.
Now, press control+L to open the levels dialog box and set the values written below :
Channel = RGB
input levels 0 1.00 164
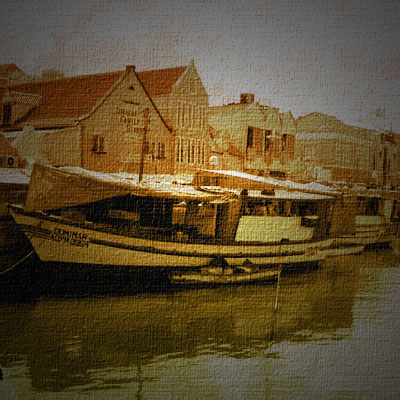
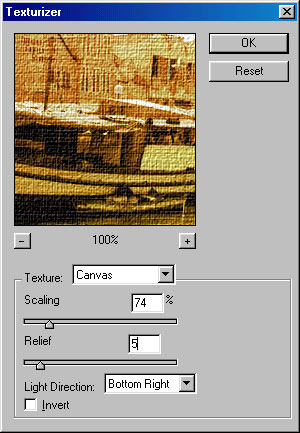
Press control+e to merge all the layers. Now, we will use the texturizer filter to give it a canvas look. For that, go to filter>texture>texturizer and give these values :
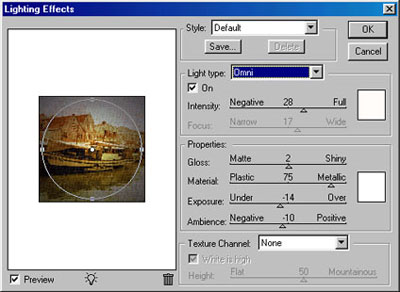
Our image is almost ready. We will now apply lighting effect to give it more classic look. Go to Filter>Render>Lighting Effects and apply the settings as shown in the figure below :
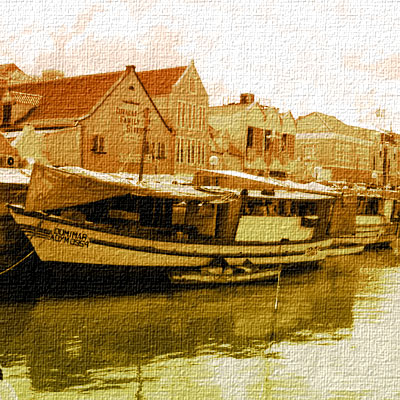
You have successfully converted your picture to a canvas print :)