Remember your childhood days when it was time for antics and monkey tricks? Drawing caricatures, funny pictures, or just adding something to an existing picture? For example adding a moustache to a photo. In this age of technology you can easily do it in Photoshop.
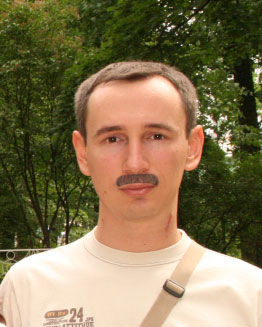
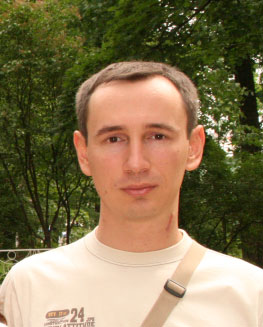
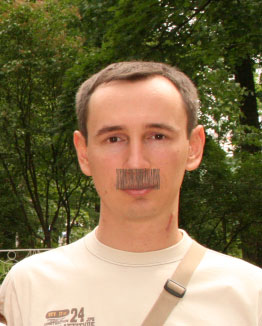
So, begin by opening somebody's photo in photoshop.
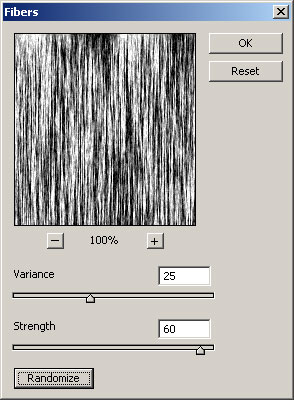
Go to Quick Mask and create render Fibers with the following settings:
Leave Quick Mask, select the Marquee tool and holding Ctrl+Alt select a rectangular area in the area you will apply your moustache.
Create a new layer and then paint the selected area using a hair color (it can be taken with the help of the Eyedropper tool with a setting of 5 by 5 average).
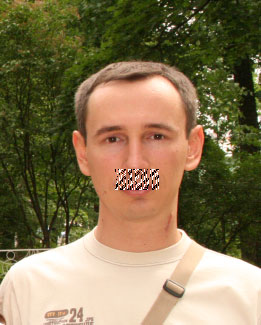
Now apply a Warp.
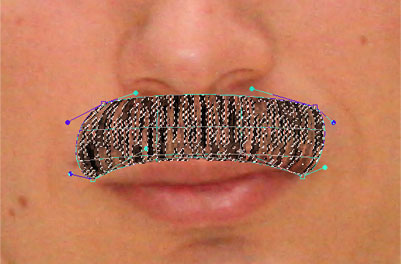
As a result you'll get something like this:
Not bad; now you only have to add some details.
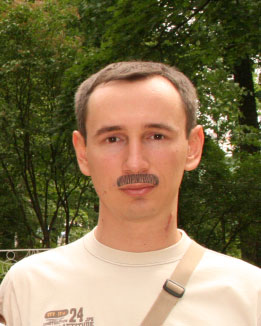
Apply Blur for this layer and repeat it several times. Now move it several pixels to the right. Now duplicate the layer and move it 4 pixels to the left. Here's what I have at the end: