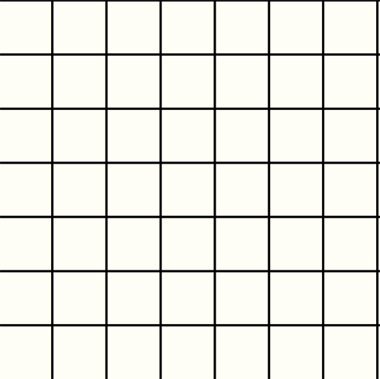
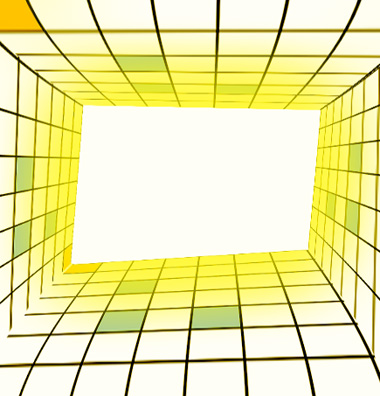
Start by creating checks pattern using line tool.
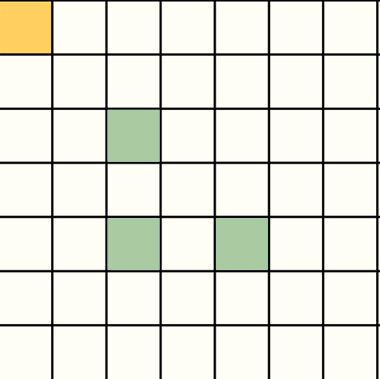
Create some colorful squares using rectangular shape tool.
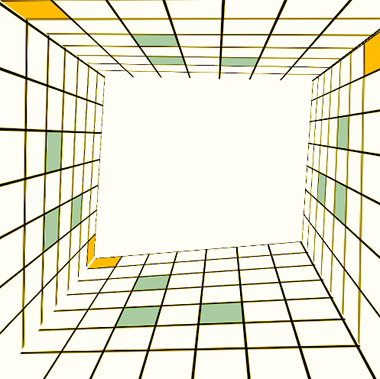
Select and merge all the layers. Duplicate the layer thrice. Press Ctrl+T. Right Click and select distort. Adjust the nodes to get the shape as shown.
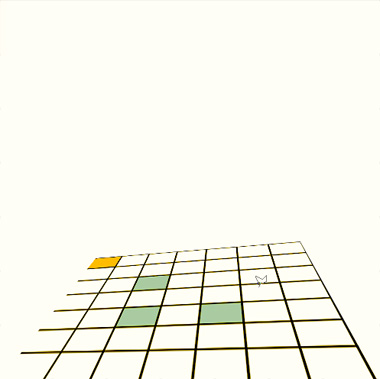
Select each duplicate layer. Distort and place as wall.
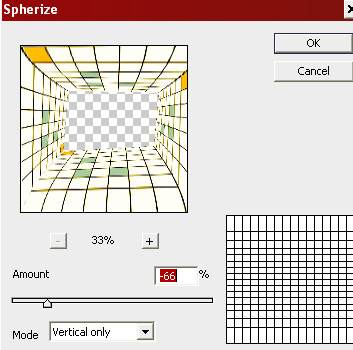
Select and merge all the layers. From "Filter" menu select "Distort>>Spherize". Apply settings as shown.
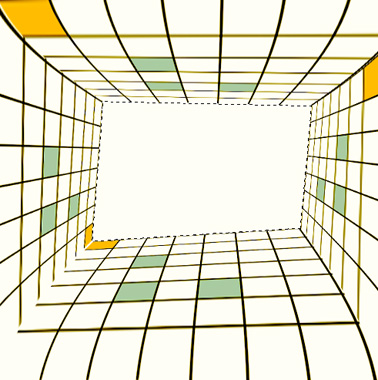
Ctrl+Click the layer thumbnail to get the selection. Press Ctrl+Shift+I to inverse the selection. Create a new layer and fill it with light cream color.
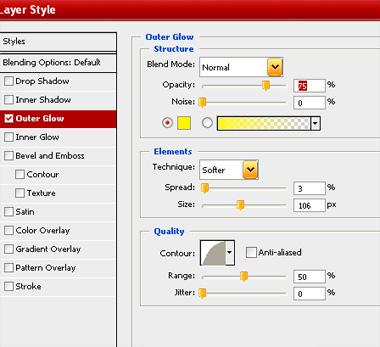
Double click the layer to open layer style window. Apply settings as shown.
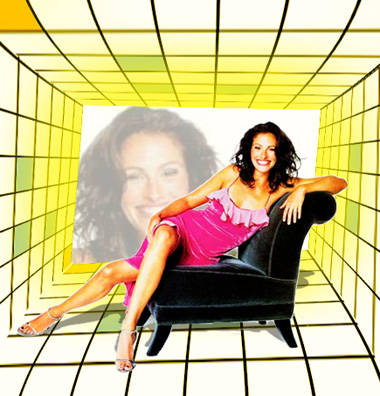
Insert a cutout of a model.
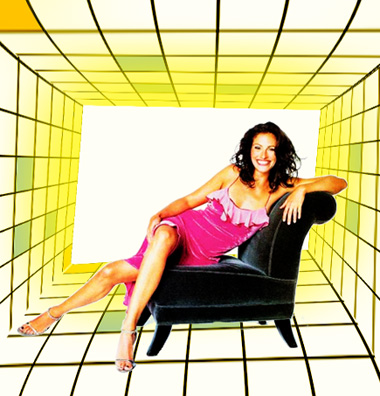
Duplicate the layer. Press Ctrl+T. Right Click and select distort. Adjust the nodes to get the shape of perspective shadow. Move this layer below the model layer in layer order in layer palette.
Place a close up of her face above the cream rectangle. Reduce opacity.