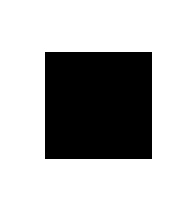
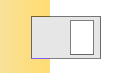
Start by creating a rectangle using rectangular shape tool.
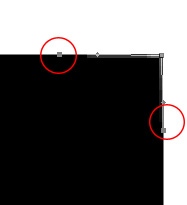
Select the rectangular path using direct selection tool. Select add anchor point tool. Add two point as shown in the image below. Select convert point tool and click on the top right node.
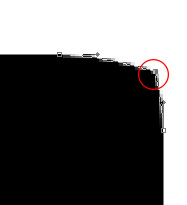
Adjust the nodes to create a rounded corner.

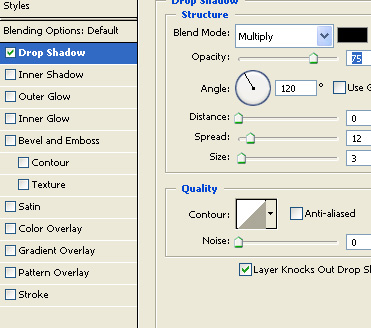
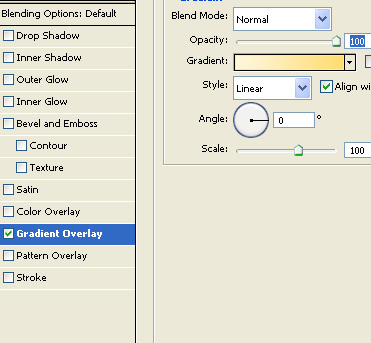
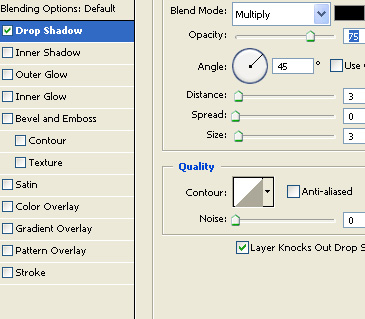
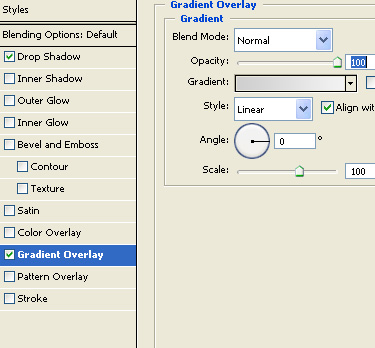
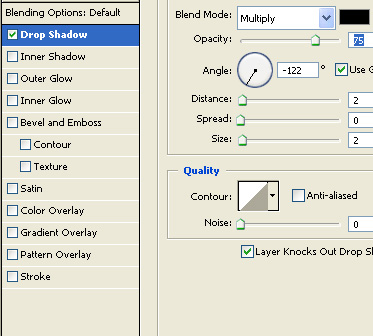
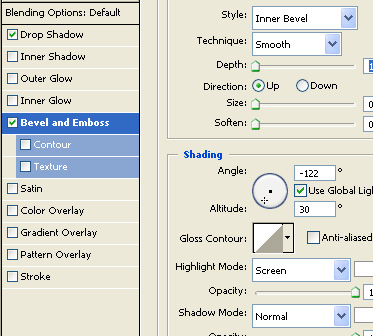
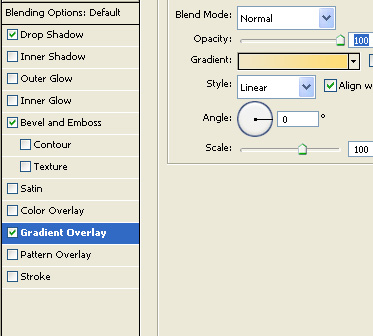
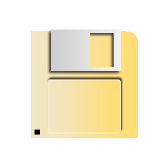
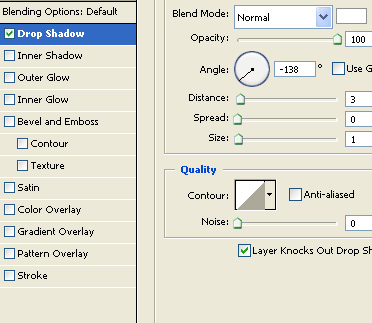
Double click the layer to open layer style window. Apply layer style with the settings shown.
Create a rectangle using rectangular shape tool.
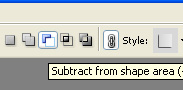
Enable subtract form shape area form the top bar.
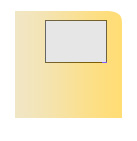
Create a rectangle using rectangular shape tool.
Double click the layer to open layer style window. Apply layer style with the settings shown.
Create a rectangle using rectangular shape tool.
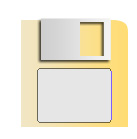
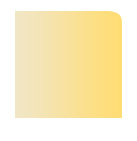
Double click the layer to open layer style window. Apply layer style with the settings shown.

Create a small square using rectangular shape tool.
Double click the layer to open layer style window. Apply layer style with the settings shown.
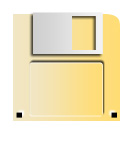
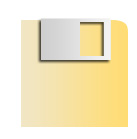
Select and merge all the layers. Press Ctrl+T. Right click the layer and select distort. Adjust nodes to get the shape as shown.
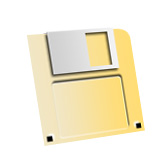
Duplicate the layer. Select the layer below in layer order.Move the layer a few pixels bottom left. Enable lock transparency pixels from the layer palette. Fill it with black color.
Duplicate the layer and repeat the above step. This'll create an illusion of 3d depth.
Select and merge all the layers. Press Ctrl+T. Scale down. Double click the layer to open layer style window. Apply layer style with the settings shown.