

Start by creating a new file of banner size.

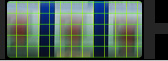
Create some horizontal lines using line shape tool.

Similarly create some vertical lines over the horizontal lines.

Create a rectangular selection using rectangular marquee tool.

Press Ctrl+Shift+I to inverse the selection.

Create a new layer and fill it with black color.

Create a rectangular slit using rectangular shape tool.

Create another vertical rectangular slit and place as shown.

Duplicate both green line layers. Hide the layers. Reduce the opacity of the original green lines layers.

Insert a numeral image of any number.

Duplicate the layer. From filter menu select blur>>motion blur. Apply settings as shown.

Duplicate the layer again and press Ctrl+F to reapply the filter.
Type text details in a new layer.

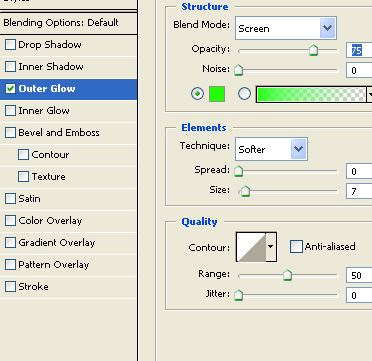
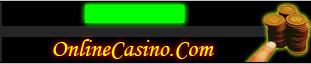
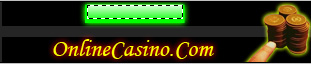
Type rest of the details in separate layers. Insert company name and apply some outer glow.

Insert an image of some gold coins and place on the right hand side.

Create a rectangle using rectangular shape tool.

Double click the layer to open layer style window. Apply layer style with the settings shown.
Ctrl+Click the layer thumbnail to get the selection. From select menu apply modify >> contract. Contract the selection by 2 pixels. create a new layer and apply a black to white gradient in linear mode. Change the layer mode to screen.
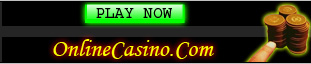
Type button link over the rectangle.
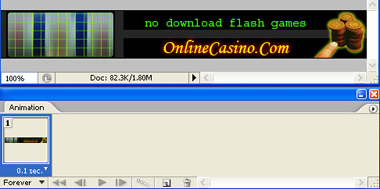
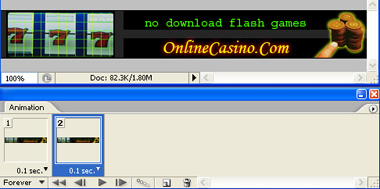
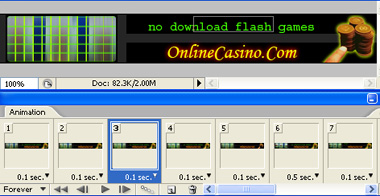
Open animation window. For the first frame keep the most blurred numeral image visible.
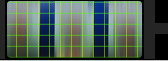
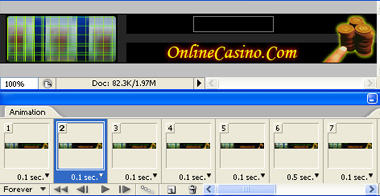
Duplicate frame. Unhide both the duplicated green lines layers. Move the vertical lines layer downwards.
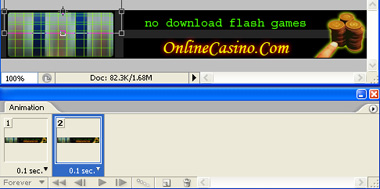
Move the horizontal lines layer towards right.

Hide both the blurred image layers.
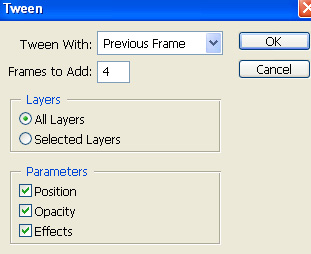
Press tween button from the animation window. Apply settings as shown.
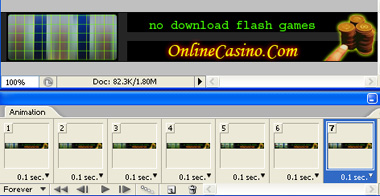
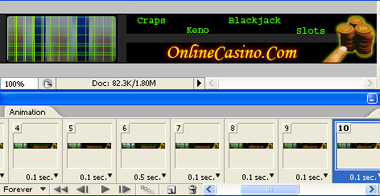
Select the 2nd 4th and 6th frame and hide the most blurred layer so that semi blurred layer is visible in these alternative frames.
In the 1st 3rd and 5th frame the most blurred layer will be visible.
Select all the seven frames and duplicate.
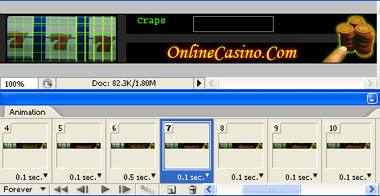
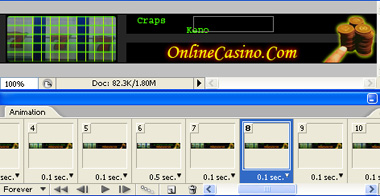
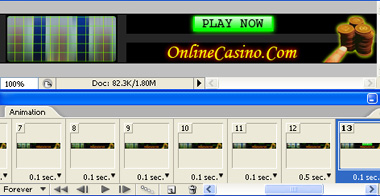
Keep selecting successive frames and for each frame unhide the text layers as shown.
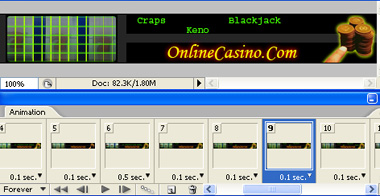
For the 13th frame unhide the button layers. Hide rest of the text layers.
For the next frame unhide the layer style on the button layer.
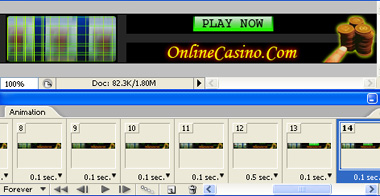
Similarly for the next frames keep toggling the layer style on the button.
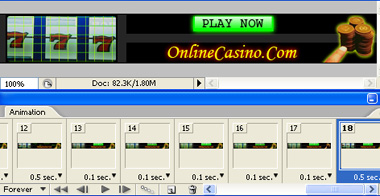
Press Ctrl+Alt+Shift+S to save an optimized animated GIF.
![]()