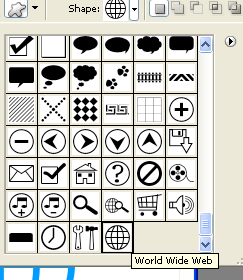
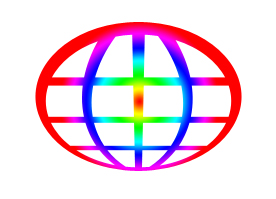
Start by creating a new file. Create a world wide web shape using custom shape tool.

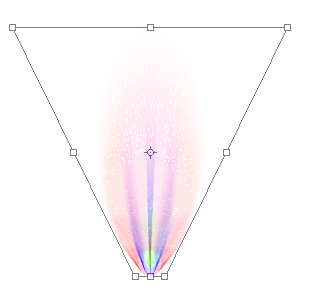
Press Ctrl+T. Right click and select perspective.
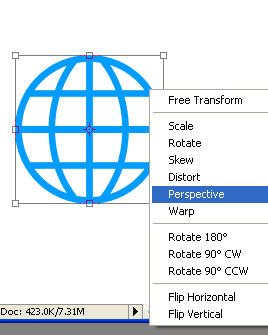
Adjust the nodes to get this result.

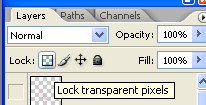
From layer palette enable lock transparency pixels.
Select a rainbow gradient form the custom gradients.
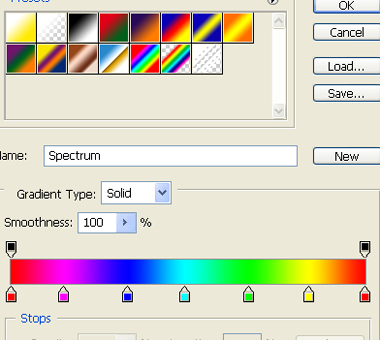
Fill the shape with this gradient in radial mode.
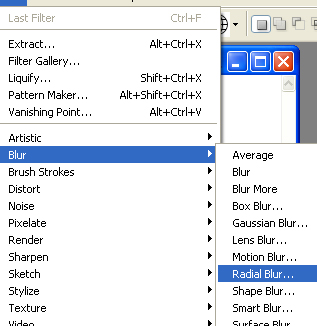
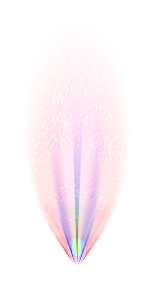
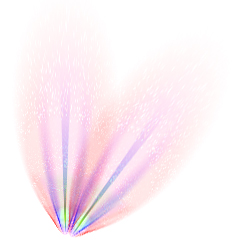
Disable lock transparency pixels. Select filter>>blur>>radial blur.
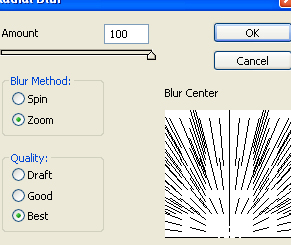
Drag the blur center at the bottom. Use settings as shown.

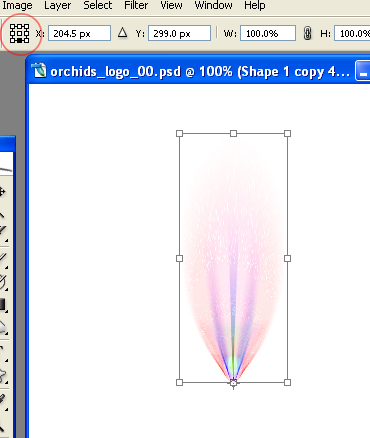
Press Ctrl+T. Right click and select perspective.
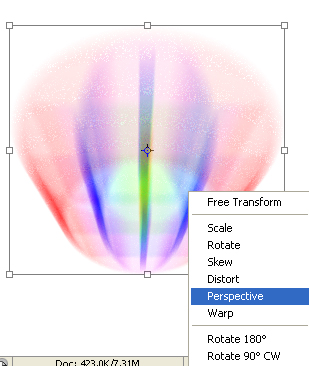
Adjust the nodes.
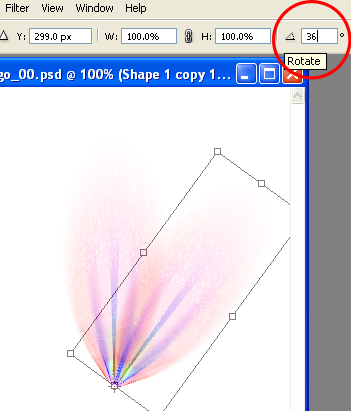
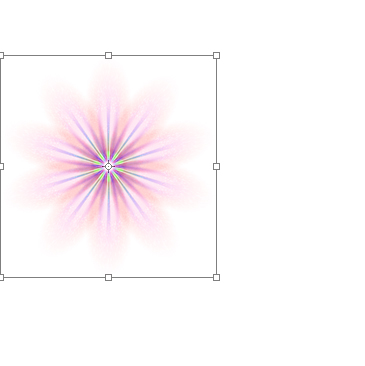
Duplicate the layer and press Ctrl+T. Move the pivot point at the bottom.
Rotate it 36°.
Press Ctrl+J and then Ctrl+Alt +T repeatedly till you get a complete flower shape.

Press Ctrl+T. Scale it down.
Fill the background with a pink to white radial gradient.

Type the company name and punch line.

Select brush tool adjust settings at top bar.
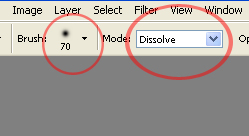
In a new layer just hit the brush at the center of the flower.