1. In your html page embed link to your css file:
| <html>
<head> <title>Test Document</title> <link href="styles.css" rel="stylesheet" type="text/css"> </head> <body> </body> </html> |
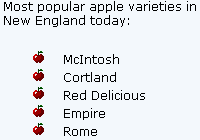
2. Create your bulleted list. Here is ours:
| <p>Most popular apple varieties in New England today:</p>
<ul> <li>McIntosh</li> <li>Cortland</li> <li>Red Delicious</li> <li>Empire</li> <li>Rome</li> </ul> |

3. In css file we will redefine <li> tag. Let’s change these default bullets to our custom bullets.
| li {
list-style-position: outside; list-style-image: url(your_bullet.gif); } |
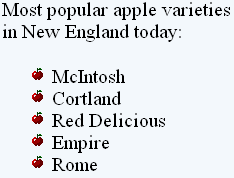
4. Format text:
| li {
list-style-position: outside; list-style-image: url(your_bullet.gif); font-family: Verdana, Arial, Helvetica, sans-serif; font-size: 12px; color: #000000; } |
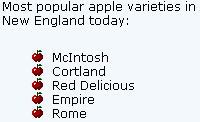
5. We can further format list: add more space between bullets and text. Add more space between lines.
| li {
list-style-position: outside; list-style-image: url(your_bullet_address.gif); font-family: Verdana, Arial, Helvetica, sans-serif; font-size: 12px; color: #000000; padding-left: 10px; line-height: 18px; } |