1. Create a new blank RGB document and type your text in some brown color like this:

2. Hold down Ctrl and click the text layer's icon to select it's shape, then hit Ctrl--I to invert your selection.
Now hit Ctrl-E to merge the layers.
Use Filter > Pixelate > Crystalize now with these settings:
3. Rotate the canvas by 90 degree clockwise (Image > Rotate Canvas) and press Ctrl-I to invert the colors.
4. Use Filter > Stylize > Wind like this
Press Ctrl-F two times to repeat the wind effect and make it stronger.
Rotate the canvas back to normal position.
5. Use Filter > Pixelate > Crystallize once again to make it look frozen.
Use settings like these this time:
6. Press Ctrl-M to bring up the curves dialog and set the curve to this:
7. Go to Filter > Render > Lighting and apply these lighting settings:
8. Bring up the Curves again (Ctrl-M) and form a curve similar to this:
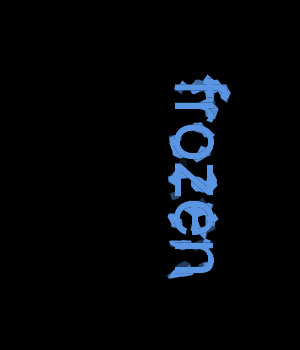
It will look something like this now:

9. If you're not happy with the color yet, you might want to hit Ctrl-U and pick a different color:
These values result in this color scheme:
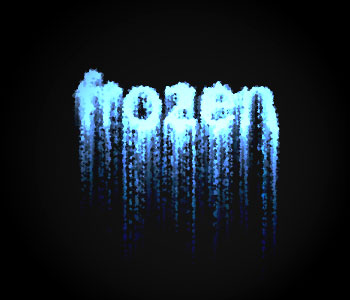
Well, that's it, there's your frozen text.