

Create a new file (File>New) with 450x450 and 72 dpi.
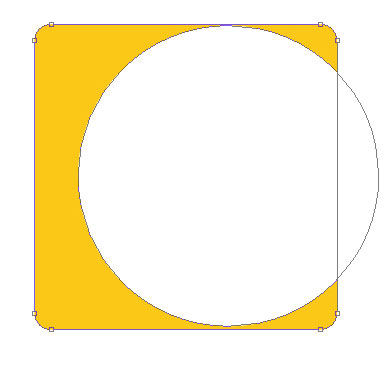
The two mentioned below instruments will be helpful in representing the primary layer for the icon we want to draw next. For the beginning select the Rectangle Tool (U) to paint out the basic layer in this shown color - # FBC817. Then we need to select the Ellipse Tool (U) to cut out a circle the way it is demonstrated on the next picture, pressing Alt button simultaneously:
![]()
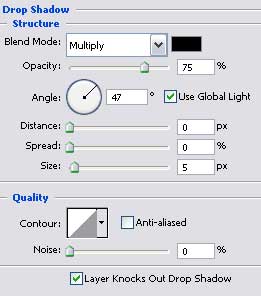
The layer's parameters:
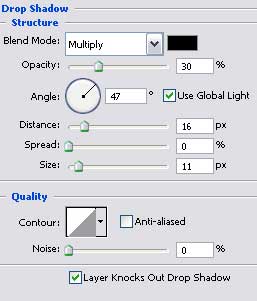
Blending Options>Drop Shadow

Select again the Rectangle Tool (U) to represent the flare of white color, lifting up a little the right lowest picture's head with the Convert Point Tool.
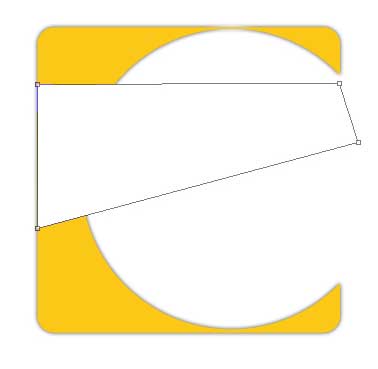
The layer's parameters:
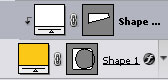
Fill 30% on the layers:

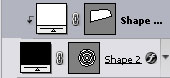
Press now the Alt button and make a mouse's click between the flare's layers and the primary icon's layer for the flare to be applied in the limits on the yellow layer.

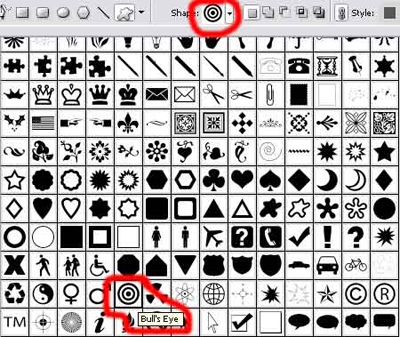
The Custom Shape Tool (U) will be helpful in selecting the next shown shape of bull's eye indicated in the table below:

The layer's parameters:
Blending Options>Drop Shadow
Blending Options>Gradient Overlay
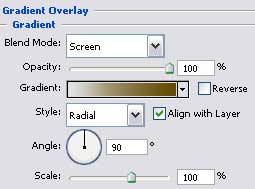
Gradient's parameters:

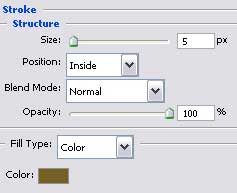
Blending Options>Stroke

Make a copy of the earlier made flare's layer and after that we'll need to choose the Convert Point Tool to change the flare's sizes:
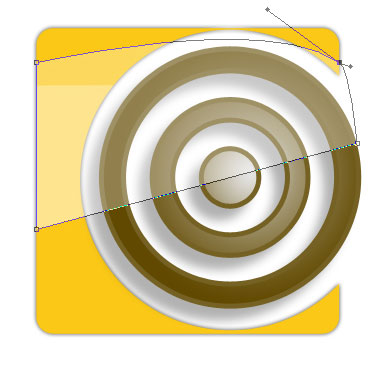
Put on the rings' layer a flare too. Press again the Alt button and make a mouse's click between the layers to get the result we have already described before:

The logo is already made up!