


I am sure you have a lot of brushes on your computer,
I will show you how to transform your brushes into a very nice art work
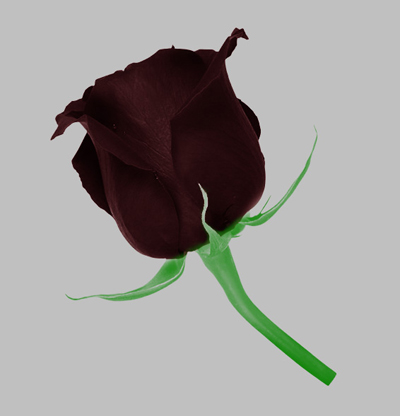
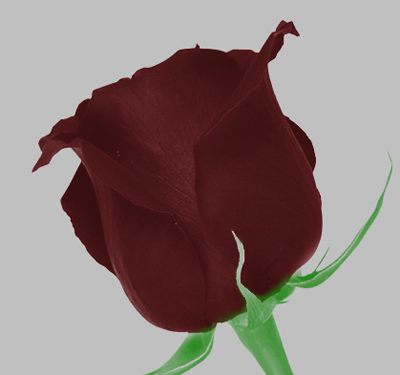
This is the final result:
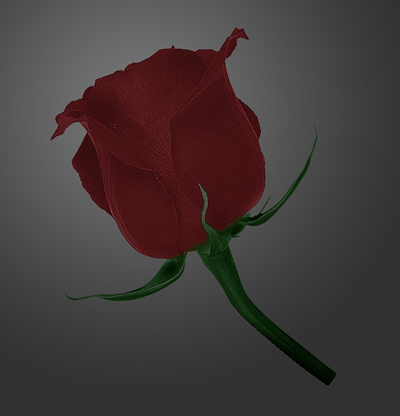
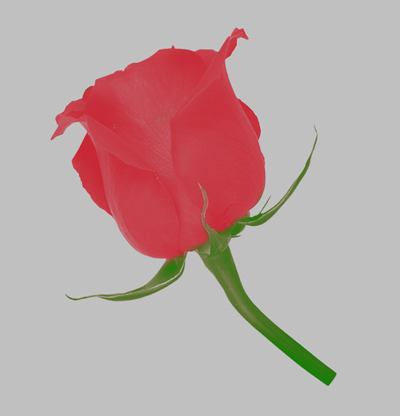
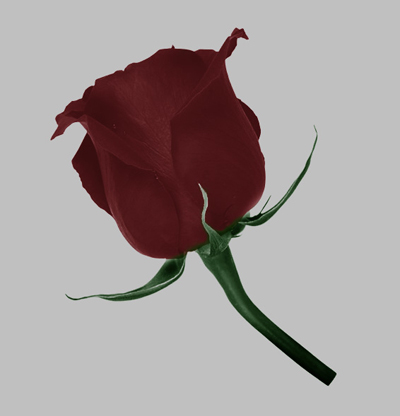
And you can see here the original image

For this tutorial i will use a simple rose brush. ( You can download from www.free-photoshop.com )
I will not explain how to create a brush because it is very easy.
So let's start with a new document.
Load the brushes, then create a new layer ( press Ctrl+Shift+Alt+N )
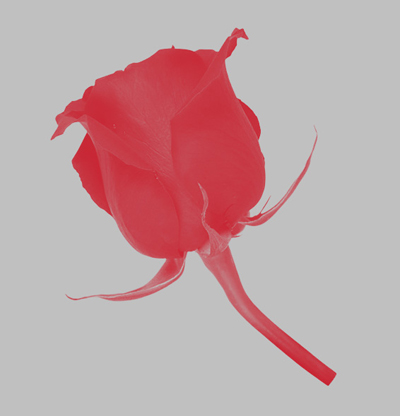
Select a red color #c8202e and press son time on your document

Then duplicate this layer ( press Ctrl=J )
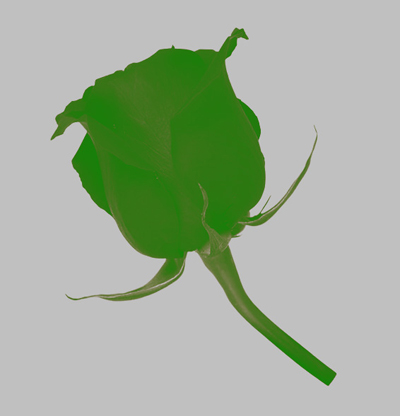
Now set your Foreground color to Green : #0f8307
Create a new layer ( press Ctrl+Shift+Alt+N )
Select Brush tool, and create another rose exactly on the other ones
One more time press Ctrl+J to duplicate this green layer
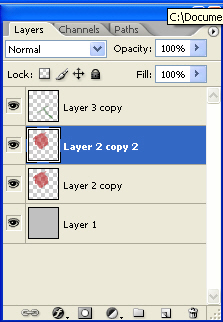
If you look on your layer palette you must have something like that
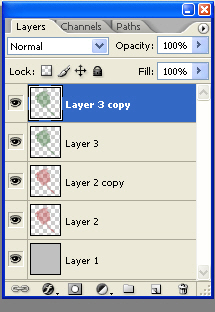
Now select the layers with the red roses, and press Ctrl+E ( this will merge the layers )
Then select the layers with green roses and merge this layers too
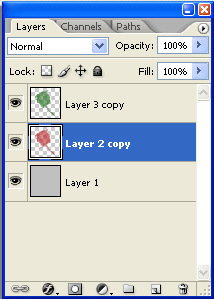
This is the result
Now comes the funny part.
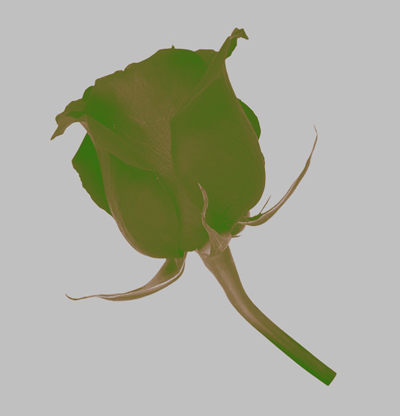
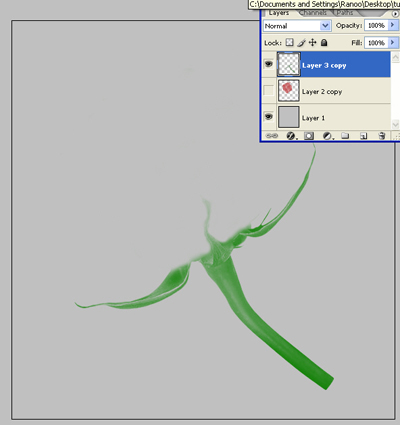
Select Eraser tool, and start deleting some parts of the green rose
Do the same with the other layer. I will show you now how should be your layers, and results
I will hide each layer so you can understand better what i am doing

Now i will hide this layer and i will make visible the other layer
Now we will duplicate the red rose layer
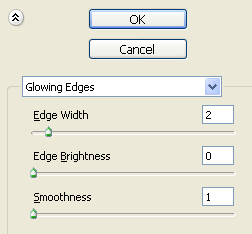
Then go to Filter > Stylize > Glowing edges and use the following settings
This is my result
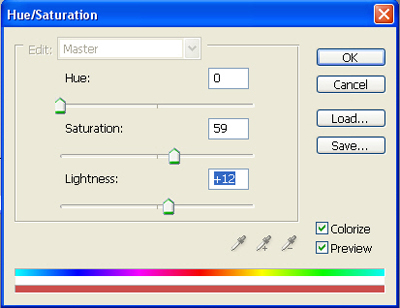
Next go to Image > Adjustments > Hue / Saturation and use the following settings
This is my result
Now do the same for the green layer. This is my result
You can add more details. Go to Filter > Sharpen > Sharpen More...
This is my outcome

Now you can change the background color, to see better the end effect. this is my final result
I hope you like it. And do not forget to use Brush Tool...