

Let's start with a new document:
The size should be 400 x 400 pixels. We will use a green background
I will use green because you will be able to see better what i am doing
Now please download the following image:
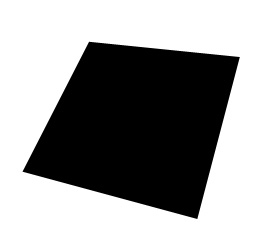
This image will help you to give a nice perspective to your logo
After you will open also this image in photoshop, with the move tool drag the this image on your document.
Next select Rectangle Tool and draw a rectangle. i will use a different color. you can use what color you want.
You can notice that i have changed the opacity for this rectangle. This is very important.
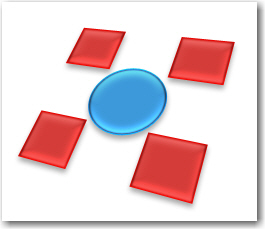
Now with the same tool create another 4 small rectangles and one circle:
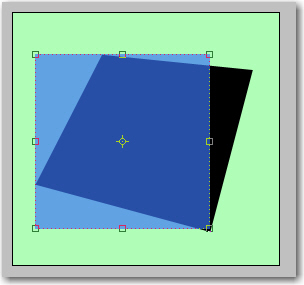
Now will have to select all the layers except the background layer and the black rectangle:
After you have selected the rectangles go to Edit > Transform > Distort and move the corners of the layers selected near the corners from the black rectangle:
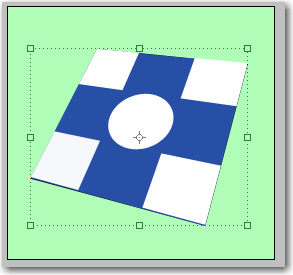
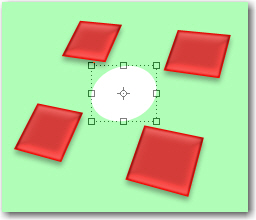
As you can see the logo looks already good. it has a 3D look.
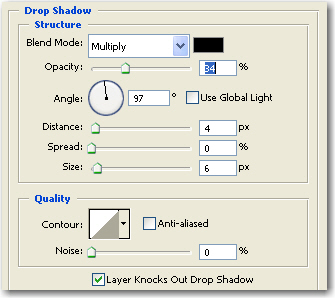
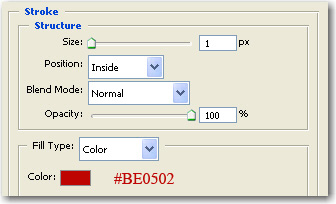
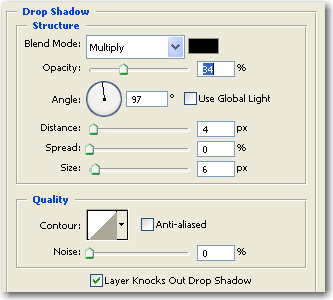
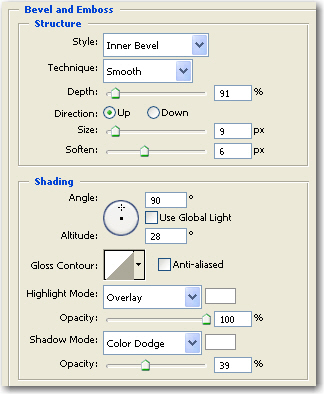
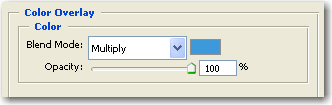
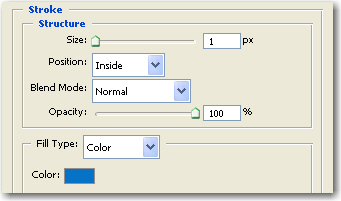
Let's add a layer style for this white rectangles:

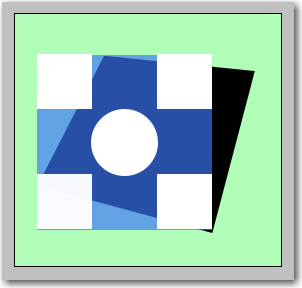
Now delete the black rectangle , and the blue rectangle.
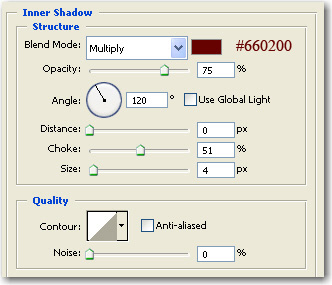
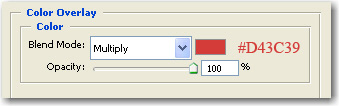
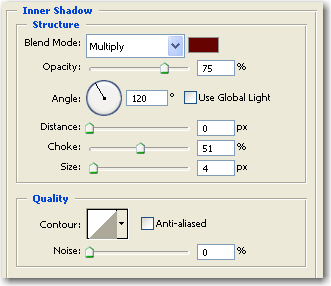
Now add a layer style for the white circle:
After you have added this style to the small circle please change the background to white:
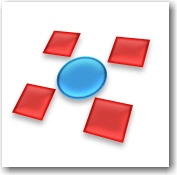
Nice isn't it?
Select all the layers and resize the logo:
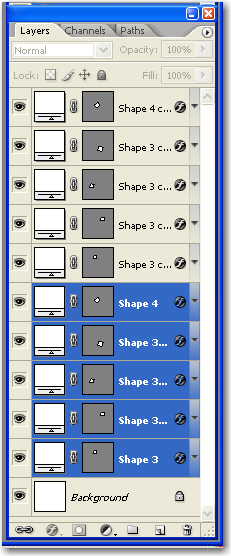
Now with all the layers selected go to Layer > Duplicate layers
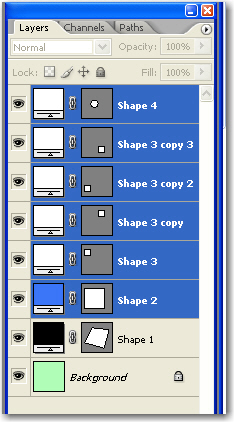
Now select the first layers ( if you have followed my tutorial it should be the tutorials from the bottom: ( do not select the background layer )
With this layers selected use the arrow keys press a few times on the down arrow.
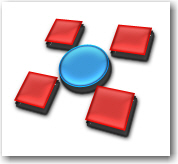
You will give a 3D look to this logos.
You can repeat the steps from above, and duplicate another time the layers and with the arrow keys place them one more time. After i have duplicated a few times and after i have changed the layer style for the duplicated layers this is my result:
Do you think we are ready? Hmm . not yet. we will add a simple shadow and we will be ready.
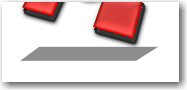
Select rectangle tool and draw a small rectangle like mine.
Now go to Edit > Transform > Distort and move the corners of this small grey rectangle like in the following image.
Now go to Filter > Blur > Gaussian Blur
You will be asked if you want to rasterize the shape. Press YES
Then set the radius to 7 Pixels
Press OK
Be sure you drag this layer above the background layer.
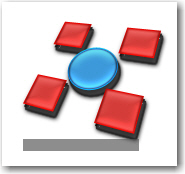
This is my result:
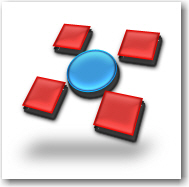
With this technique you are able to create nice logos.
Here are some examples: