


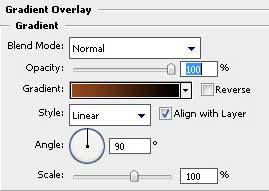
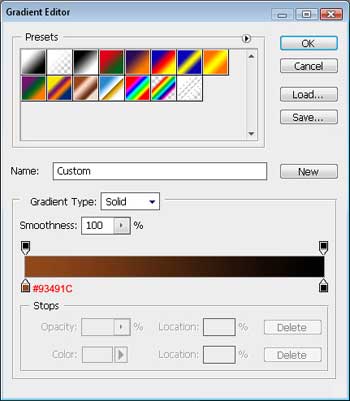
So, firstly we have to create a new file (File>New) that would have 1024x768 px and 72 dpi. Choosing the Rectangle Tool (U), stretch on the object the whole page and set the here demonstrated Blending Options>Gradient Overlay for it.
You may see the result we've got at this moment:

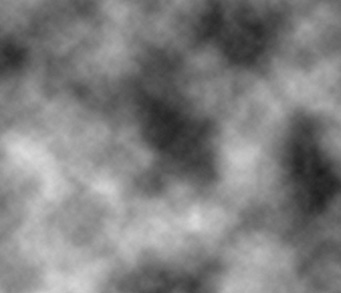
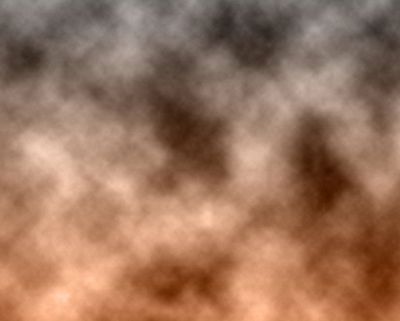
Create a new layer and select the next function: Filter>Render>Clouds.
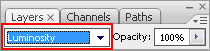
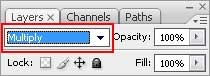
Next we'll change the parameter on the Layers palette.
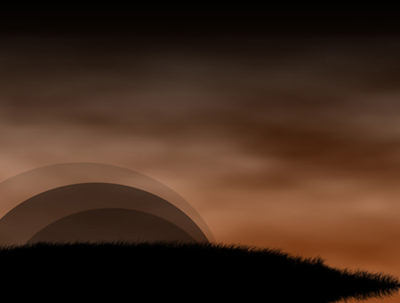
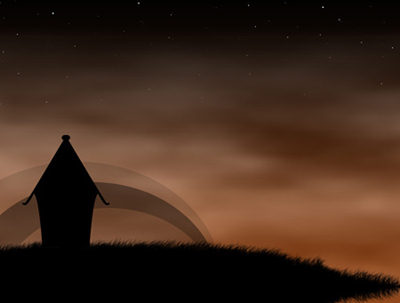
You must have the same picture presented below:
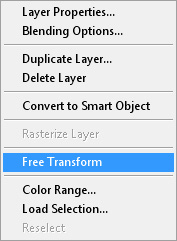
Make a right moue's click n the picture and choose the Free Transform selection.
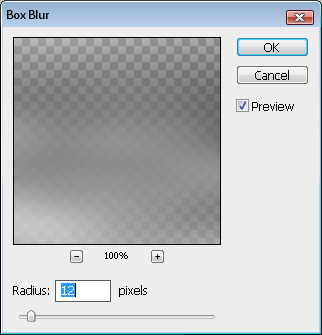
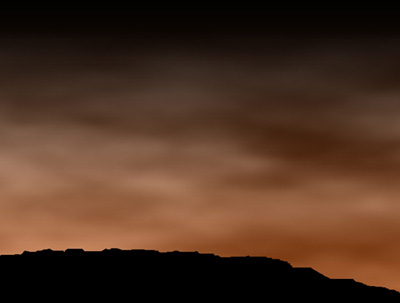
… and stretch out horizontally the layer: After that we have to select Filter>Blur>Box Blur…
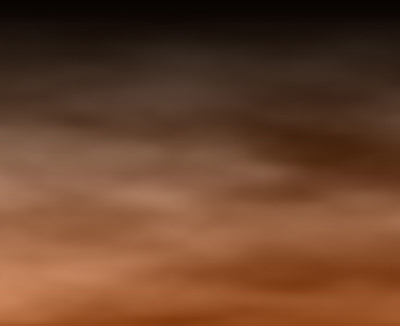
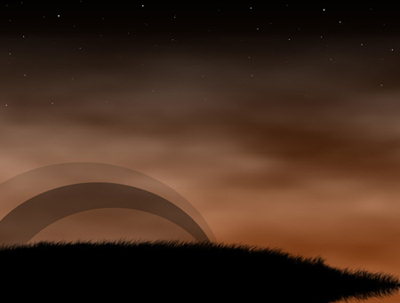
Applying the Eraser Tool (E), we must erase the clouds on the top part of the picture, as it is shown on the image:
Select the Paint Bucket Tool (G) as in the next image:
Select now the Brush Tool (B)
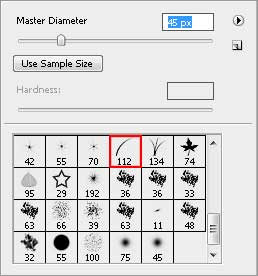
Set Foreground and Background Color to black.
![]()
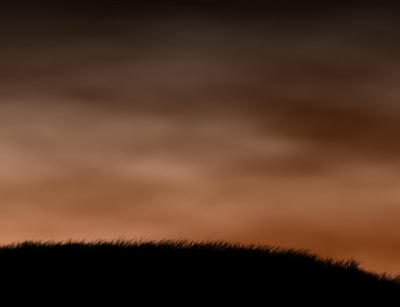
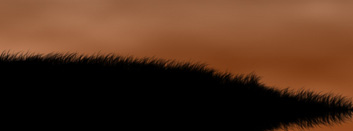
Try to draw now the grass on the same layer:
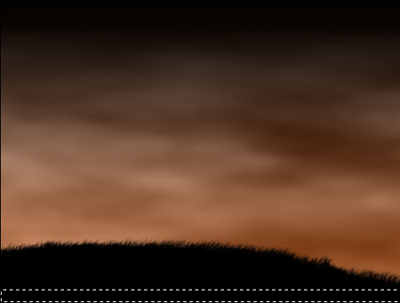
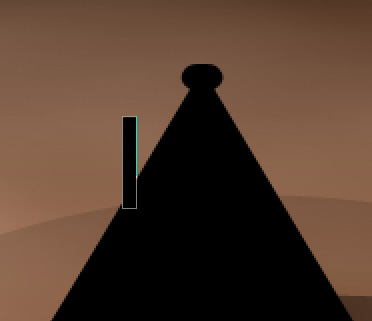
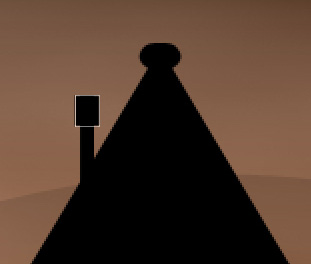
Create a kind of marking with the Rectangular Marquee Tool (M) and press on the Delete button to move off everything that is situated in the marked zone.
Make a copy of this layer and turn it vertically, using the Free Transform selection as it is demonstrated on the next picture.
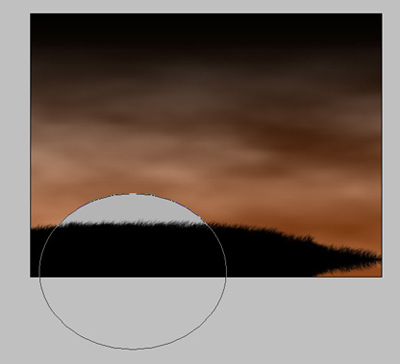
Next step includes representing an ellipse under this layer, selecting before the Ellipse Tool (U). The color in this case should be #B4B4B4.
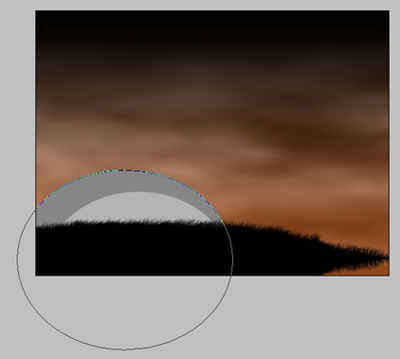
We need to represent the same way one circle more, placing it under the previous one. The color's code is #868686.
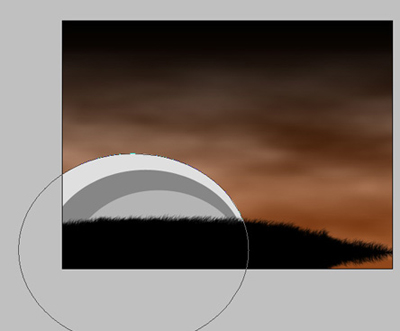
One more ellipse should be created, using the earlier described method. It should have this color - #DFDFDF.
Select for all these layers the parameters from the Layers palette, as the next image shows it.
It's the result we need to have at this stage:
The next new layer will have the stars on it, drawn with the usual Brush Tool (B).
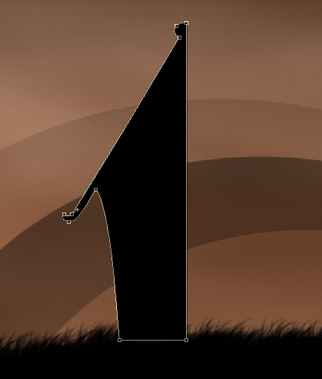
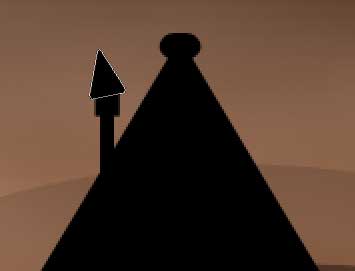
Using the Pen Tool (P), it's possible to draw a half of a house.
Make a copy of the last element and select the Free Transform option to turn it around to have an entire house.
Next we'll draw the flue on the house, choosing the Rectangle Tool (U) for this operation. Create a stretched flue.
Next we'll draw one more rectangle.
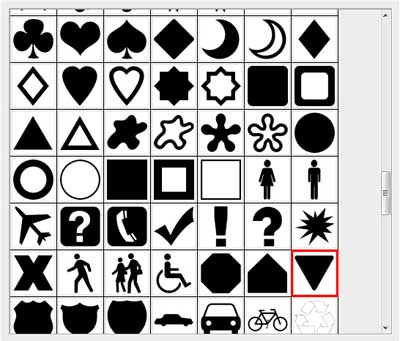
The last shape should be chosen from the Custom Shape Tool (U).
Place the shape the way it is shown below.
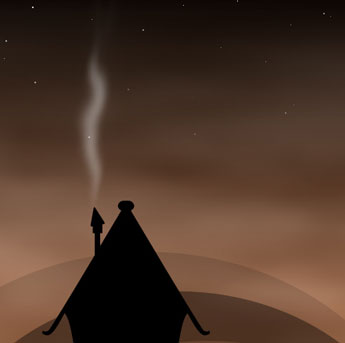
The smoke should be drawn in this way: select for the beginning the Brush Tool (B) on a new layer, having the Opacity of 30% and then draw a small stripe above the flue.
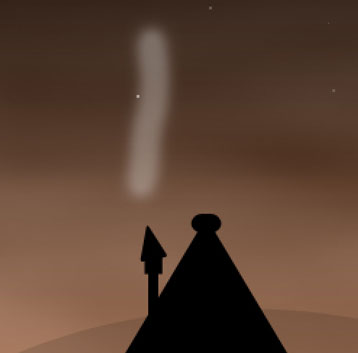
Select now the Smudge Tool (R) and stretch on the stripe, distorting it a little.
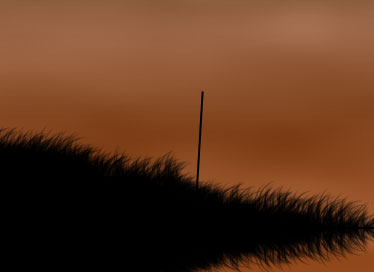
Continue by drawing the rush on the lake's shore. In this case we'll choose the Line Tool (L) and will represent a kind of line like the next one:
Using the Rounded Rectangle Tool (U) and a Radius of 10px, try to represent a figure like it is shown below:
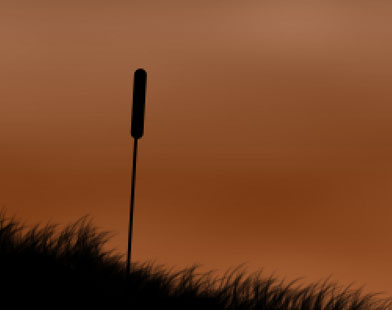
Selecting the Ellipse Tool (U), try to represent next a stretched oval.
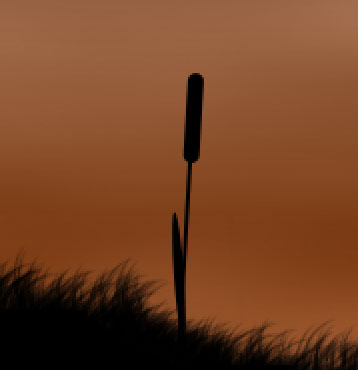
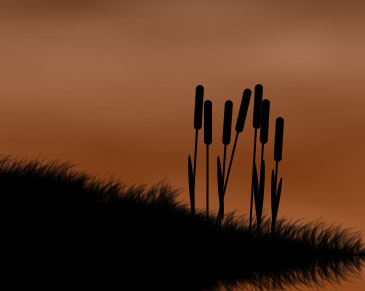
The rest of the rush elements may be created in a n arbitrary way.
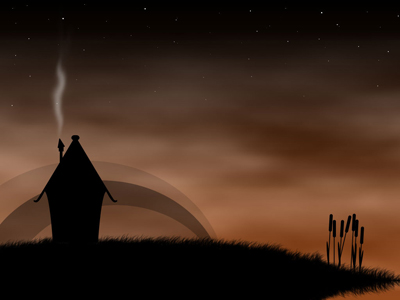
Represented the wallpapers came to end!