Start by creating a new file (File>New) with 1024x768 px and 72 dpi. Take the Paint Bucket Tool (G) to paint the file in black color.

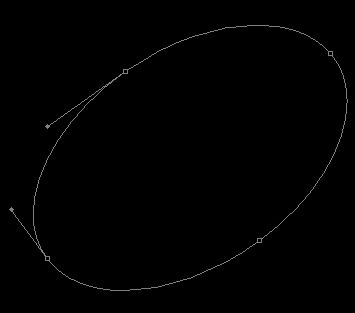
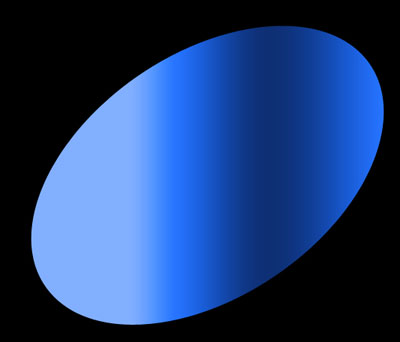
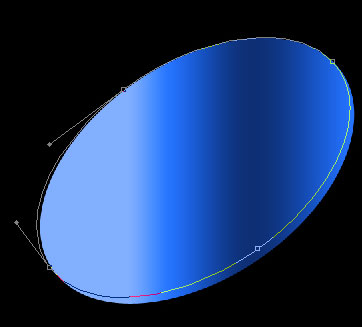
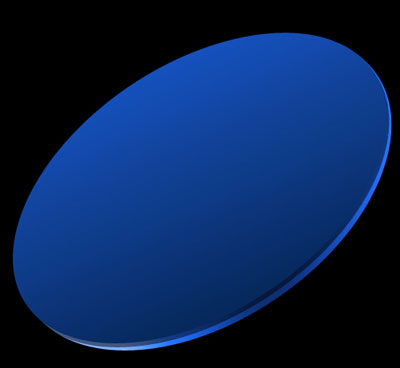
Take next the Ellipse Tool (U) to represent the primary layer reserved for the loud - speaker.
The layer's parameters:
Fill 0% on the layers.
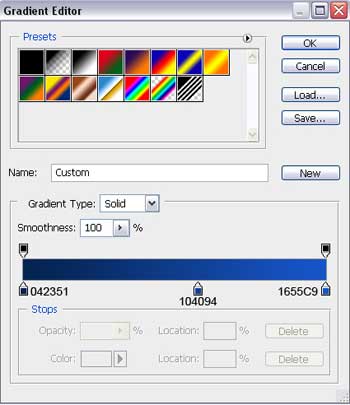
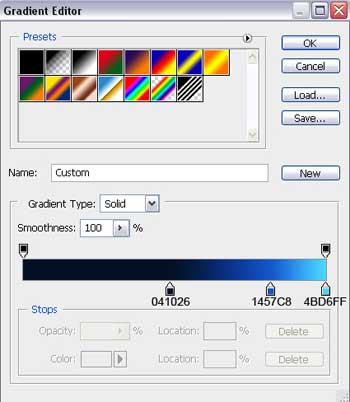
Blending Options>Gradient Overlay
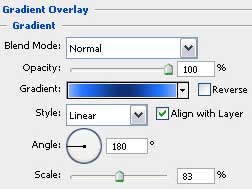
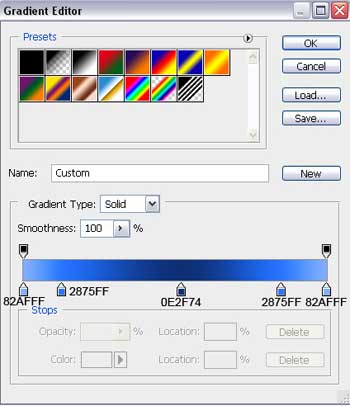
Gradient's parameters:
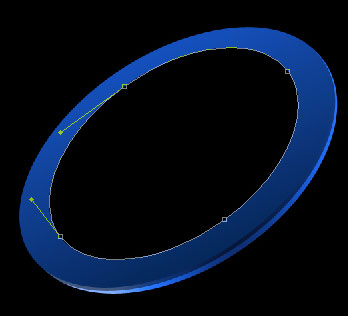
Make two copies of the previously made layer and choose the Free Transform option to change the sizes of the copies and the copies' placement. The copies' parameters should be changed too.
The first copy:
The layer's parameters:
Fill 0% on the layers.
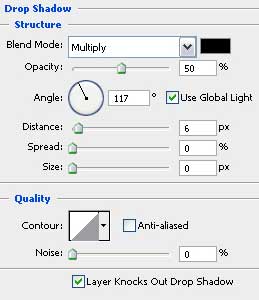
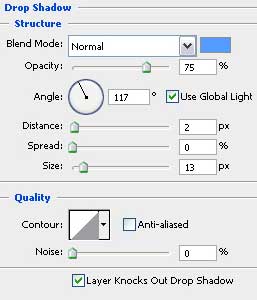
Blending Options>Drop Shadow
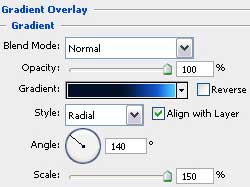
Blending Options>Gradient Overlay
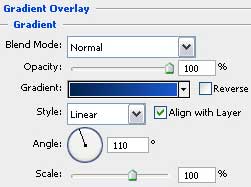
Gradient's parameters:
The second copy:
The layer's parameters:
Blending Options>Gradient Overlay
Gradient's parameters:

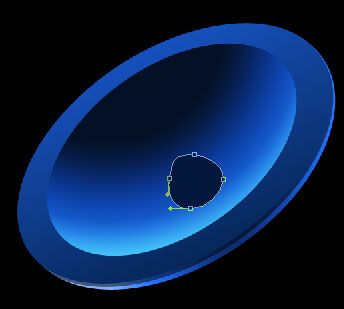
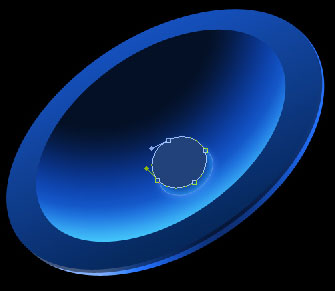
Next step includes drawing the central part of our loud - speaker, selecting the Ellipse Tool (U) and making the corrections on its shape, applying the Custom Shape Tool (U). The color should be this one: #04183D.
The layer's parameters:
Fill 45% on the layers.
Blending Options>Drop Shadow
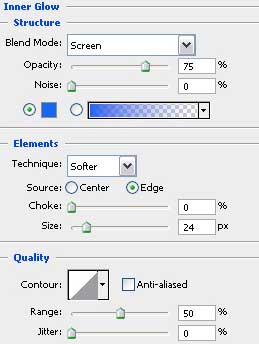
Blending Options>Inner Glow
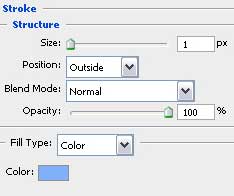
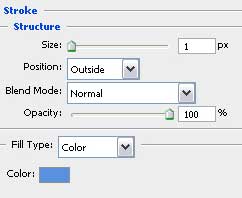
Blending Options>Stroke

Apply one more time the Ellipse Tool (U) to finish representing the central part of the loud - speaker. The layer's color should be #21427A.
The layer's parameters:
Blending mode-Linear Burn
Blending Options>Stroke