


Step 1
Create a new document in photoshop that is 776 x 660 in size.
Fill the background with white (#FFFFFF).
Step 2
Set your foreground color to a light green (#6F8719)
Set your background color to a dark grey (#424242).
Step 3
Create a new layer.
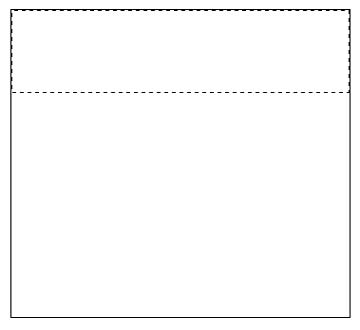
Get out the rectangular marquee tool (
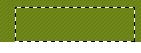
![]() ), and make a selection similar to that pictured below at the top of the canvas, this will be our header:
), and make a selection similar to that pictured below at the top of the canvas, this will be our header:
Using the Flood Fill paint bucket, fill this selection with your foreground color (#6F8719):
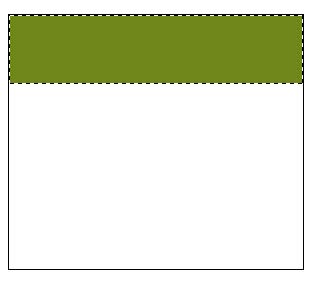
Do not deselect the selection.
Step 4
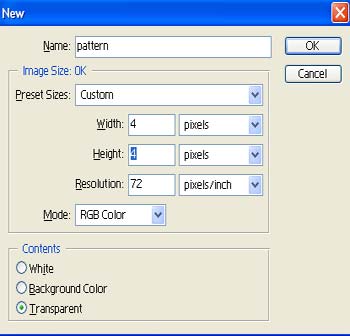
Next we're going to add a diagonal pattern to the header.
Press Ctrl + N on your keyboard to create a new photoshop document, and set the size to 4x4:
Set your foreground color to black (#000000).
Get out the pencil tool (
![]() ), and set it up like so:
), and set it up like so:
![]()
Now zoom in as close as you can to the image by pressing and holding the Ctrl key and pressing the + (plus/addition) button a few times.
Once you are zoomed in, draw four dots onto the canvas, exactly as I've done here:
![]()
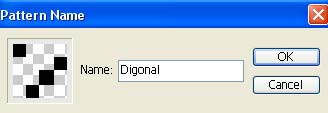
Now go to: Edit->Define Pattern and name your pattern something you'll remember:
Step 5
Now lets move back to the actual PSD document that we are working on.
Once there create a new layer, get out the flood fill paint bucket, and set it up like so:
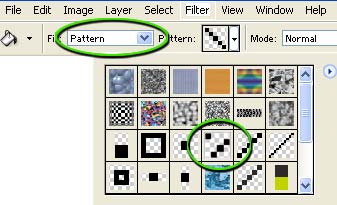
Now fill in the selection on the new layer with the diagonal pattern.
Change the opacity of this layer to around 10 percent:
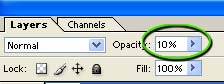
Result:

Step 6
Next we'll add the text to our header, you can use any font you like.
Create a new layer. Set your foreground color to white (#FFFFFF).
Here I have used a basic Verdana font, with the following settings applied:
![]()
Type in the site title:

Step 7
Now for the company/web site slogan. Create a new layer.Grab the same font; However this time I used the following settings:
![]()
Now drop the opacity of this layer down to 60 percent:
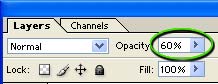
Result:

Step 8
Now we'll work on the navigation system. Get out the rectangular marquee tool (
![]() ) and set it up like so:
) and set it up like so:
![]()
Create a new layer. Now create a selection with the marquee tool as shown here:
Using the Flood Fill paint bucket tool, fill this selection with with #424242.
Deselect by pressing Ctrl+D.
Step 9
Now press Ctrl + J on your keyboard to duplicate this layer.
Press 'V' on your keyboard to get out the move tool.
And move the duplicate button over to the right about 5 pixels away from the previous button.
Continue to do this until you have enough buttons for your navigation system, in my case there are 4 total buttons:

Step 10
Create a new layer. Set your foreground color to #A2A2A2. Get out the pencil tool (
![]() ) and set it up like so:
) and set it up like so:
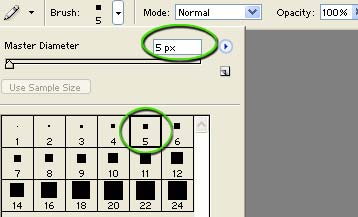
Now add a 5x5 dot to the upper-right hand corner of each of the navigation buttons:
![]()
Step 11
Continue until you've added a dot to each of the navigation buttons:

Step 12
Create a new layer, get out the pencil tool again set your foreground color to #424242, and set the pencil tool up like so:
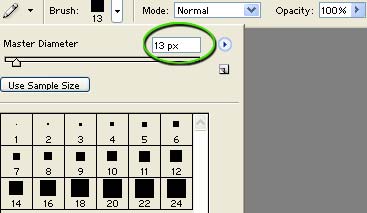
Now draw a straight line across the bottom of the header underneath the navigation buttons like so:
Step 13
Now to add the text to the navigation buttons, get out your text tool, and set it up like so:
![]()
Step 14
Using the same basic techniques you've learned in this tutorial continue to refine and add small details to your layout to break up the monotony a bit. I added a few squares with different opacities in the corners of the header, you can do so to easily with the Rectangle Shape tutorial.
Here I've added some stock photos to the layout and applied text so you can see what this type of layout might look like in a real world environment:

The stock images and photos used in the above layout are all available in the download pack for this tutorial. As you can see, though the techniques are simple, and easy to perform the end result is a very clean, sharp looking layout.
Download Flawless Layout Source Package here.