

Step 1
Create a new document in photoshop of any size, for this tutorial I will be working with a 500x500 document.
Press 'D' on your keyboard to reset your foreground and background colors to black (#000000) / white (#FFFFFF) respectively.
Get out the Gradient Fill tool (
![]() ).
).
and pick a black to white gradient:
![]()
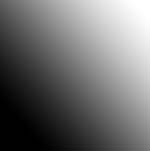
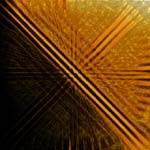
Fill the background with a black to white diagonal gradient as pictured here:
Step 2
Go to "Filter->Distort->Glass" and apply the following settings:
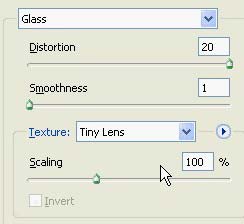
Result:

Step 3
Go to "Filter->Sketch->Plaster" and apply the following settings:
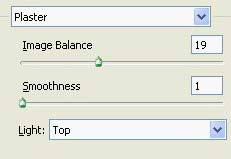
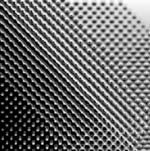
Result:
Step 4
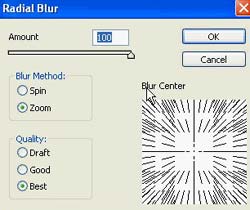
Go to "Filter->Blur->Radial Blur, and apply the following settings:
Result:

Step 5
Press Ctrl + U on your keyboard to open up the Hue/Saturation tool, and apply the following settings:
Make sure you click the "colorize" box

Result:

Step 6
Press Ctrl + J on your keyboard to duplicate this layer.
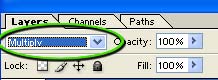
Change the blending mode of this layer to "multiply":
Result:

Step 7
Press Ctrl + E on your keyboard to merge these two layers together.
Press Ctrl + J on your keyboard to duplicate this layer.
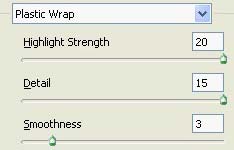
Go to "Filter->Artistic->Plastic Wrap", and apply the following settings:
Result:
Step 8
Change the blending mode of this layer to "Multiply":
Result:
Step 9
Create a new layer. Select the custom shape tool (
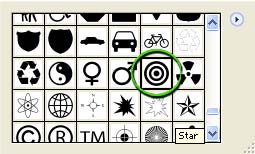
![]() ), press Enter on your keyboard to open up the custom shapes selection box and select the "Bull's Eye" custom shape:
), press Enter on your keyboard to open up the custom shapes selection box and select the "Bull's Eye" custom shape:
Set your foreground color to white (#FFFFFF) and create this shape near the center of the canvas:

Step 10
Go to "Filter->Blur->Radial Blur" and apply the following settings:
![]()
Result:
Step 11
Press the 'V' button on your keyboard to get out the Move Tool, and move the blurred shape to the edge of the left edge of the canvas.
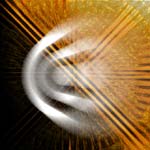
Press Ctrl + F on your keyboard once to repeat the "Radial Blur" filter:

Step 12
Press Ctrl + J on your keyboard to duplicate this layer.
Go to "Edit->Transform->Flip Horizontally", result:
Step 13
Press Ctrl + E on your keyboard to merge these two layers together.
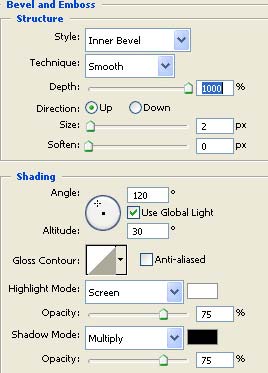
Double click this layer and apply the following blending options:
Bevel & Emboss:
Result:

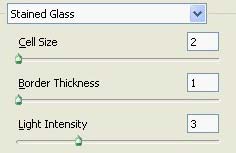
Step 14
Go to "Filter->Texture->Stained Glass" and apply the following settings:
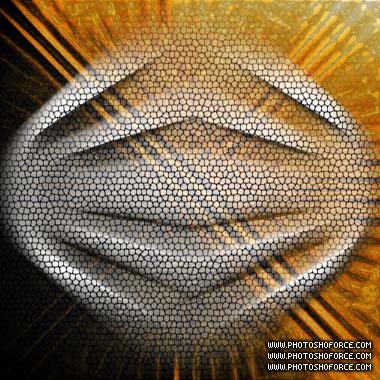
Result:
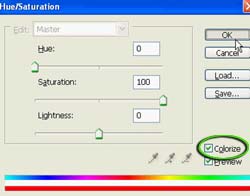
Step 15
Press Ctrl + U on your keyboard to bring up the Hue/Saturation tool, and apply the following settings:
Make sure "colorize" is checked
Result:
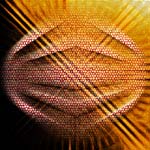
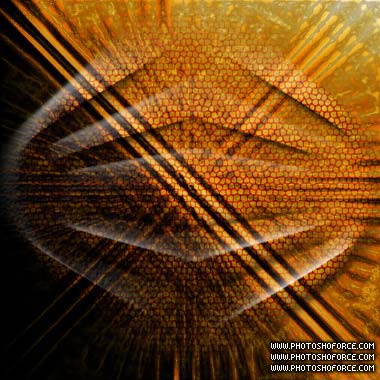
Step 16
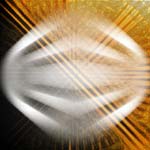
Change the blending mode of this layer to "Softlight":
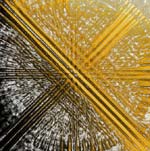
And that completes the tutorial. If you experiment with literally any of the filters or steps in this tutorial you will get a completely different and unique look. Try it out with different filters, try adding "filter->distort->twirl" in place of some of the other filters, or perhaps "Filter->Stylize->Wind" in a few spots. You will be amazed at how many different results you can get, in such short period of time. Here is how my piece ended up after messing with the settings for a little while:
Thanks for reading this tutorial!