


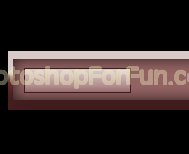
Create a rectangle using rectangular shape tool.
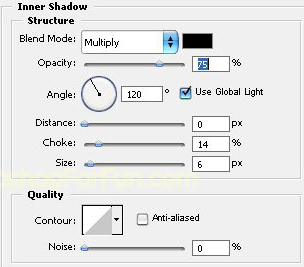
Double click the layer to open layer style window. Apply layer style with the settings shown.
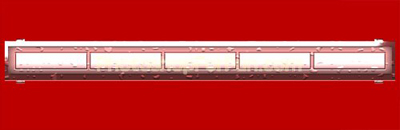
Create a rectangle using rectangular shape tool.
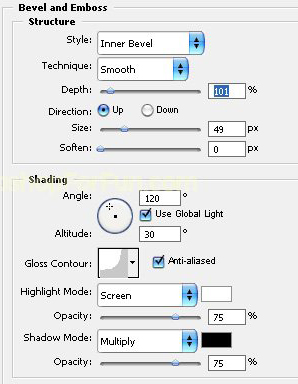
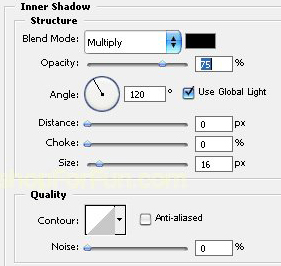
Double click the layer to open layer style window. Apply settings as shown.
Create a rectangular selection using rectangular marquee tool. Create a new layer. Apply white to transparent gradient.
Double click the layer to open layer style window. Apply settings as shown.
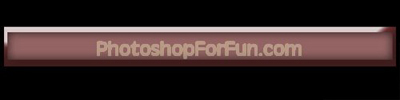
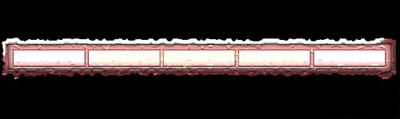
Duplicate the layer several times to create more buttons.
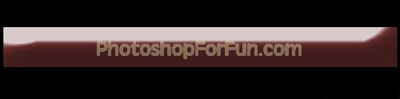
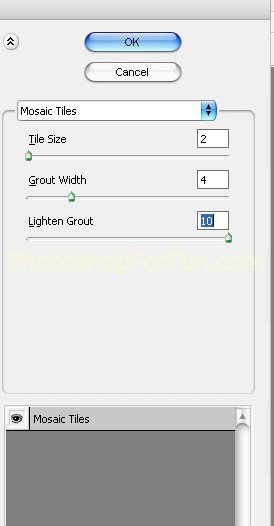
Select and merge all the layers. Duplicate the layer. From "Filter" menu select "Texture>>Mosaic Tiles". Apply settings as shown.
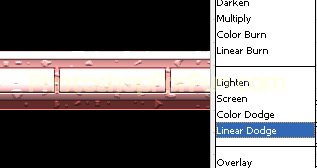
Change the layer mode to "Linear Dodge".
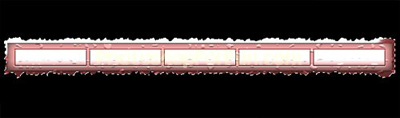
Select and merge all the layers. Ctrl+Click the layer thumbnail to get the selection. Press Q to enable quick mask.
From "Filter" menu select "Distort>>Ocean Ripple ". Apply settings as shown.

Press Q again to disable quick mask. Press Ctrl+Shift+I to inverse the selection. Press Delete.
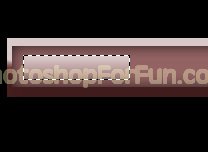
Ctrl+Click the layer thumbnail to get the selection. From select menu select modify>>contract. Contract the selection by 4 pixel.
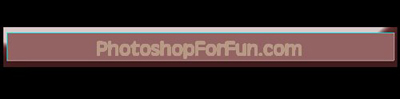
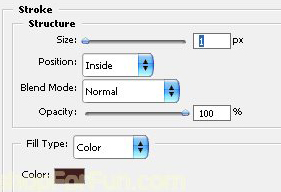
Press Ctrl+J to copy paste the selection in a new layer. Double click the layer to open layer style window. Apply settings as shown.
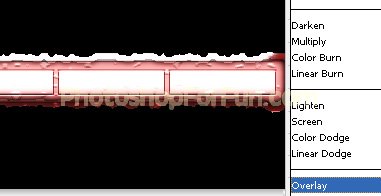
Select and merge both the layers. Duplicate the layer and change the layer mode to "Overlay".
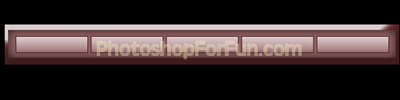
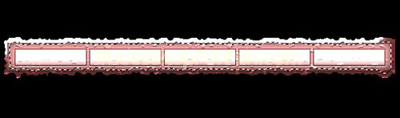
Type link names over the white rectangles.
