Create a new file. Fill the background with a shade of brown.

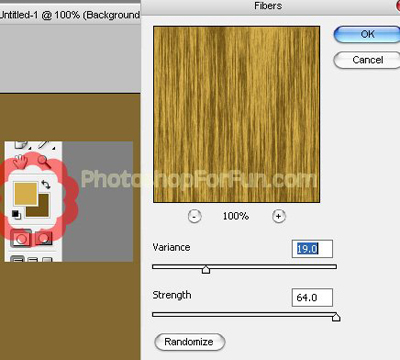
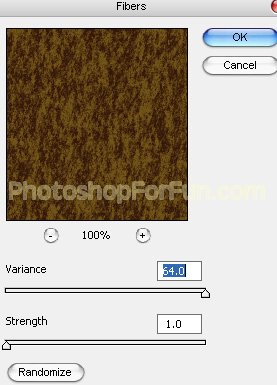
Select foreground and background color as shown in the image below. From "Filter" menu select "Render>>Fibers". Apply settings as shown.
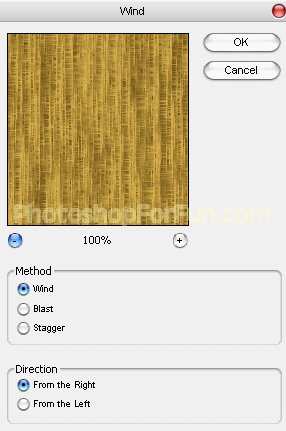
From "Filter" menu select "Stylize>>Wind". Apply settings as shown.
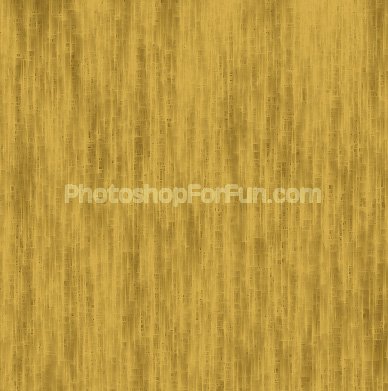
Rotate the layer 90° and press Ctrl+F to reapply the filter.
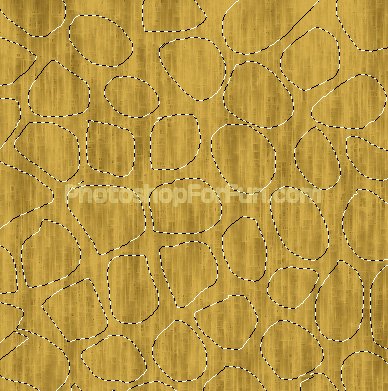
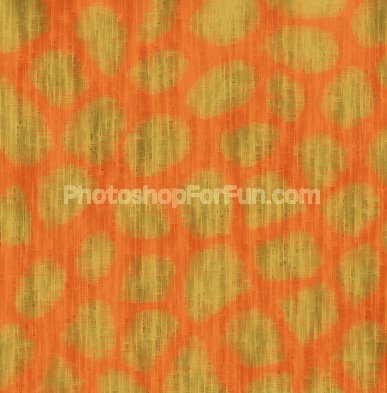
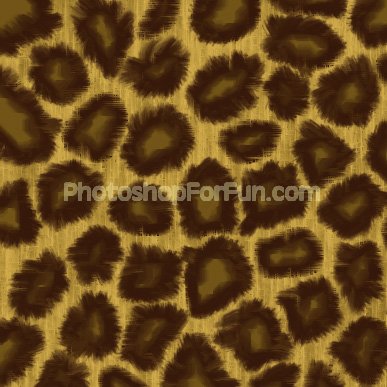
Create some rough circular selection using lasso tool. For multiple selections hold on "Shift" key.
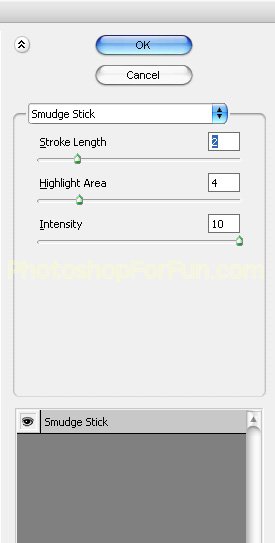
Press Q to enable quick mask. From "Filter" menu select "Artistic>>Smudge Stick". Apply settings as shown.
Create a new layer and fill it with dark brown color.
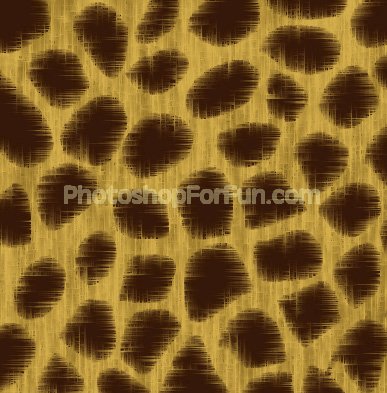
Ctrl+Click the layer thumbnail to get the selection. From select menu select modify>>contract. Contract the selection by 5 pixels. Create a new layer and fill it with another shade of brown.
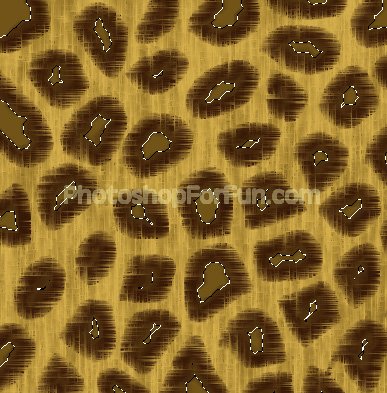
Select and merge both the distorted layers. Select Smudge tool in "darken" mode.
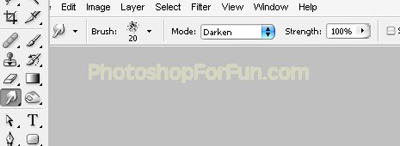
Apply this tool on the edges to create fur effect.
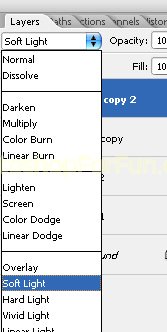
Duplicate the layer. From "Filter" menu select "Render>>Fibers". Apply settings as shown.
Change the layer mode to "Soft Light".