Open the picture that you wish to modify (Ctrl + O).
Create new layer (Shift + Ctrl + N).
Creating bolt
1. Rectangular Marquee Tool (M).
2. On the image area of the new created layer, make a selection of long box.
3. Gradient Tool (G). Set the Gradient Tool as below:
Notice the foreground color is white and the gradient setting is 'Reflected Gradient'.
4. While holding down SHIFT button, make a gradient line inside the selection long box earlier. Create the thickness you desired.
5. Deselect the selection (Ctrl + D).
6. Select Filter > Distort > Wave to apply Wave filter to the thunderbolt. Use the setting below:
You can always play around with the setting to create different type of bolt.
7. Smudge Tool (R). Set the Smudge Tool as below:
8. Using Smudge Tool, smudge the edge of the bolt so it looks like below:
Creating lighting
Now, you have one basic bolt. You can create more bolts to give the lighting more variation. If want more variating, create more bolts using different settings for the Wave filter. This is to create each bolt a unique bolt. You don't have to create ten of them, just 3 to 6 will be enough. Or, if you are lazy, you can just duplicate this basic bolt that you already have (Ctrl + J).
In this tutorial, I will just copy and paste my basic bolt to a new layer.
1. Select the layer that contains the bolt by clicking on the layer.
2. Duplicate the layer (Ctrl + J).
3. Free Transform (Ctrl + T) each duplicated layer one by one and combine it with the main bolt.
Repeat this step as much as necessary to create your desired lighting effect.
4. After you have done with all the bolts, merge all the bolt layers together as one single layer.
You can select multiple layers in 'Layers Window' by holding down Ctrl button. Then, right click on one of the layers to select 'Merge Layers'.
5. Apply 'Blending Options' on the lighting layer by right click on the layer and choose 'Blending Options'.
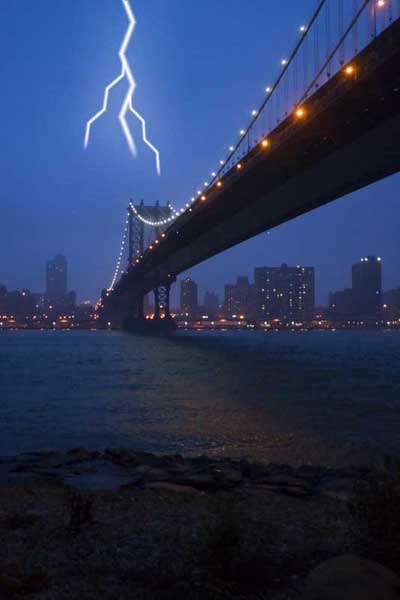
6. Move the lighting to the desired positions.