1. First we have to make a rectangle to do this we are going to select the Rounded Rectangle Tool,it doesn't matter if the size and shape are a little bit different and also color doesn't matter. I'm going to use Radius with 5px.
![]()
2. And you will have something like this:
![]()
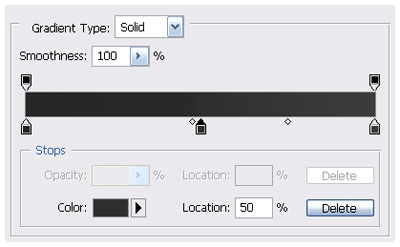
3. Then double click in the layer to open the Layer Style or right click/Blending Options. Once open select Gradient Overlay and put the following colors to make the Gradient or if you prefer can use your own. #262626,This one has to be located in 50% #2f2f2f and the Color Midpoint in 70%, #3c3c3c.
4. Now you should got something like this:
![]()
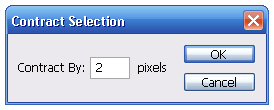
5. After these we are making a border, to do it, press Ctrl+Click over the shape layer thumb to select it. Then go to Select/Modify/Contract and put 2 px.
6. Now your selection should look like this:
![]()
7. Now fill the selection with the bucket, color doesn't matter, press Ctrl+D to deselect or Select/Deselect.
8. In the layers' window change the fill of this layer to 0%.
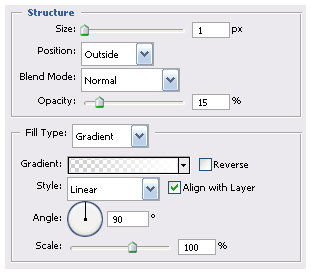
9. Then double click over the layer to open the Layer Style and select Stroke. Change size to 1px and Opacity to 15%, And for the Gradient use a Transparent to White gradient.
10. We used the photoshop's logo and some text we used Arial 14pt in white and this is the result.